The Prodrive makeover!!
#843
#845
Thread Starter
Scooby Regular
iTrader: (52)
Joined: Jun 2010
Posts: 11,769
Likes: 1
From: C+K MOTORS
Thanks guys for your kind words,this is just a stumbling block but will be even better after the wrong is put right!
So at lunchtime today I put the braided brake lines on the rear with handbrake cables as well so I could fit the fuel tank back in after hours tonight,all went well this time lol.
Finished up with painting the fuel filler neck and breather pipe.
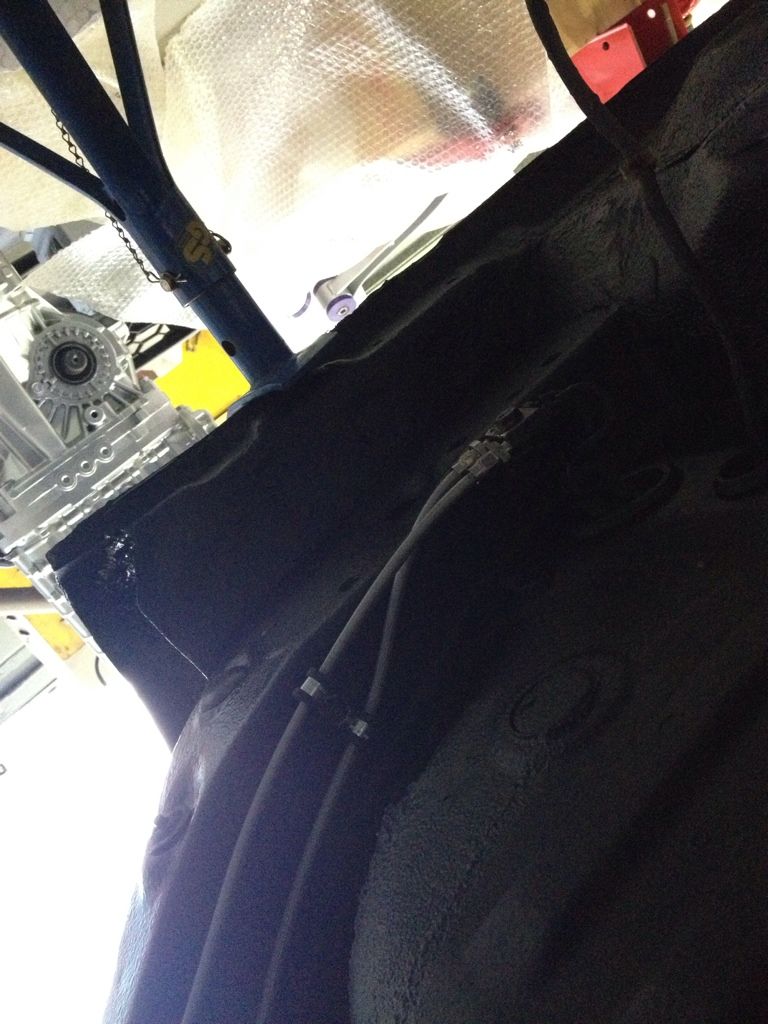
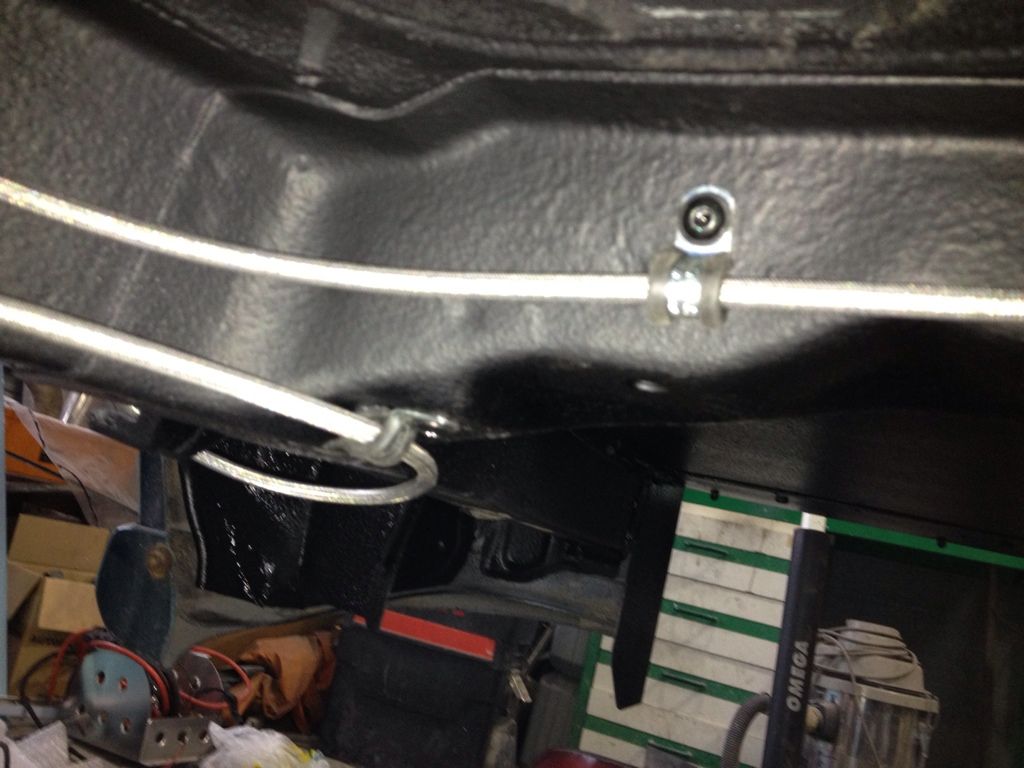

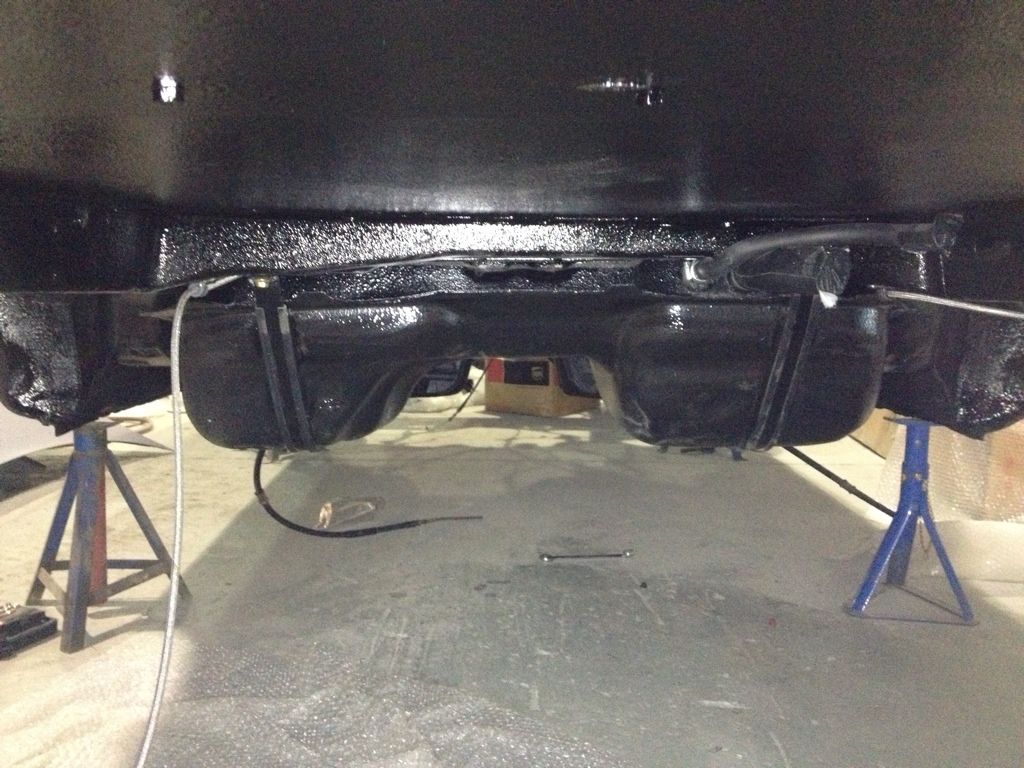
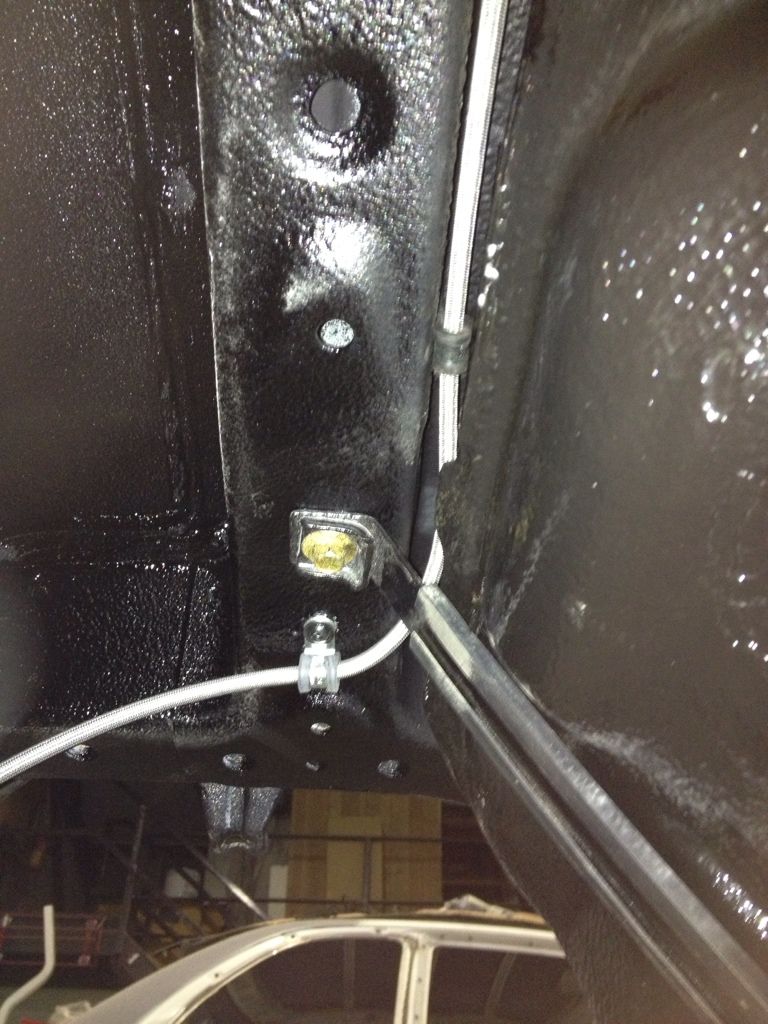


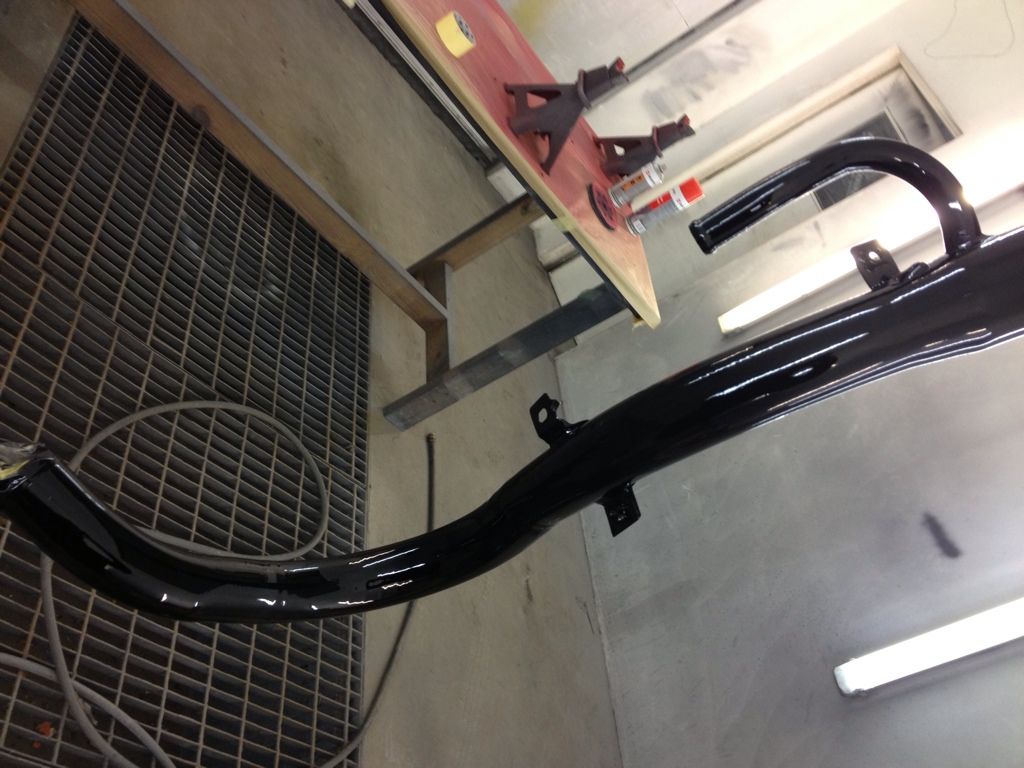
So at lunchtime today I put the braided brake lines on the rear with handbrake cables as well so I could fit the fuel tank back in after hours tonight,all went well this time lol.
Finished up with painting the fuel filler neck and breather pipe.


#853
Thread Starter
Scooby Regular
iTrader: (52)
Joined: Jun 2010
Posts: 11,769
Likes: 1
From: C+K MOTORS
I look forward to being able to showing people
So I'm trying to use any spare minute to get little bits ready to go back on,clean up and painted the rear diff and installed the rear cover plate.
Fitted fuel filler neck.
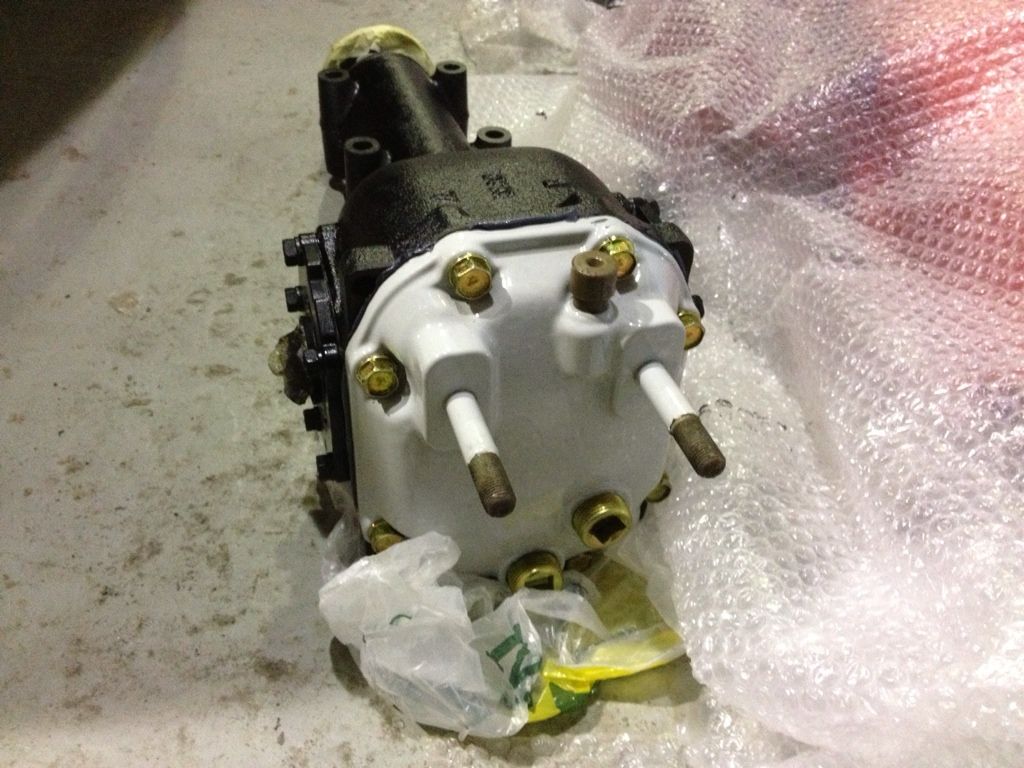


So I'm trying to use any spare minute to get little bits ready to go back on,clean up and painted the rear diff and installed the rear cover plate.
Fitted fuel filler neck.


#856
Thread Starter
Scooby Regular
iTrader: (52)
Joined: Jun 2010
Posts: 11,769
Likes: 1
From: C+K MOTORS
First off I would like to thank Ross for taking the time today to come over and help me have a big push on getting parts back on the car,it went pretty much straight forward par a couple of hicups lol
The pictures say the rest
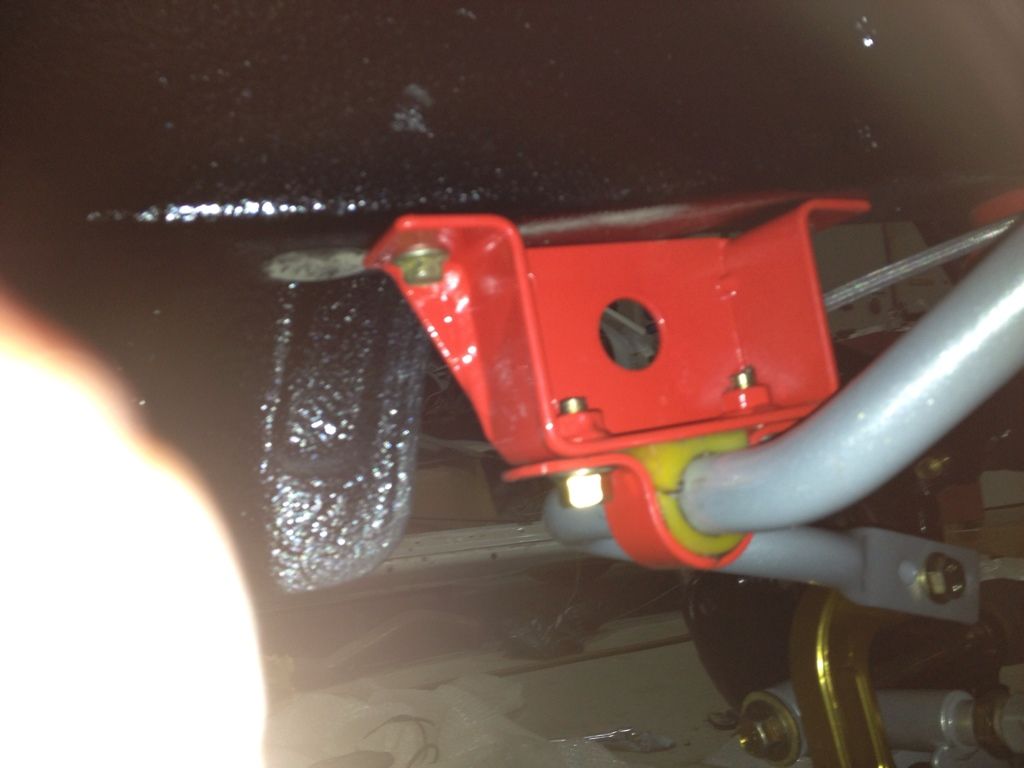
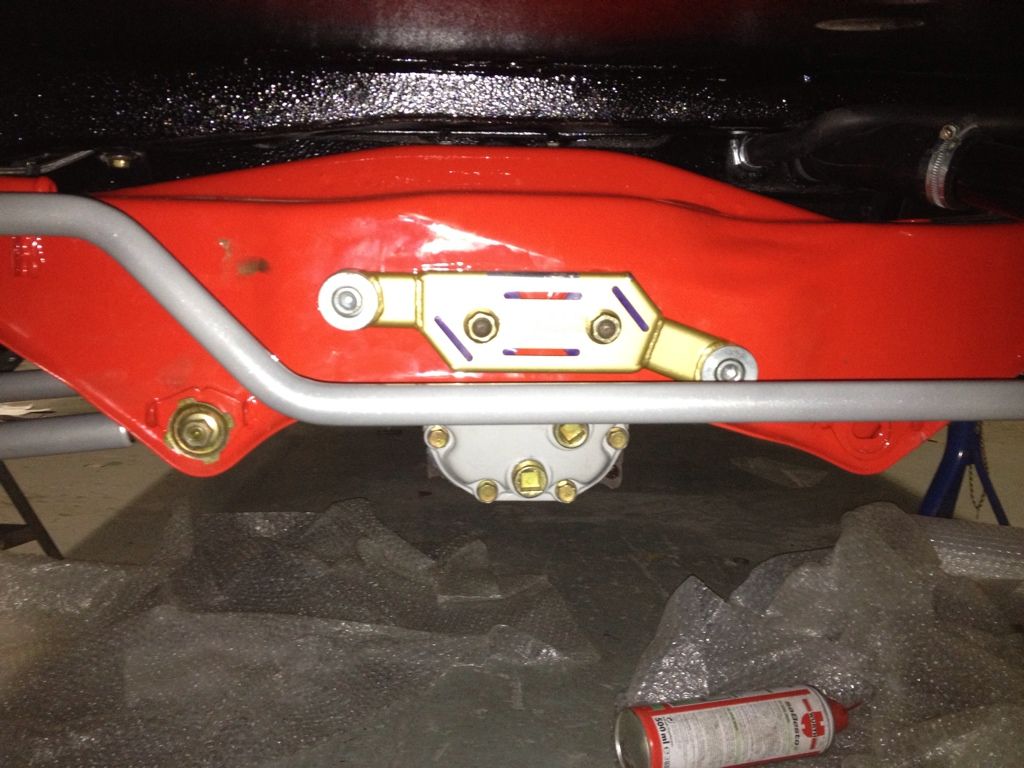
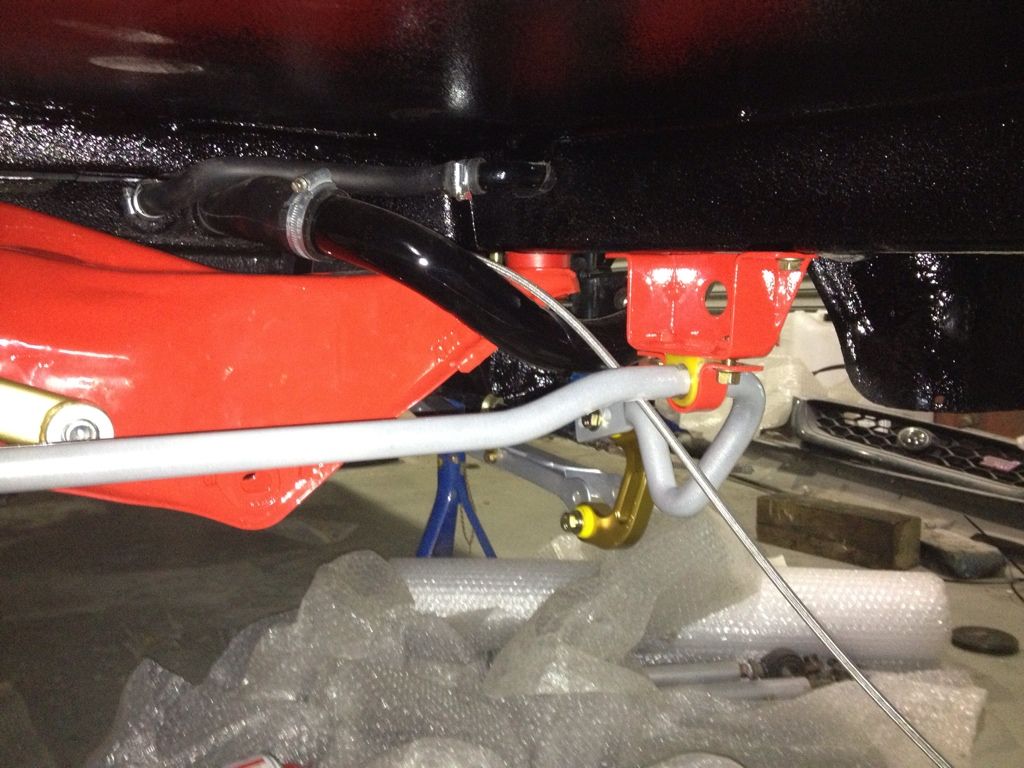

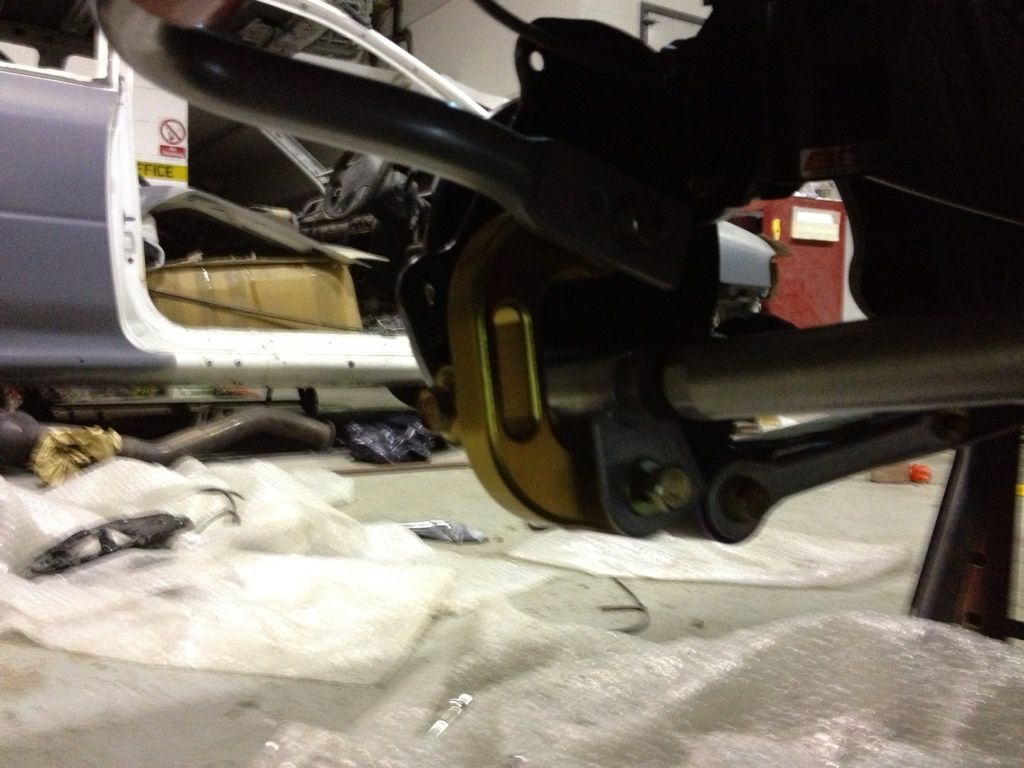
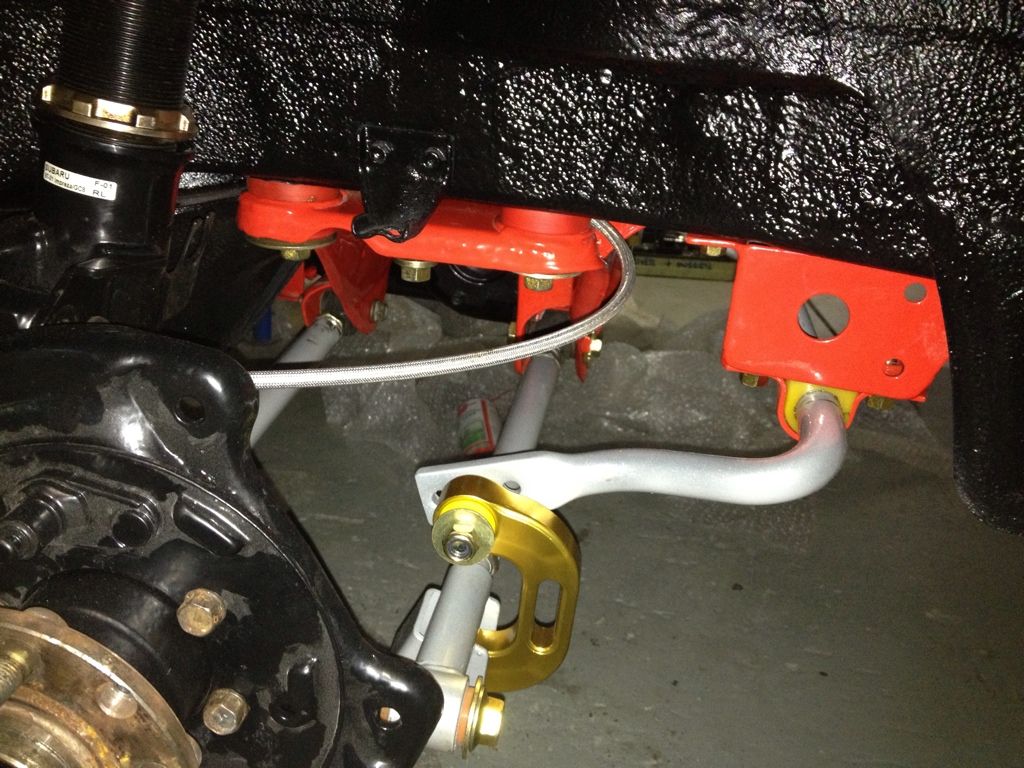

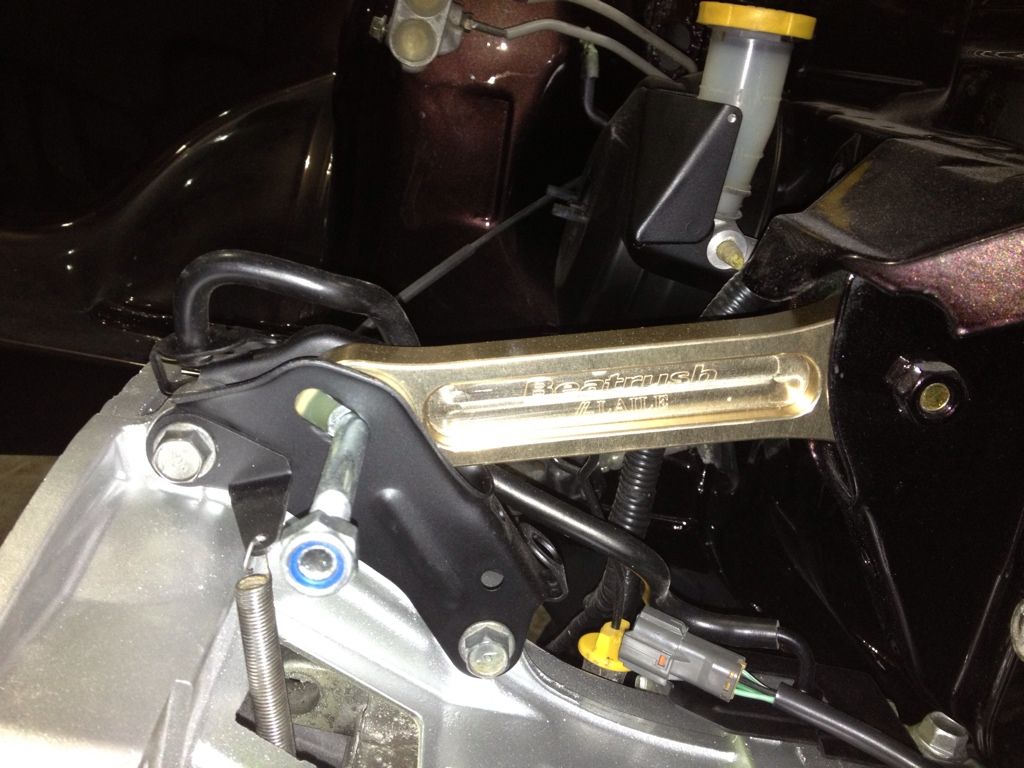

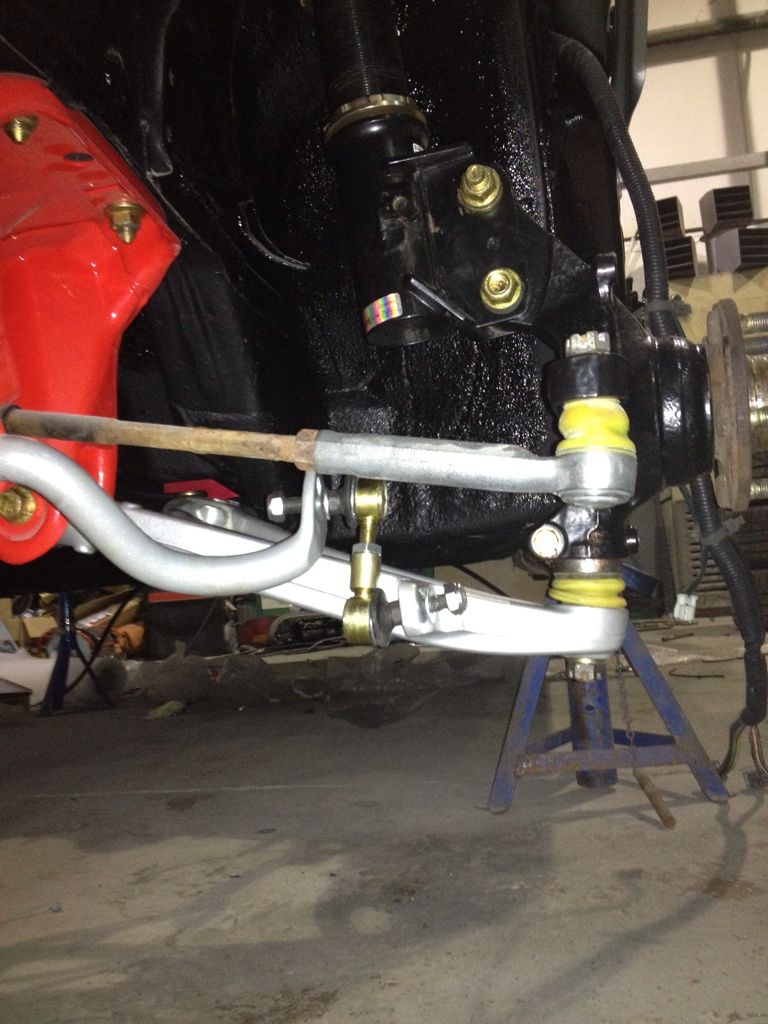
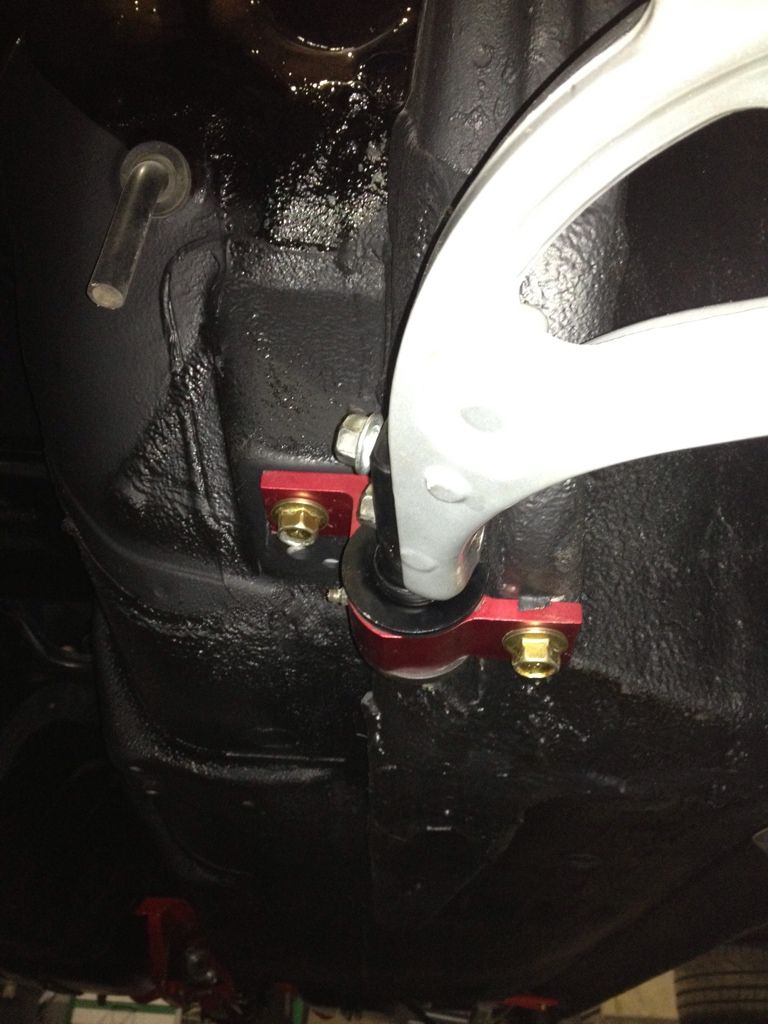
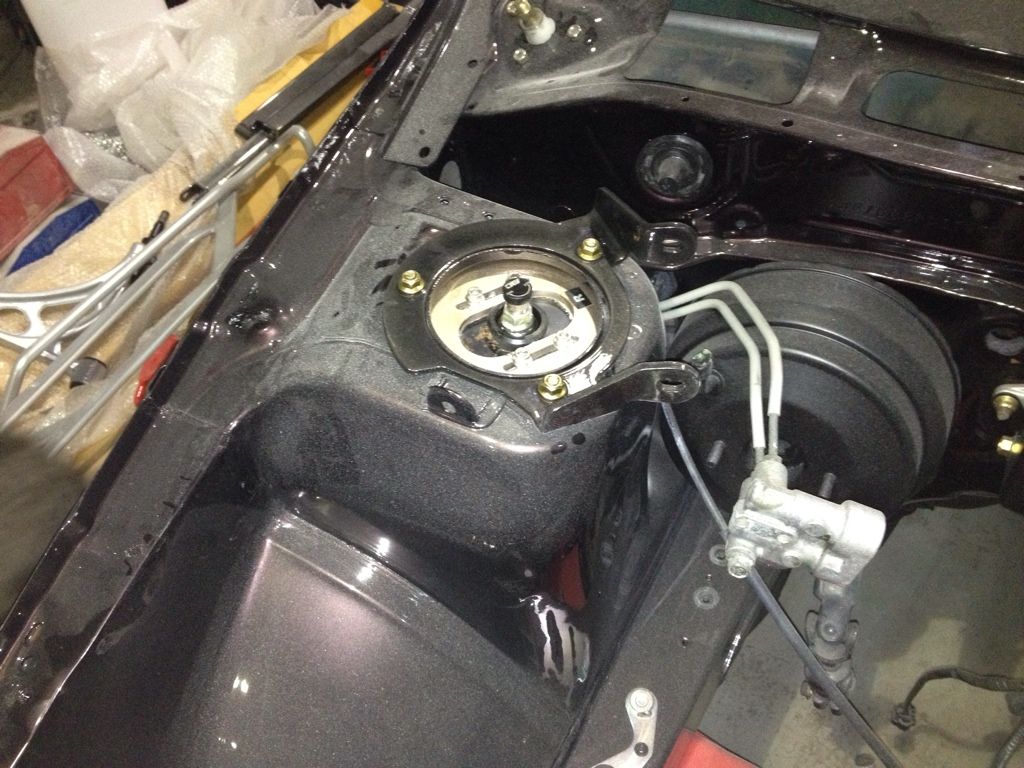
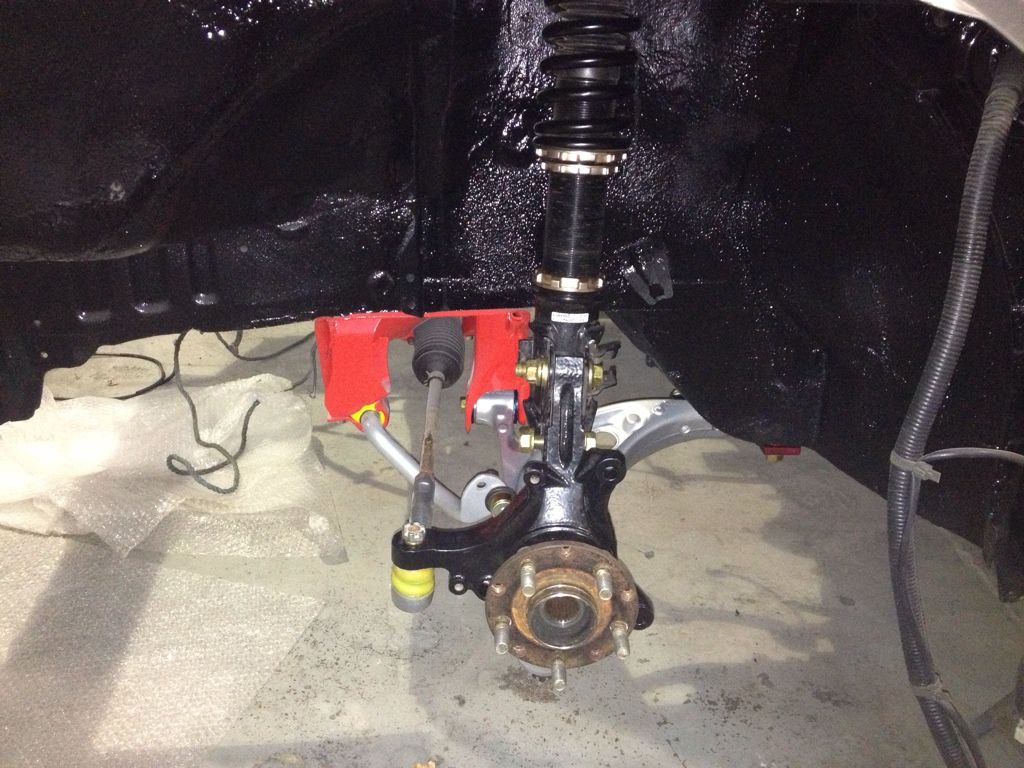
The pictures say the rest


#858
Thread Starter
Scooby Regular
iTrader: (52)
Joined: Jun 2010
Posts: 11,769
Likes: 1
From: C+K MOTORS
Thanks Jon I'm very happy indeed but I still have a few bits to clean up like the steering rack arms and a few bolts to remove and have zinc coated buts it's a great feeling to be getting it back together!
#859
This is exactly how I will be doing mine. Beautiful job mate, could you tell me what undersell type stuff you used for all the underside and under the arches? And can you paint over it? Wat kind of paint you use for the subframes, 2 pack or powder coating? Thank. Lee
#860
Thread Starter
Scooby Regular
iTrader: (52)
Joined: Jun 2010
Posts: 11,769
Likes: 1
From: C+K MOTORS
This is exactly how I will be doing mine. Beautiful job mate, could you tell me what undersell type stuff you used for all the underside and under the arches? And can you paint over it? Wat kind of paint you use for the subframes, 2 pack or powder coating? Thank. Lee
Hi Lee,most of the under pinning parts are powder coated and the under seal is WURTH stone guard which is paintable mate to which I then painted with 2K direct gloss paint in some area's but in others I just left it as stone guard alone.
#861
Looks great. I love cars that are as clean underneath as on the top. When I started taking mine apart all I have been finding is sh*t loads of rust haha but one day it'll hopefully look as decent as yours. Anyway, cheers for the info. 

#864
sounds like mine that bloody cough damage,im not brilliant in the body work department,so is there any specific space tube to get,& would you just spot weld it how the part in there at mo or seem weld?thanks ian
#865
Thread Starter
Scooby Regular
iTrader: (52)
Joined: Jun 2010
Posts: 11,769
Likes: 1
From: C+K MOTORS
I'd most certainly seam weld it chap as its a structural part of the car plus it's your lower slam panel for impact resistants in an accident.


