The Prodrive makeover!!
#1179
Thread Starter
Scooby Regular
iTrader: (52)
Joined: Jun 2010
Posts: 11,769
Likes: 1
From: C+K MOTORS
Stopped on tonight to finish up the oil feed line to the turbo,had to really think about the angles to keep the line out of the way of the turbo outlet and so it would interfere with the titanium heat blanket I have to fit,happy with how it looks and is sitting.
Next was to finish up the fuel line which I've installed a check valve to.
Best part of my day was a package that arrived though,the pic will show you why!!
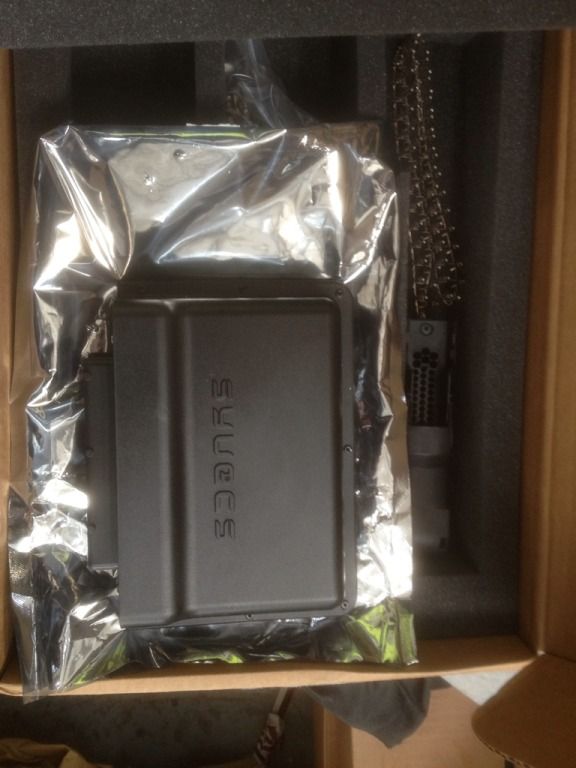

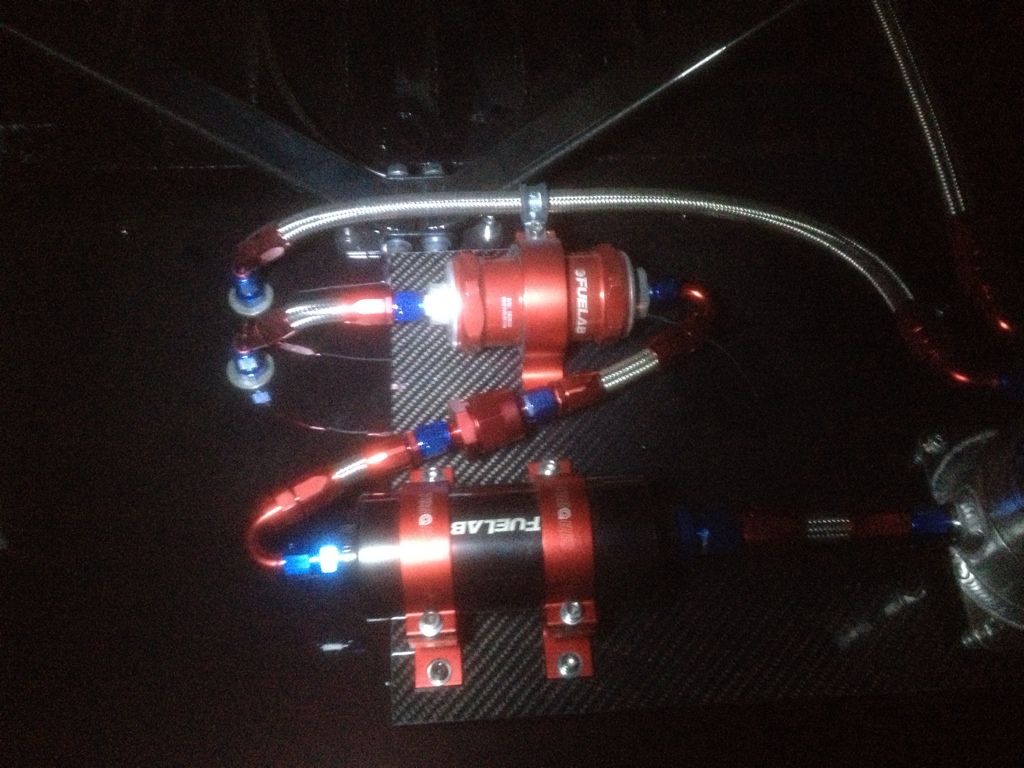
Next was to finish up the fuel line which I've installed a check valve to.
Best part of my day was a package that arrived though,the pic will show you why!!


#1182
Thread Starter
Scooby Regular
iTrader: (52)
Joined: Jun 2010
Posts: 11,769
Likes: 1
From: C+K MOTORS
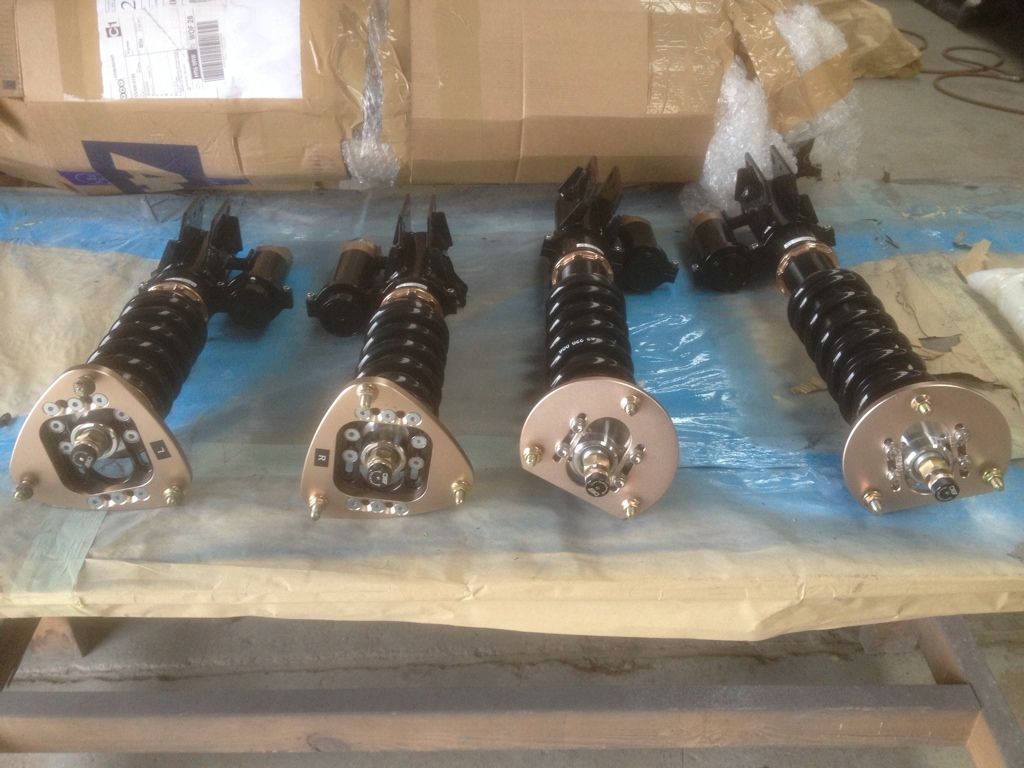
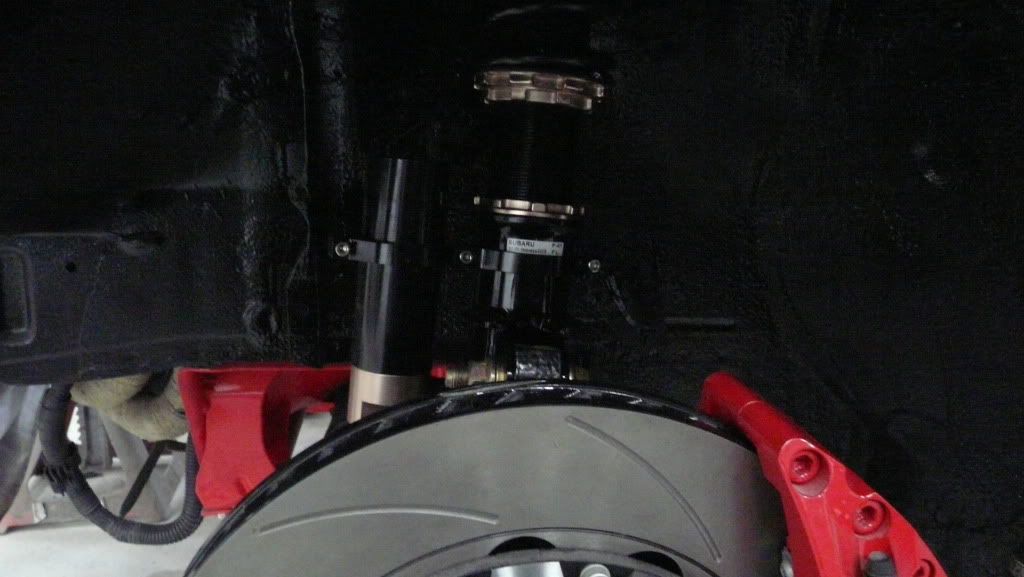
Well there was a good start to today with my BC ER series coilovers turning up[thanks clive] so first order of the day was to fit the suspension an get the car back down on it's wheels and off the axle stands.
Next job attacked was drilling the hole through the boot floor for the rear brake lines and fitting the bulk head T junction plus run line from bias onto it,all went well there so just the lines off the T junction onto the rear calipers to run now but seeing as I've now got K-sport 6 pots coming for the rear [thanks Chris] I need them before doing that.
Next was to redo the crankcase breather line as it was clear after first attempt it was going to bend to much thus closing the pipe off so a new one was cut/fitted with a p-clip off the turbo compressor housing which has sorted that issue.
Yesterday I also went over and collected some brackets the master of metal had made for me to mount the fuel cooler underneath the car,they have also been anodized.
Last job was stripping the engine bay loom of all it's casing for the start of a very trick part to the project being done,details will be revealed in time on that
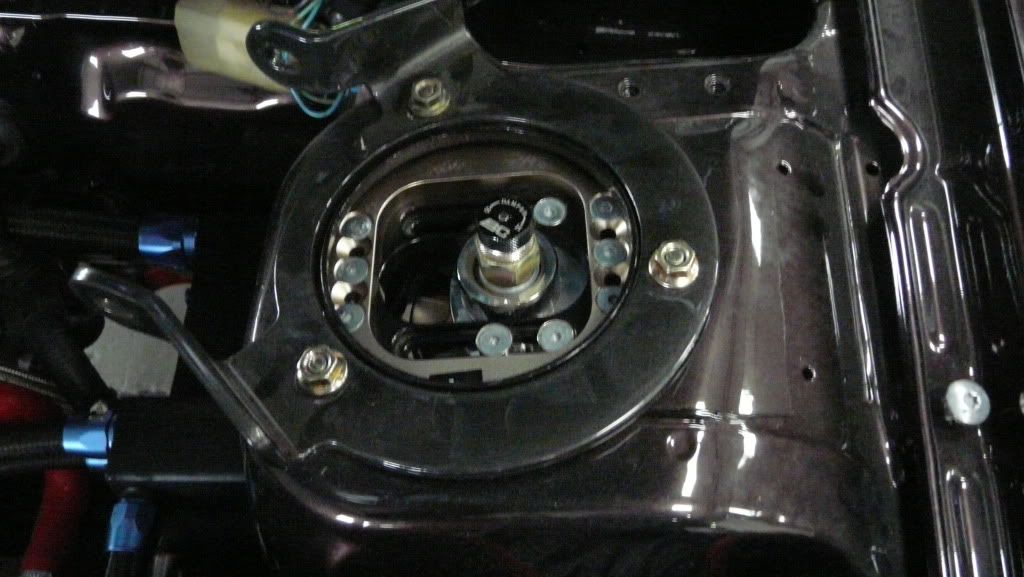
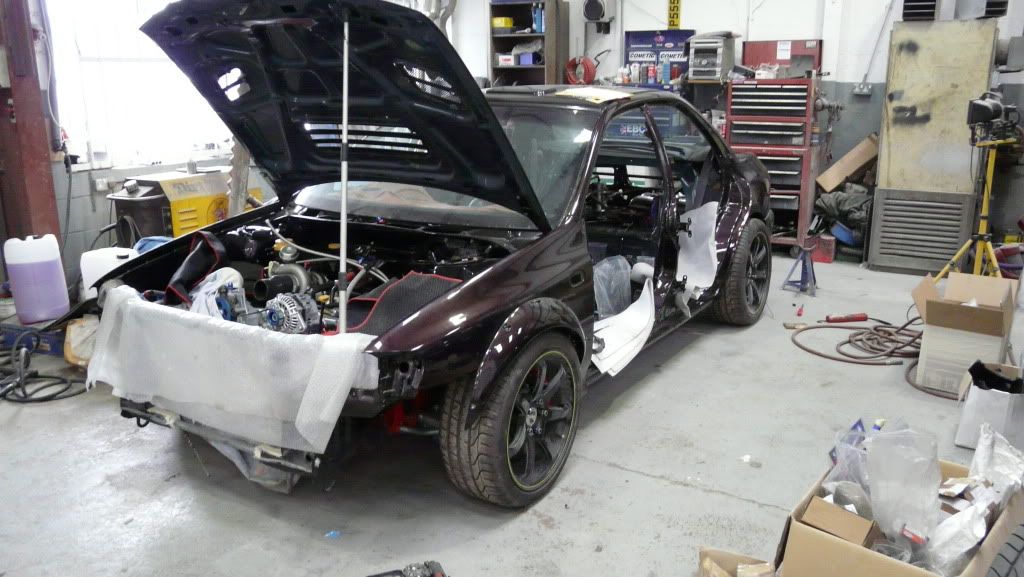
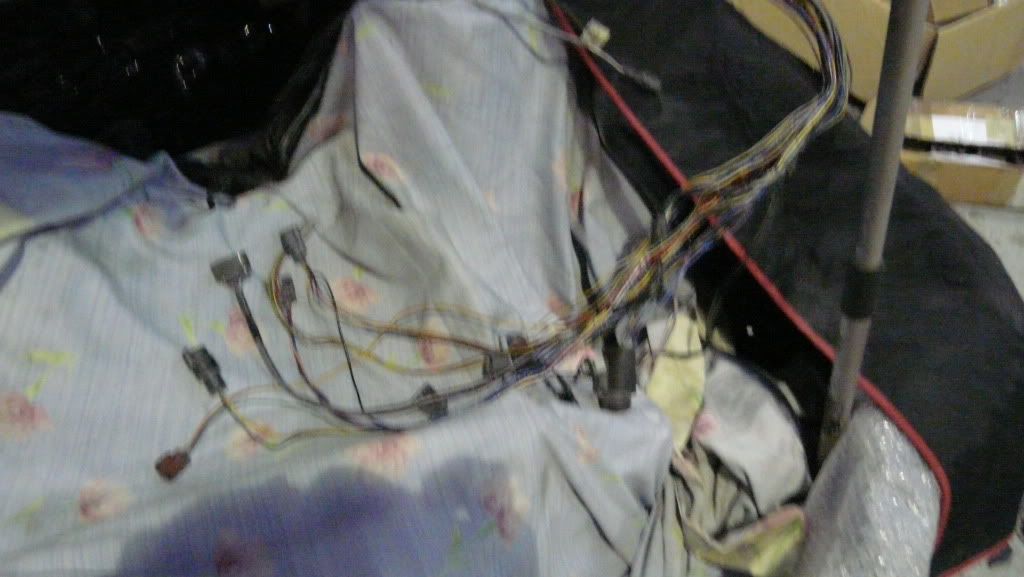
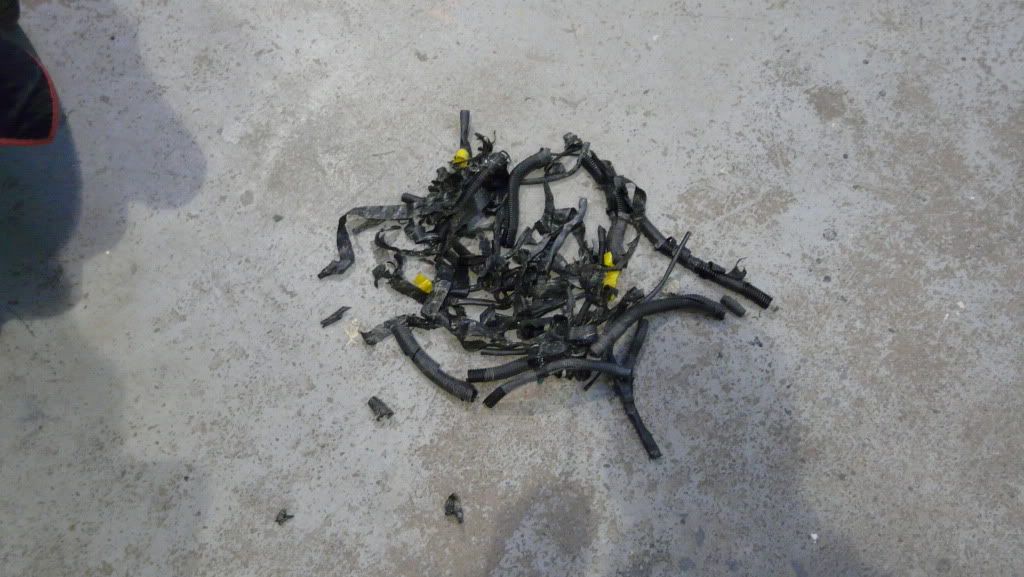


#1185
Scooby Senior
iTrader: (51)
Joined: Nov 2005
Posts: 20,491
Likes: 2
From: Wherever I park my car, that's my home
Looking really good now mate
I've got to strip my wiring down now that the ABS has gone - are you going to wrap it with electrical tape or use some convoluted tubing
PS. Did you get my PM

I've got to strip my wiring down now that the ABS has gone - are you going to wrap it with electrical tape or use some convoluted tubing

PS. Did you get my PM

#1190
#1195
We will see, I really can't wait to see how both cars compare - different routes and methods used but with (hopefully) similar end results achieved. 
Don't encourage him Cliff, but I'm sure that when it's ready I will get to take it for a blast and if not I will just pinch the keys.

Don't encourage him Cliff, but I'm sure that when it's ready I will get to take it for a blast and if not I will just pinch the keys.

#1196
Thread Starter
Scooby Regular
iTrader: (52)
Joined: Jun 2010
Posts: 11,769
Likes: 1
From: C+K MOTORS
So I started tackle the wiring loom that runs across the front of the car today which powers the headlights,radiator fans,sidelights,indicators plus it has ABS power supply and aircon.
Due to me relocating the fuse box into the inner wing I needed to customize the loom with some area's needing to be shortened and others lengthened,this was a task I was not looking forward to as wiring really isn't my moto but I jumped in the deep end and away we go lol.
Started by stripping the loom casing off and laying it across the underside of the front panel and went from there,the pics tell the rest.
To finish I need to run the O/S lights wiring upto the headlight area and extend the sidelight/bumper indicators wires plus run the washer pump wires to the boot area and then wrap all the wires to make them look some what neat.
Tomorrow I will be running the battery cables to which I have all the wires,cable ends,2 way junction and tool to fit the ends on.
Big thanks going out again to Tim at JTInnovations for sending me one of his 4 bar map sensors.
[IMG] [/IMG]
[IMG]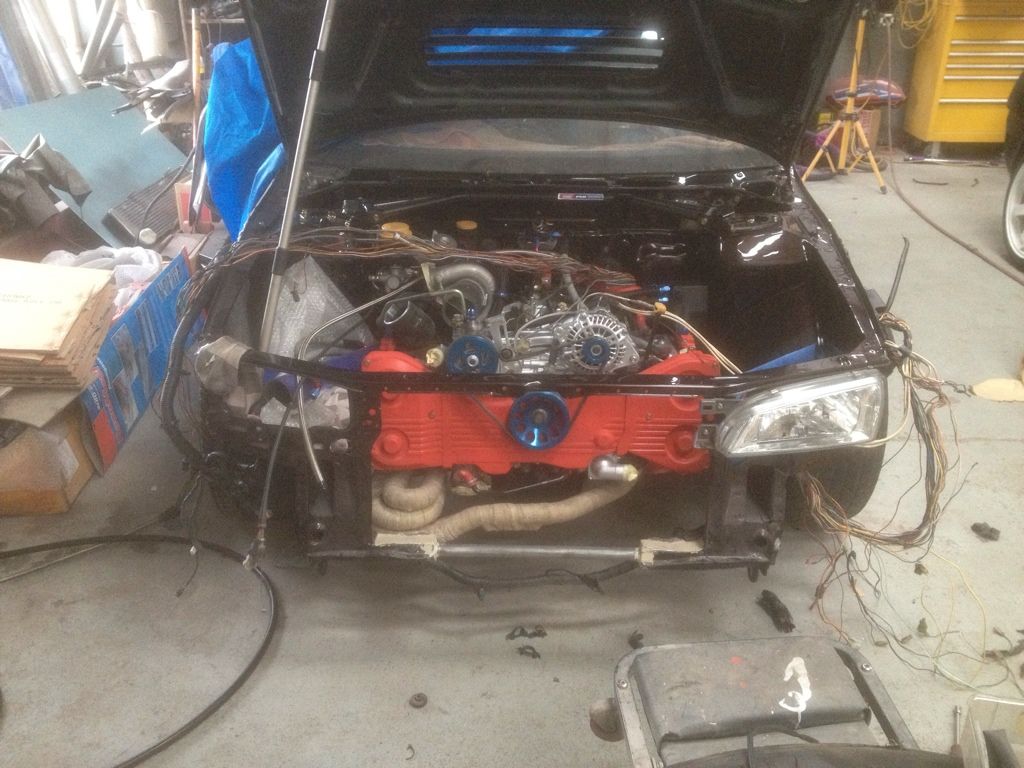 [/IMG]
[IMG]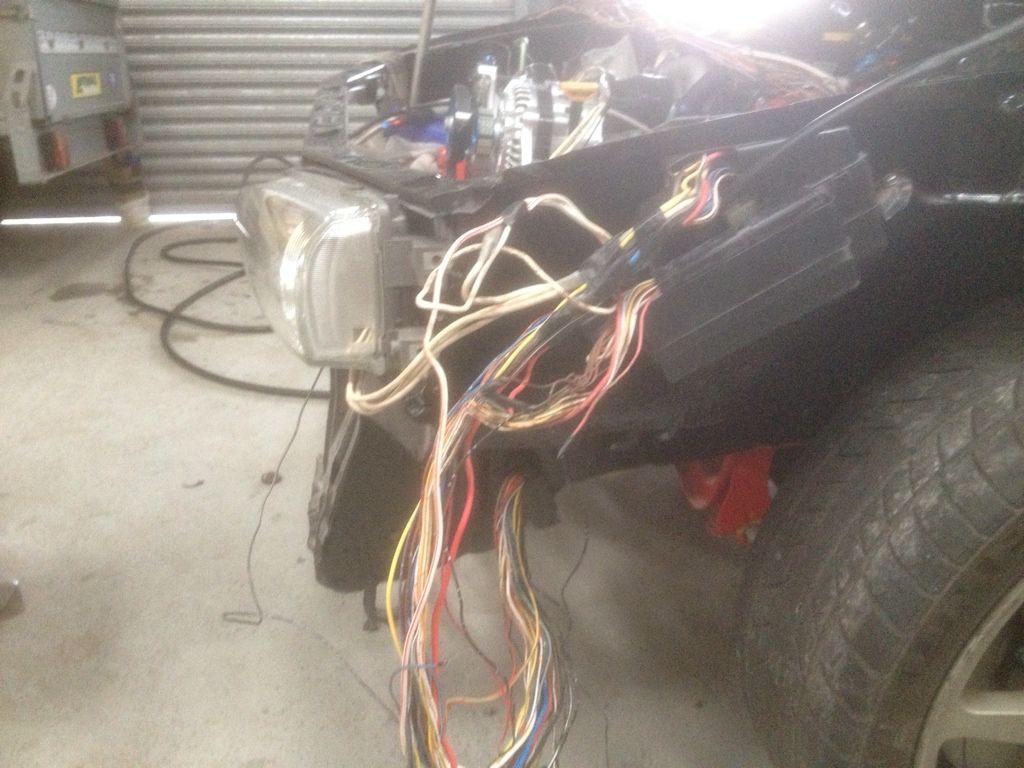 [/IMG]
[IMG] [/IMG]
[IMG]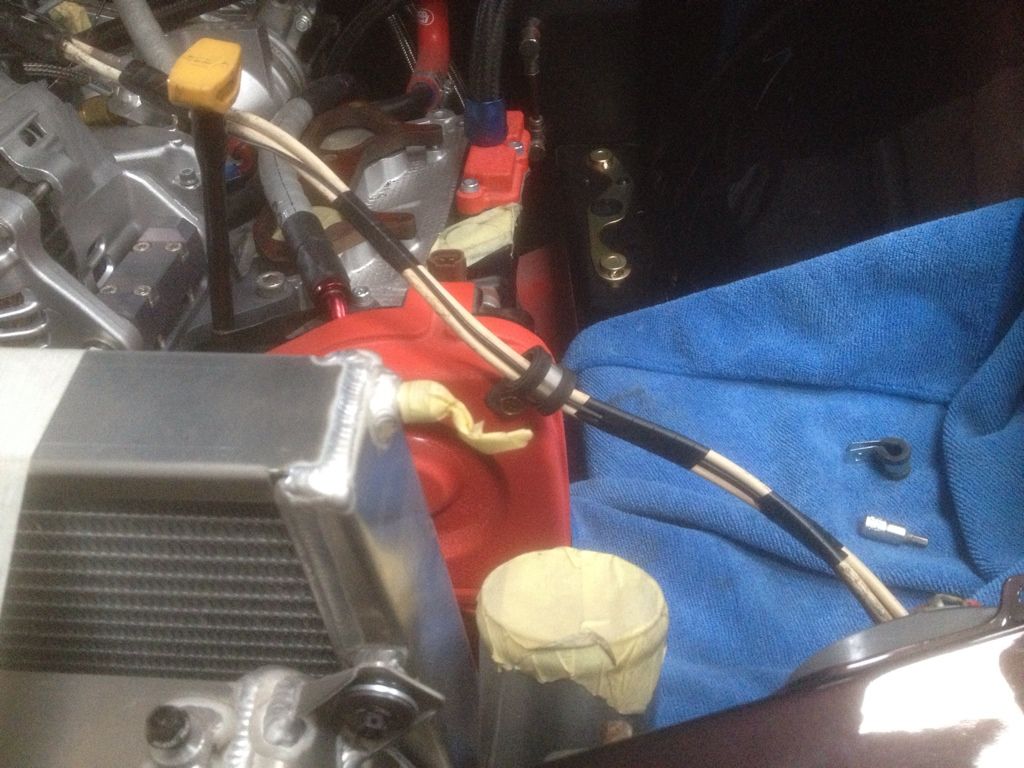 [/IMG]
[IMG] [/IMG]
[IMG] [/IMG]
[IMG]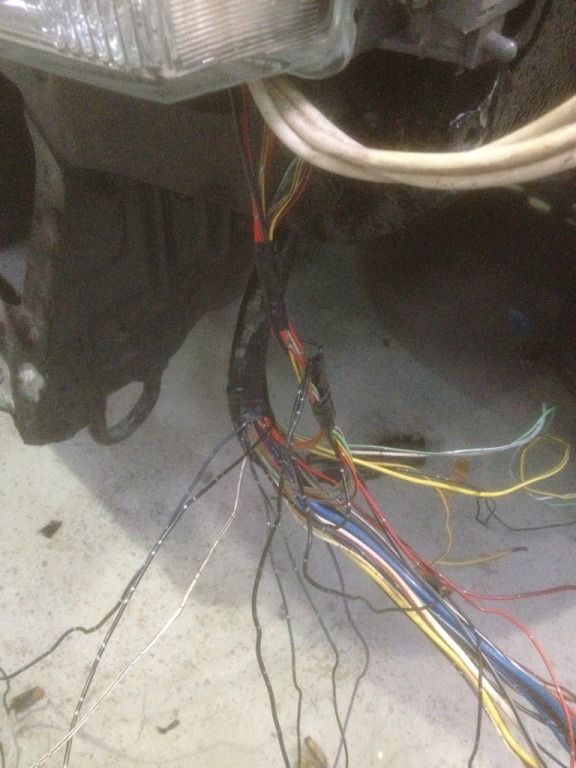 [/IMG]
[IMG]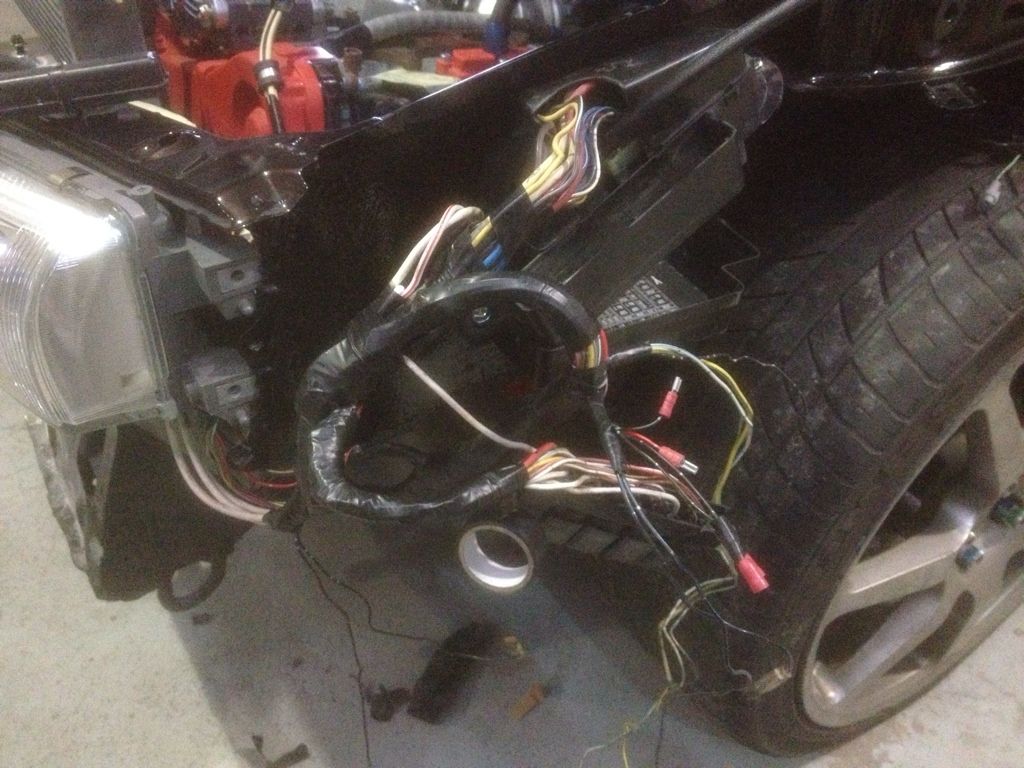 [/IMG]
[IMG] [/IMG]
[IMG] [/IMG]
[IMG] [/IMG]
[IMG] [/IMG]
Due to me relocating the fuse box into the inner wing I needed to customize the loom with some area's needing to be shortened and others lengthened,this was a task I was not looking forward to as wiring really isn't my moto but I jumped in the deep end and away we go lol.
Started by stripping the loom casing off and laying it across the underside of the front panel and went from there,the pics tell the rest.
To finish I need to run the O/S lights wiring upto the headlight area and extend the sidelight/bumper indicators wires plus run the washer pump wires to the boot area and then wrap all the wires to make them look some what neat.
Tomorrow I will be running the battery cables to which I have all the wires,cable ends,2 way junction and tool to fit the ends on.
Big thanks going out again to Tim at JTInnovations for sending me one of his 4 bar map sensors.
[IMG]
 [/IMG]
[IMG]
 [/IMG]
[IMG]
 [/IMG]
[IMG]
 [/IMG]
[IMG]
 [/IMG]
[IMG]
 [/IMG]
[IMG]
 [/IMG]
[IMG]
 [/IMG]
[IMG]
 [/IMG]
[IMG]
 [/IMG]
[IMG]
 [/IMG]
[IMG]
 [/IMG]
[IMG]
 [/IMG]
#1200
Thread Starter
Scooby Regular
iTrader: (52)
Joined: Jun 2010
Posts: 11,769
Likes: 1
From: C+K MOTORS
Started to route the battery live cable down from the boot to the fuse box area where I have mounted the 2 way junction,also piggy backed the washer pump wires with it.
Due to me having a complete engine loom done by Tim I no longer needed the harness coming out of the N/S A-post which worked great as I removed the harness from it's grommet and reused it for the battery/washer pump wiring.
I also removed the heater box along with aircon matrix for better access in that area when Tim comes plus I pulled the other engine bay loom back through the bulkhead and back in the passenger footwell area.
I will now leave that for Tim to work his magic,he is going to use mil tek couplers and run a complete new loom for the engine which will also include the starter motor magnet wire and wiper motor/low brake fluid level wires which aren't ecu related but are in that loom.
This does mean a little bit more work in the engine bay with regards to filling over the hole now left by the loom that I pulled back through today but well worth it for the end result!!
I also had a trial fit of the wing to check clearance and all is well.
[IMG] [/IMG]
[IMG]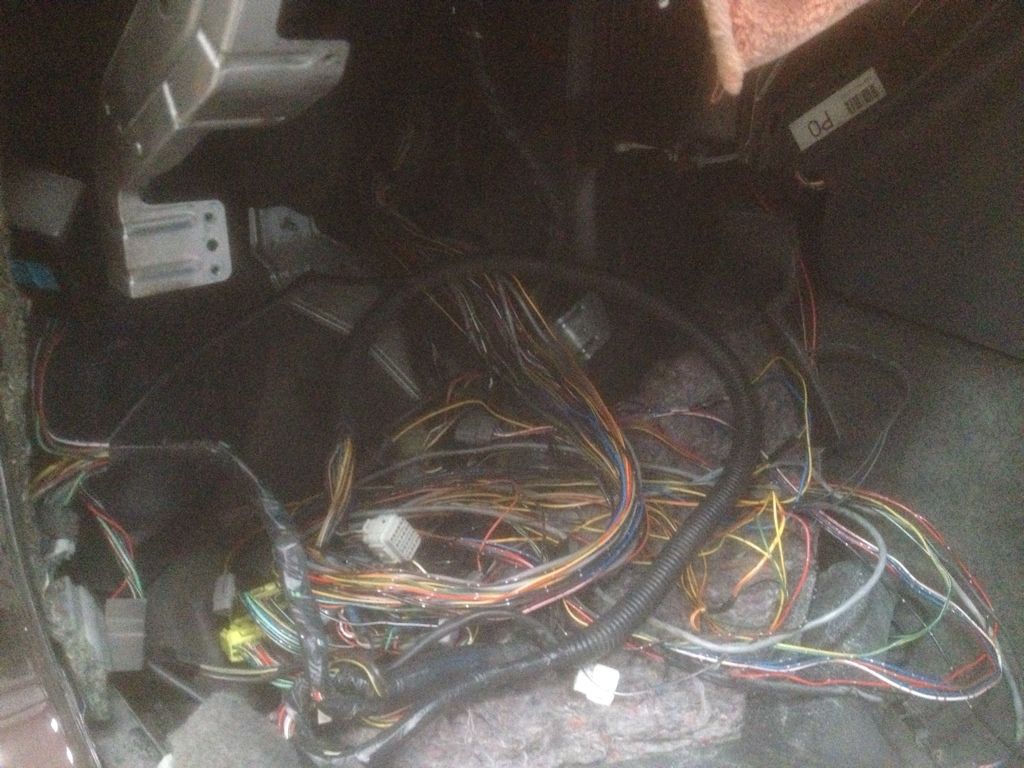 [/IMG]
[IMG]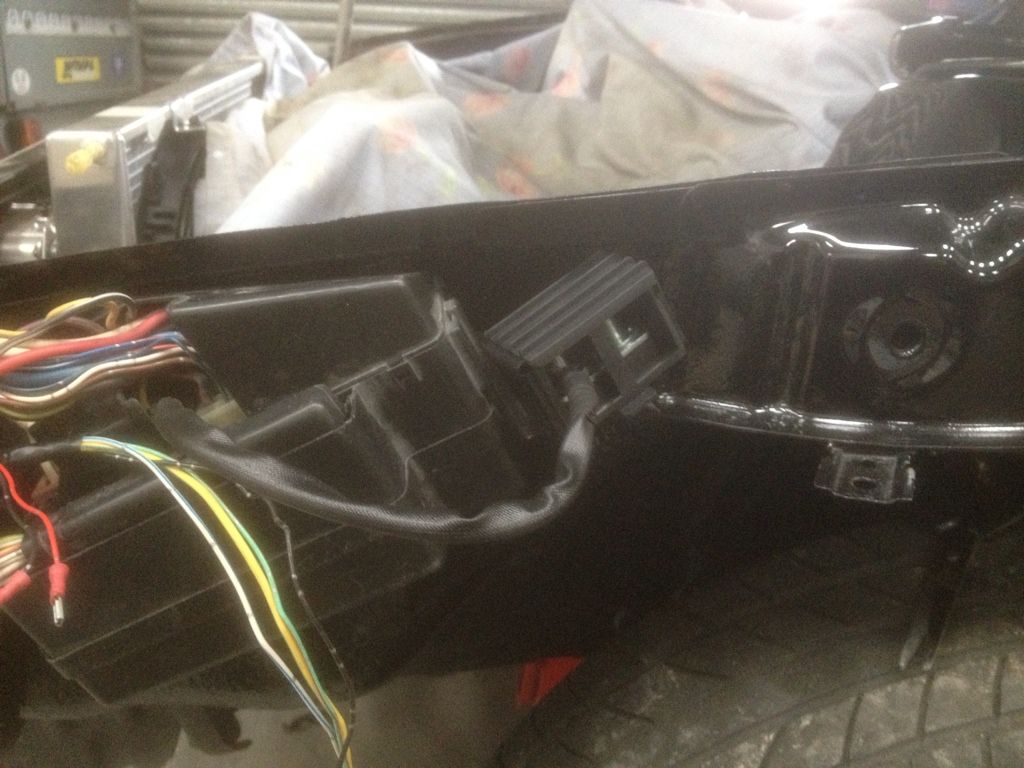 [/IMG]
[IMG]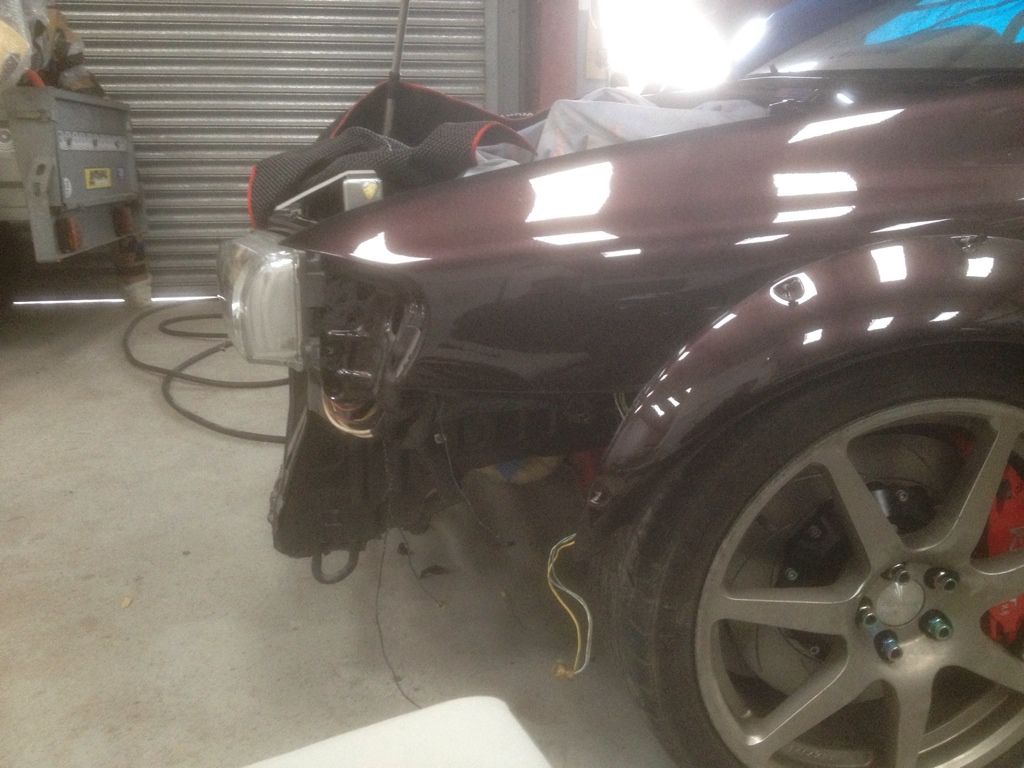 [/IMG]
[IMG] [/IMG]
[IMG] [/IMG]
[IMG] [/IMG]
[IMG]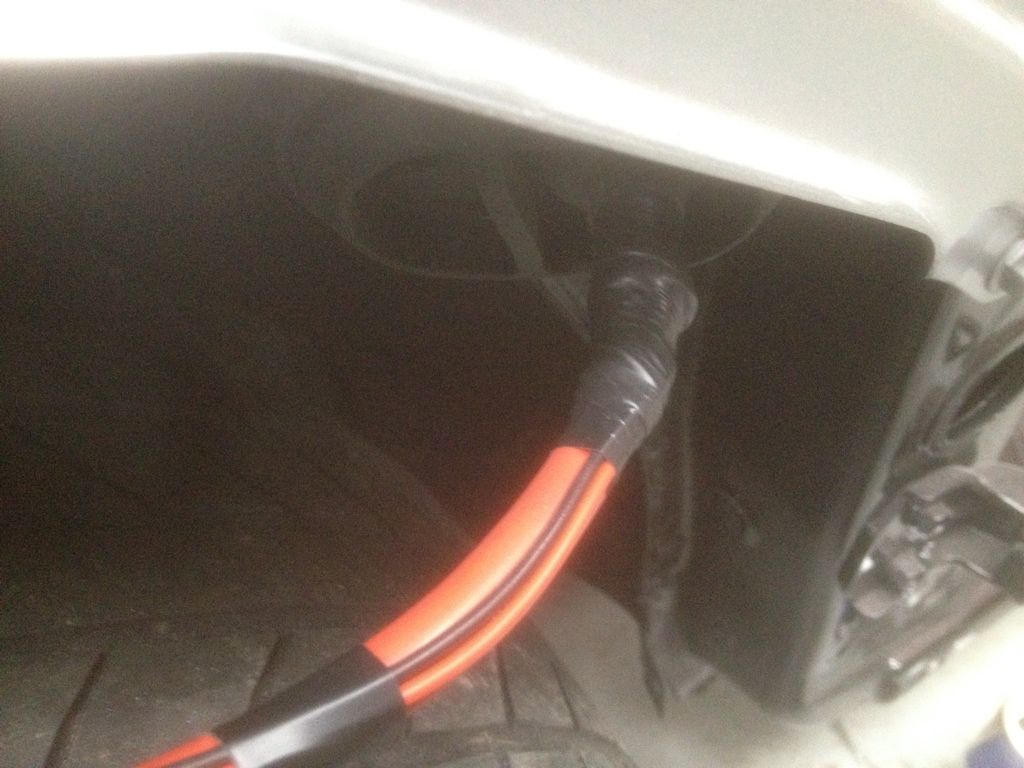 [/IMG]
[IMG] [/IMG]
[IMG] [/IMG]
[IMG] [/IMG]
[IMG]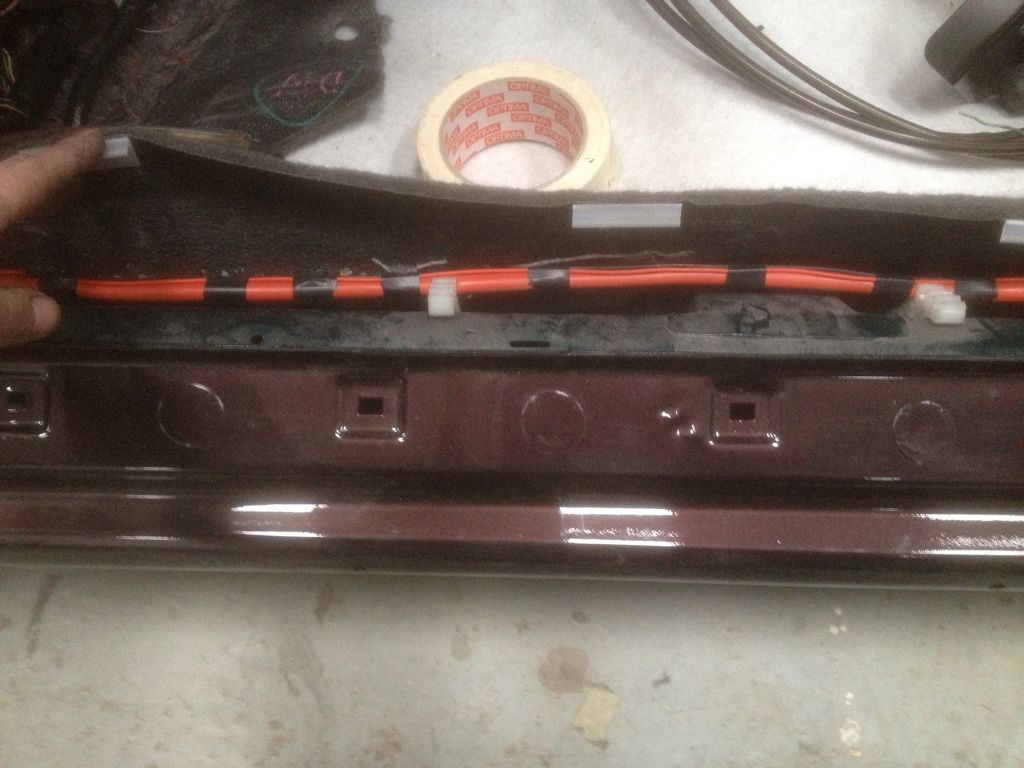 [/IMG]
[IMG]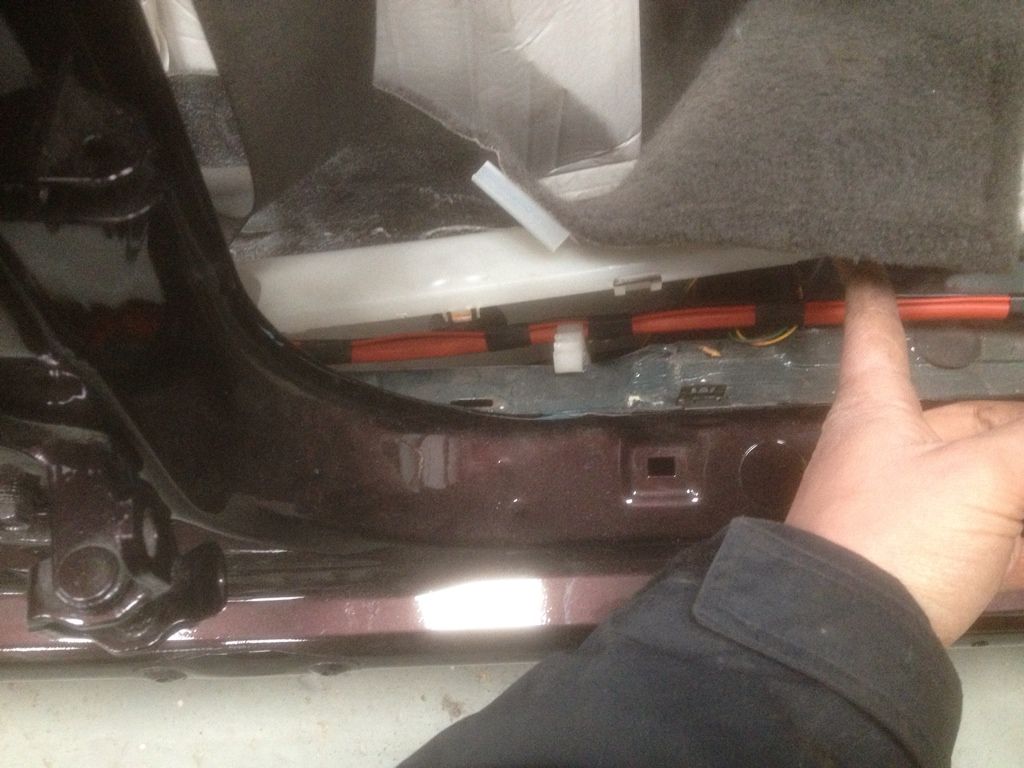 [/IMG]
[IMG] [/IMG]
[IMG] [/IMG]
Due to me having a complete engine loom done by Tim I no longer needed the harness coming out of the N/S A-post which worked great as I removed the harness from it's grommet and reused it for the battery/washer pump wiring.
I also removed the heater box along with aircon matrix for better access in that area when Tim comes plus I pulled the other engine bay loom back through the bulkhead and back in the passenger footwell area.
I will now leave that for Tim to work his magic,he is going to use mil tek couplers and run a complete new loom for the engine which will also include the starter motor magnet wire and wiper motor/low brake fluid level wires which aren't ecu related but are in that loom.
This does mean a little bit more work in the engine bay with regards to filling over the hole now left by the loom that I pulled back through today but well worth it for the end result!!
I also had a trial fit of the wing to check clearance and all is well.
[IMG]
 [/IMG]
 [IMG]
 [/IMG]
[IMG]
 [/IMG]
[IMG]
 [/IMG]
[IMG]
 [/IMG]
[IMG]
 [/IMG]
[IMG]
 [/IMG]
[IMG]
 [/IMG]
[IMG]
 [/IMG]
[IMG]
 [/IMG]
[IMG]
 [/IMG]
[IMG]
 [/IMG]
[IMG]
 [/IMG]
[IMG]
 [/IMG]
[IMG]
 [/IMG]


 [/IMG]