
Spec C It's Staying
 27 February 2013, 10:07 PM
#391
Scooby Regular
Thread Starter
iTrader: (100)
Join Date: Oct 2008
Location: Planet Earth
Posts: 13,684
Likes: 0
Received 0 Likes
on
0 Posts
Forgot to say there McGard are on eBay for �105 inc delivery, but I'm waiting for a price from Keith Price who I'm hoping will beat that price. 

 27 February 2013, 10:33 PM
#393
Scooby Regular
Thread Starter
iTrader: (100)
Join Date: Oct 2008
Location: Planet Earth
Posts: 13,684
Likes: 0
Received 0 Likes
on
0 Posts
That's the STi version but try the link below
http://www.ebay.co.uk/itm/McGard-Ins...item20cde082f1
That's only a set of 16 but contact them to see if they'll supply you with an extra four to make the set of 20, plus to confirm the fitment which I believe is correct.
http://www.ebay.co.uk/itm/McGard-Ins...item20cde082f1
That's only a set of 16 but contact them to see if they'll supply you with an extra four to make the set of 20, plus to confirm the fitment which I believe is correct.
 28 February 2013, 10:17 PM
#396
Scooby Regular
Thread Starter
iTrader: (100)
Join Date: Oct 2008
Location: Planet Earth
Posts: 13,684
Likes: 0
Received 0 Likes
on
0 Posts
Dave, have a look at the link below they won't be cheap with import duty and shipping but these should fit the bill.
URL: http://pages.ebay.com/motors/link/?n...d=120825411049
URL: http://pages.ebay.com/motors/link/?n...d=120825411049
01 March 2013, 11:41 AM
#398
Scooby Regular
Thread Starter
iTrader: (100)
Join Date: Oct 2008
Location: Planet Earth
Posts: 13,684
Likes: 0
Received 0 Likes
on
0 Posts
I think though it will be a full road tyre that will be used, I've always liked the Falken FK452's and will be trying the newer FK453's next I believe.
01 March 2013, 08:39 PM
#399
Scooby Regular
Thread Starter
iTrader: (100)
Join Date: Oct 2008
Location: Planet Earth
Posts: 13,684
Likes: 0
Received 0 Likes
on
0 Posts
Big thanks to Simon for putting me onto a set of McGard STi wheel nuts which he saw for a sale, needless to say I bought them at a bargain price. 

 01 March 2013, 11:59 PM
#402
Scooby Regular
Thread Starter
iTrader: (100)
Join Date: Oct 2008
Location: Planet Earth
Posts: 13,684
Likes: 0
Received 0 Likes
on
0 Posts
Might be. 
No problem Simon, mission accomplished well part one of it anyway. 
Pity they're not 18'' tyres as I'll be after a set in the not too distant future, but they are a really good tyre and and shouldn't hang around for too long.
Pity they're not 18'' tyres as I'll be after a set in the not too distant future, but they are a really good tyre and and shouldn't hang around for too long.


 02 March 2013, 12:39 PM
#406
Scooby Regular

Join Date: Sep 2012
Location: God's Country
Posts: 124
Likes: 0
Received 0 Likes
on
0 Posts
I'm looking at running a 225 for a bit more width.
 02 March 2013, 10:10 PM
#410
So it was crunch time today and I spent the entire day on Ty's car.
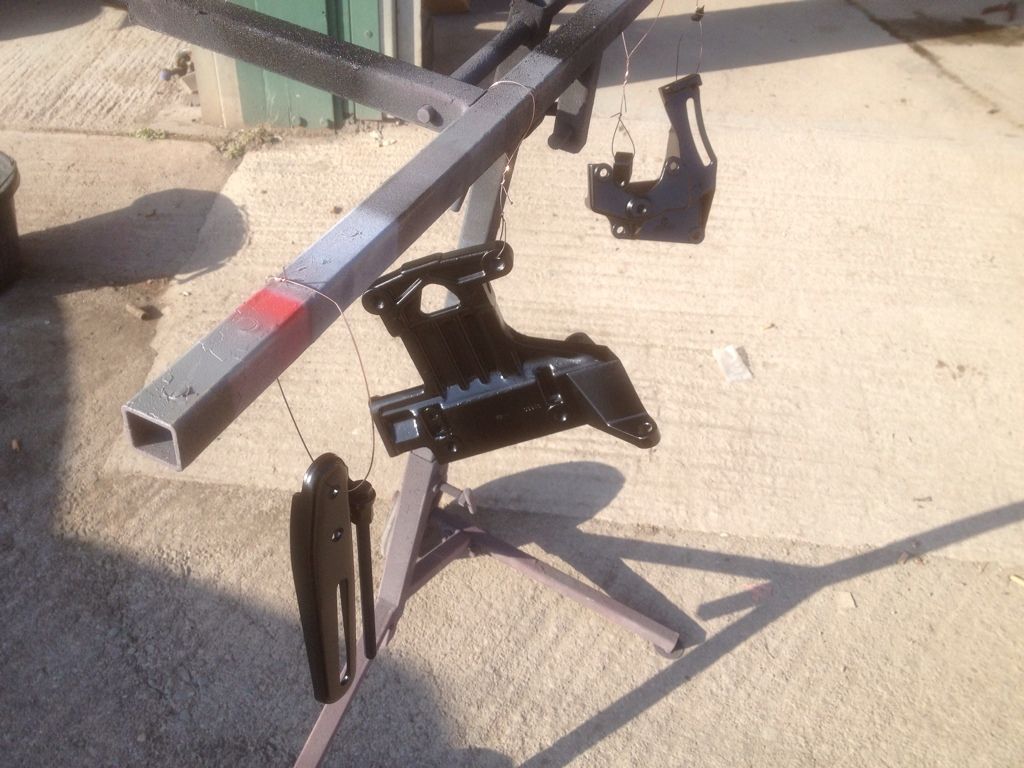
First off I got the Alternator/aircon/PAS brackets plus aircon tensioning bracket prep'd for paint followed by a coat of etch/primer/black paint to make them look top notch again being in a poor state.
Next job on the list was to cut a bigger opening in the inner wing,this is needed because with Ty now wanting to run a HUGE KN filter on the end of his CAIK,more room is required to allow it to fit in the area which means moving the pipes over and down that run through the inner wing,bit annoyed as I still need a little more clearance but another cut with the air cutter will see that right lol.
Once the butchering was done I got the PAS pump and alternator/aircon pump cleaned up,coupled with the fresh painted brackets they look good once more.
Then it was time to start bolting things back into place,first was getting the SC50 billet bolted down,all pretty straight forward after cleaning up the mating surface.
Then the inlet manifold was next again after cleaning up the head mating surface,2 sets of gaskets required here as Ty runs a 10mm spacer.
Once I had that bolted down in place and all wires connected up I then put the alternator,aircon pump and PAS pump onto there brackets I had already installed.
Next on was the IC pipes followed by putting the battery in place and to finish I installed the header tank as well.
[IMG]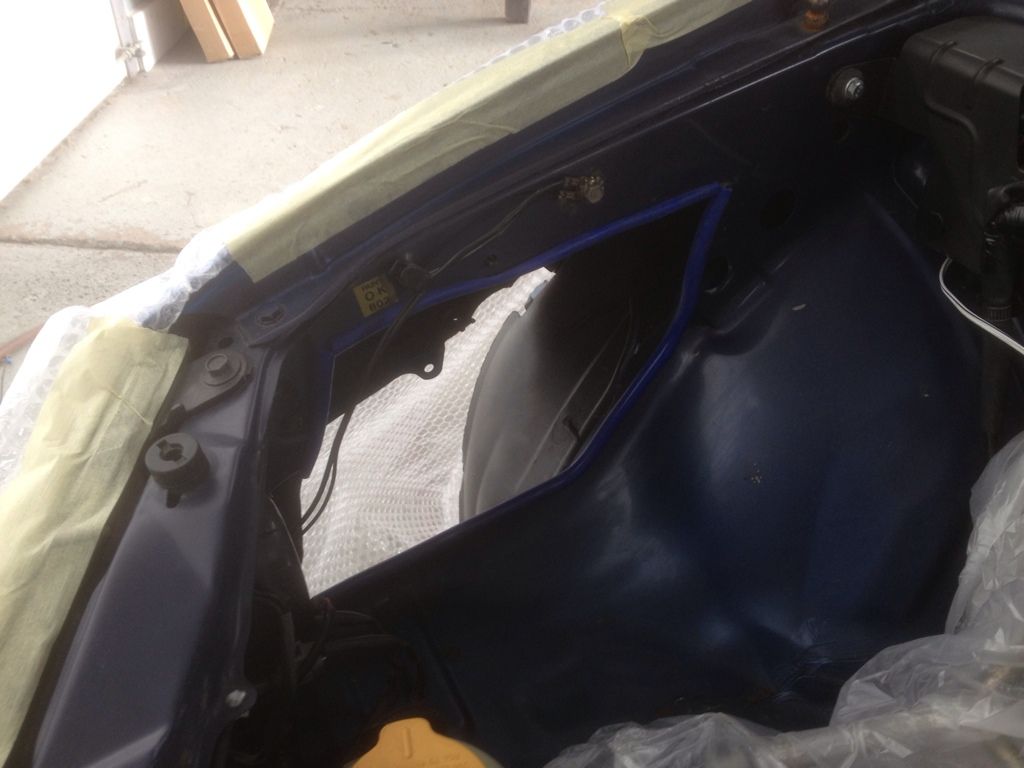 [/IMG]
[IMG]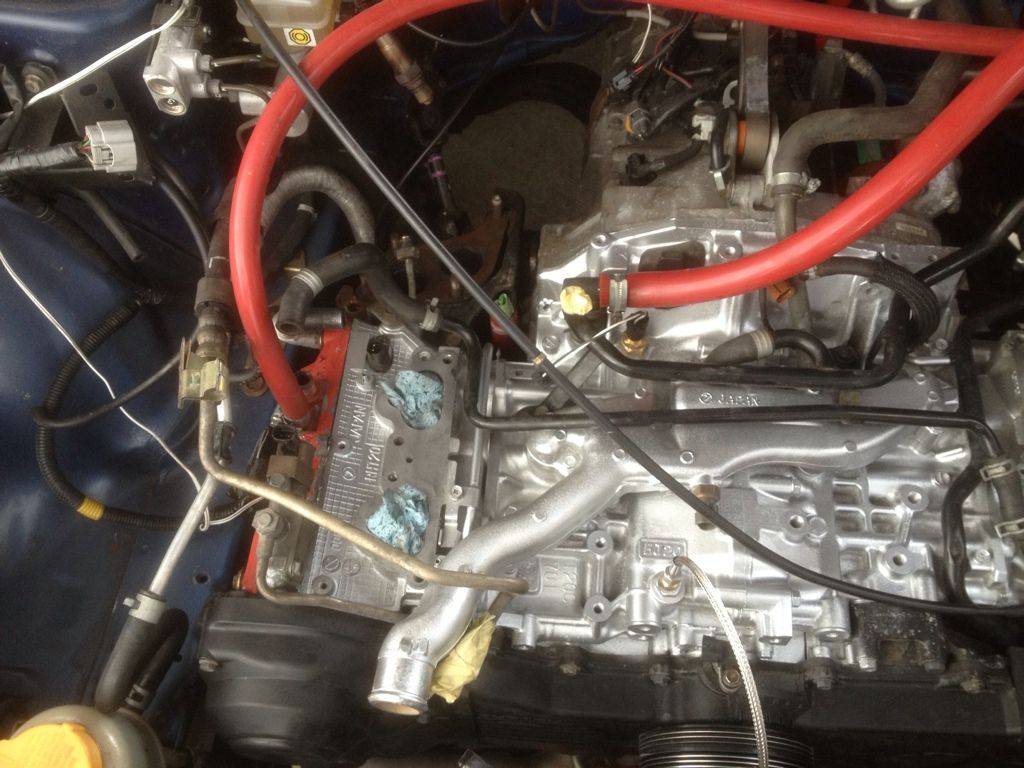 [/IMG]
[IMG]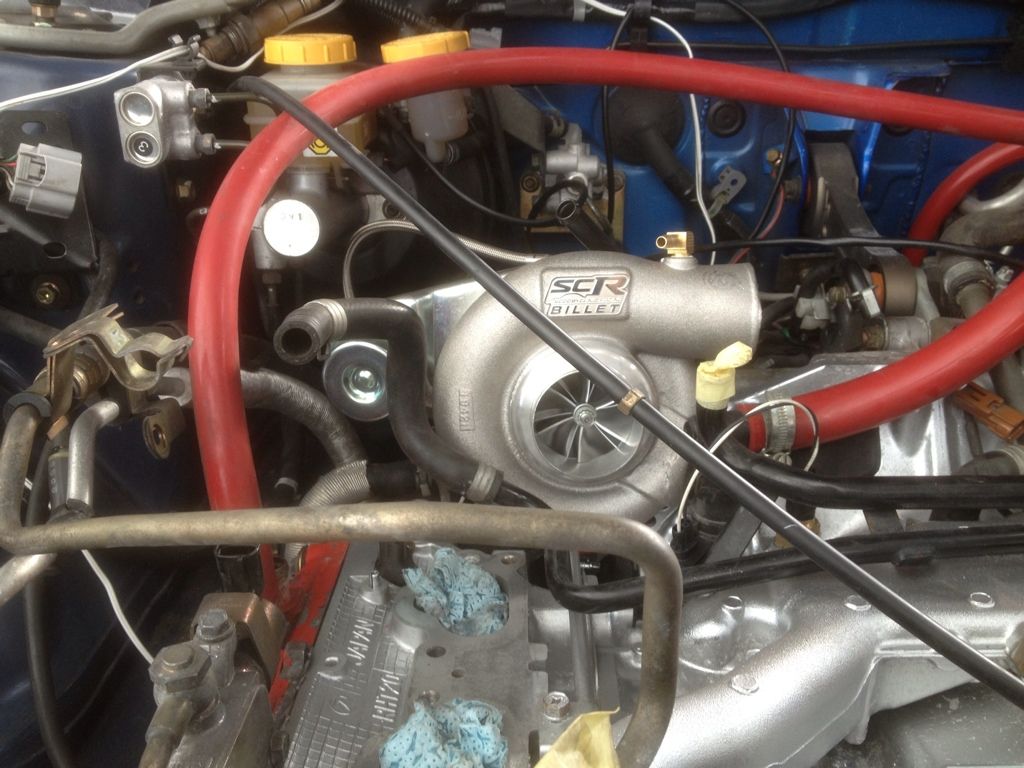 [/IMG]
[IMG]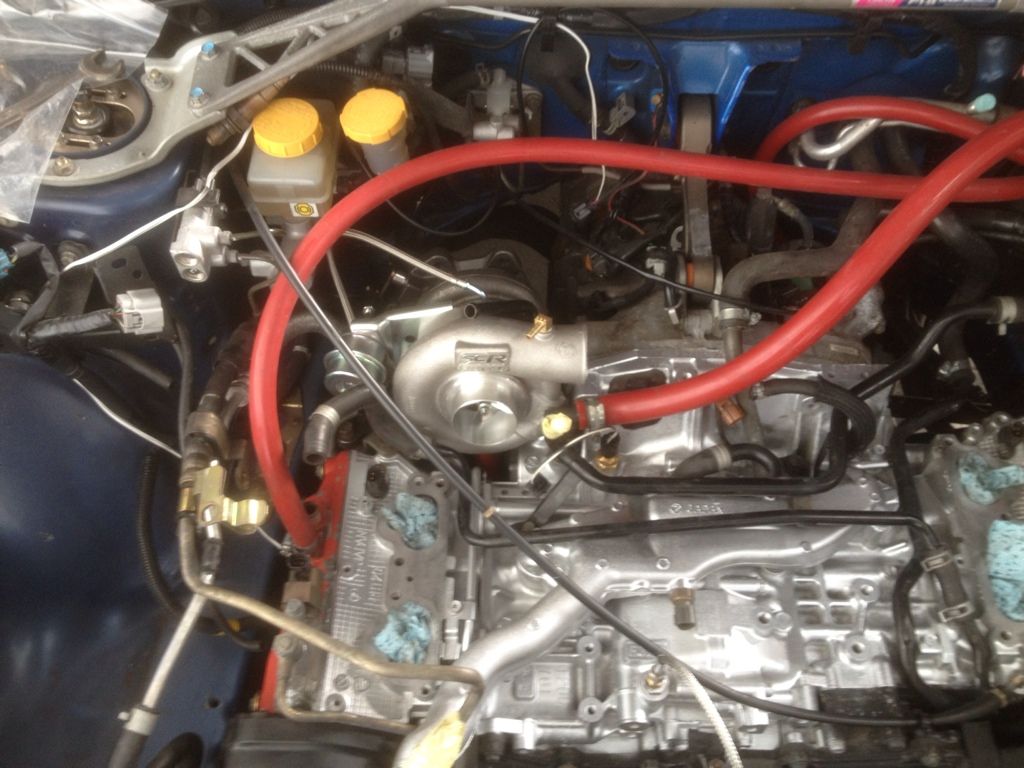 [/IMG]
[IMG]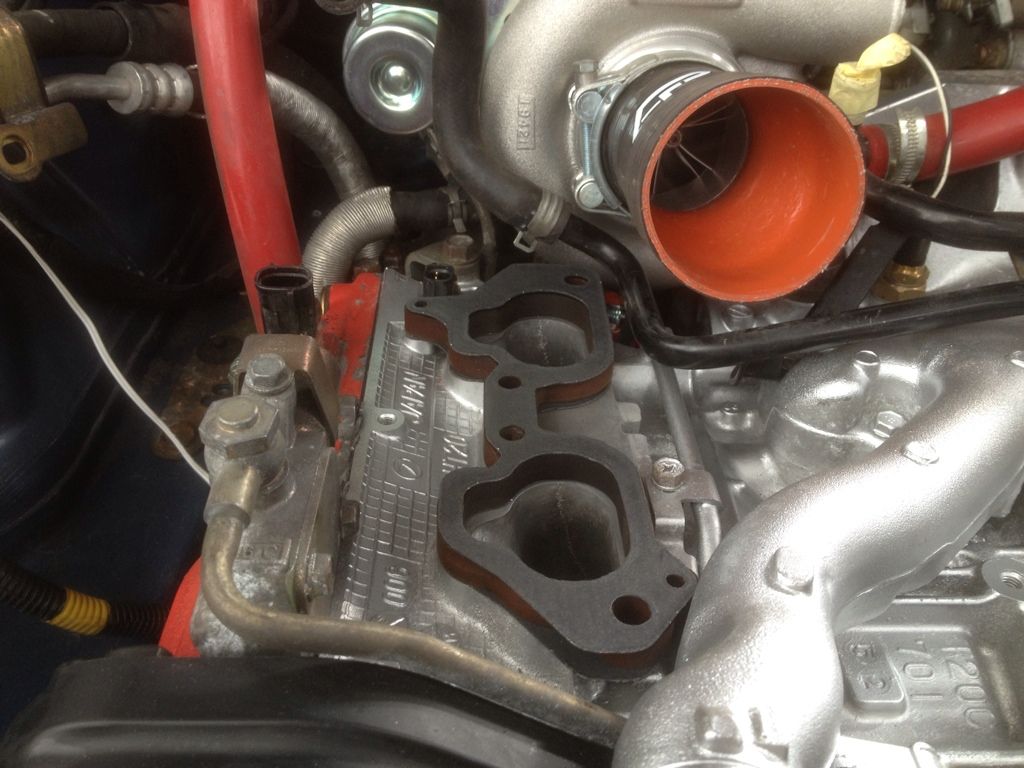 [/IMG]
[IMG]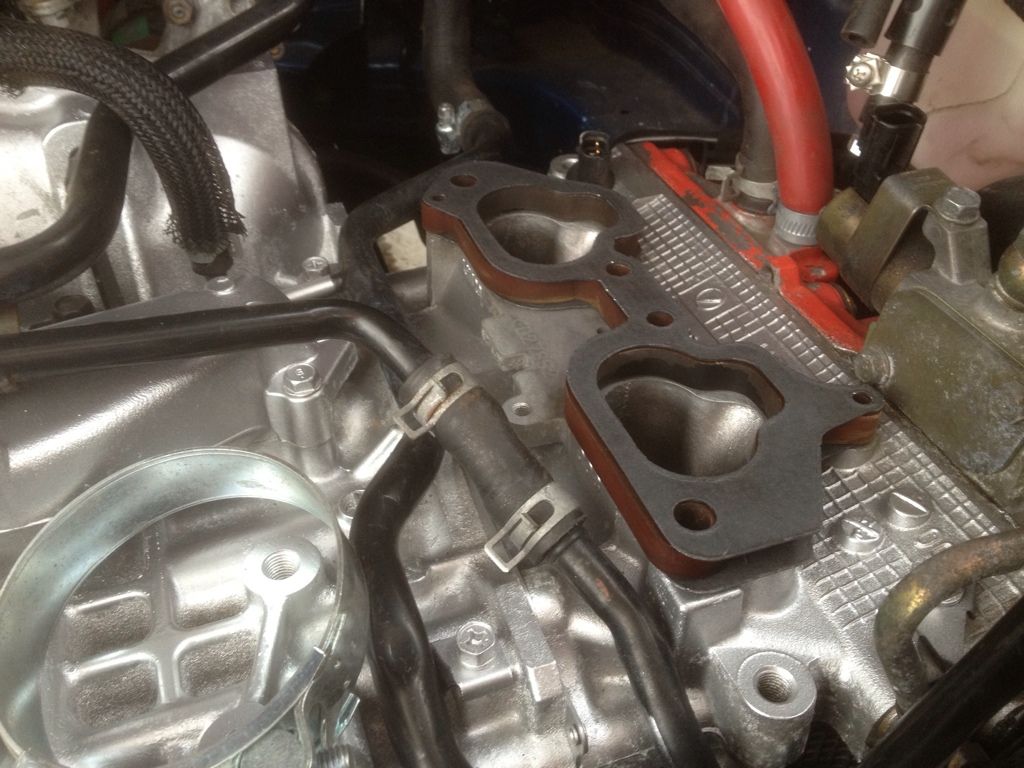 [/IMG]
[IMG]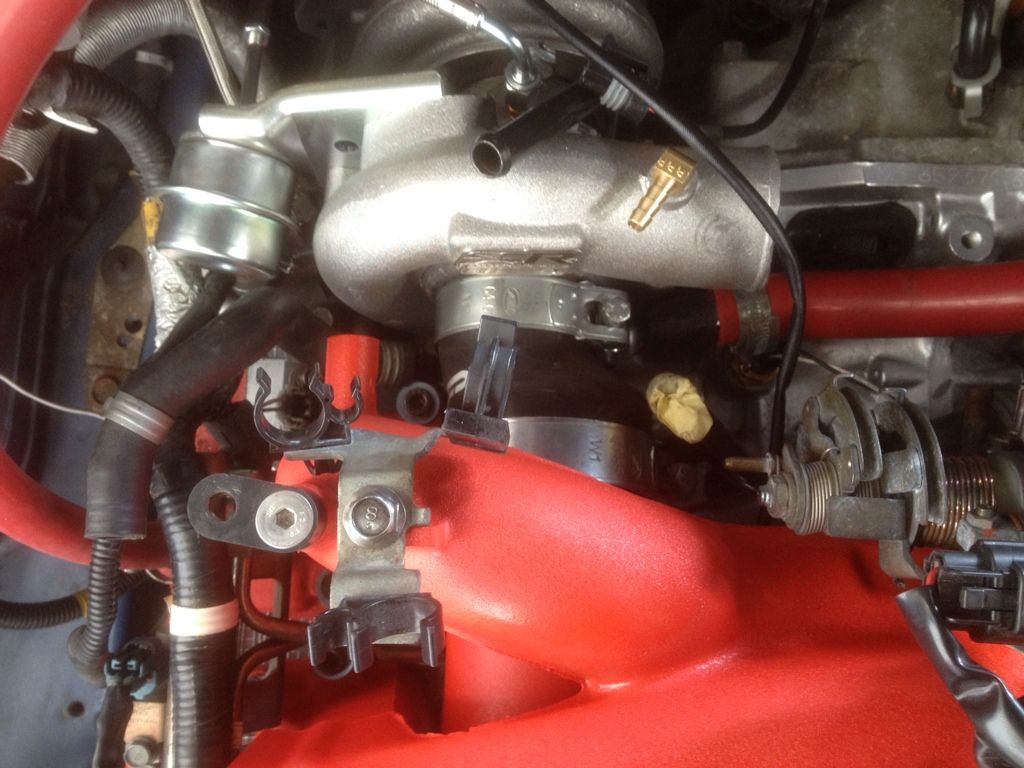 [/IMG]
[IMG]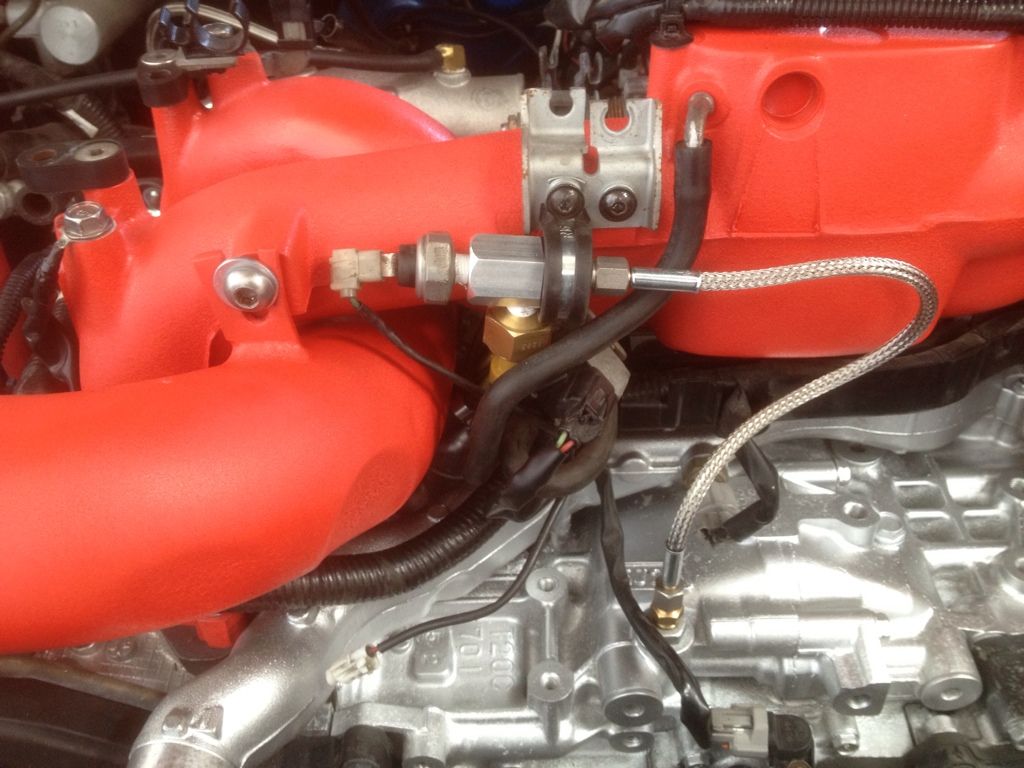 [/IMG]
[IMG]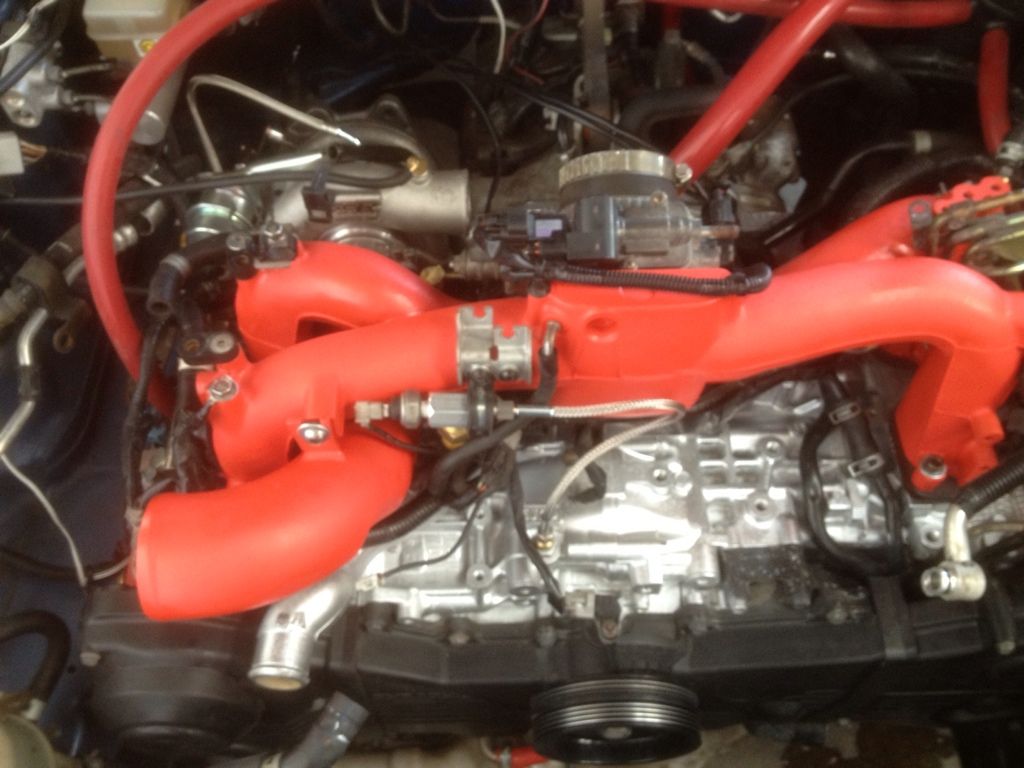 [/IMG]
[IMG]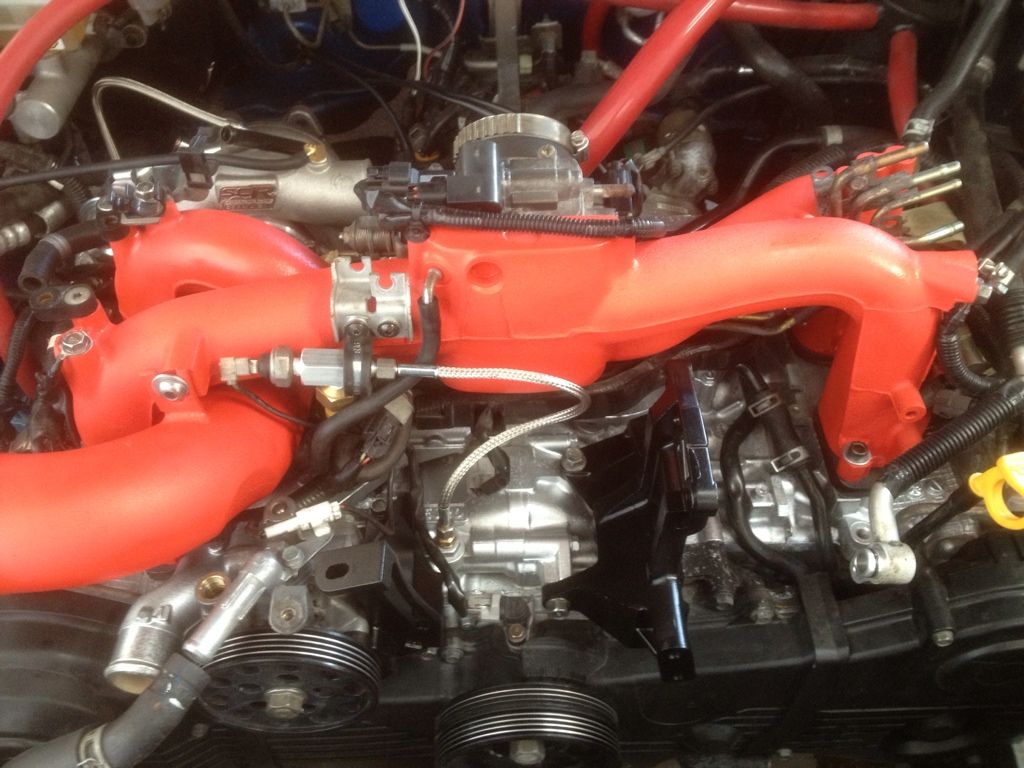 [/IMG]
[IMG]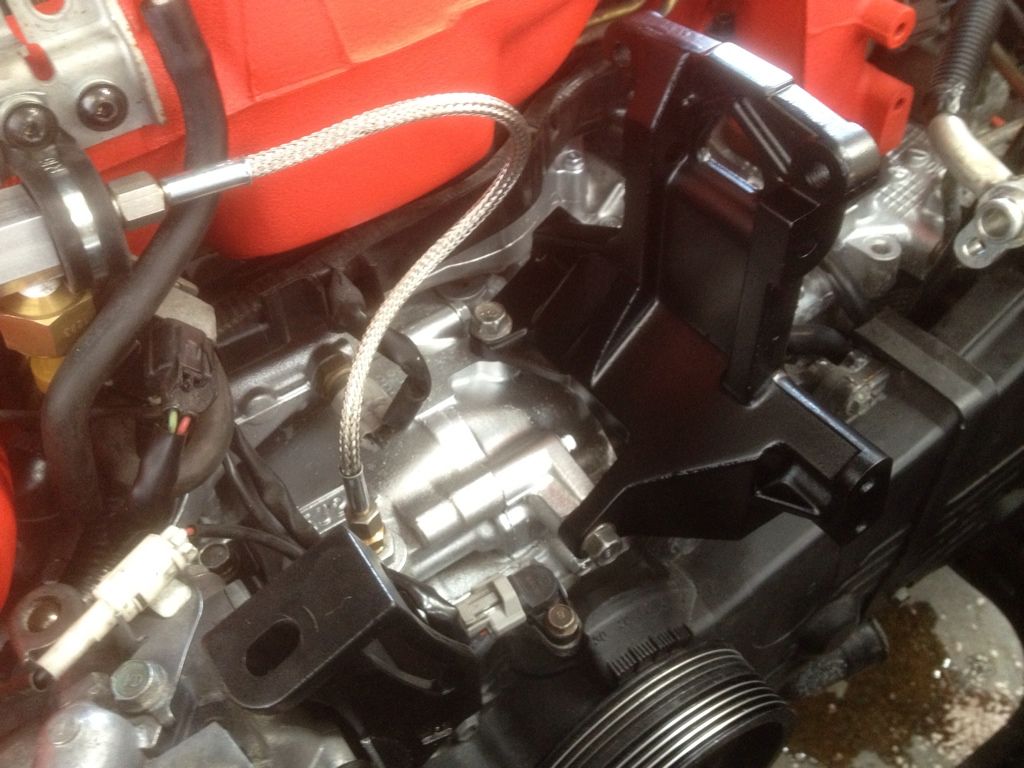 [/IMG]
[IMG]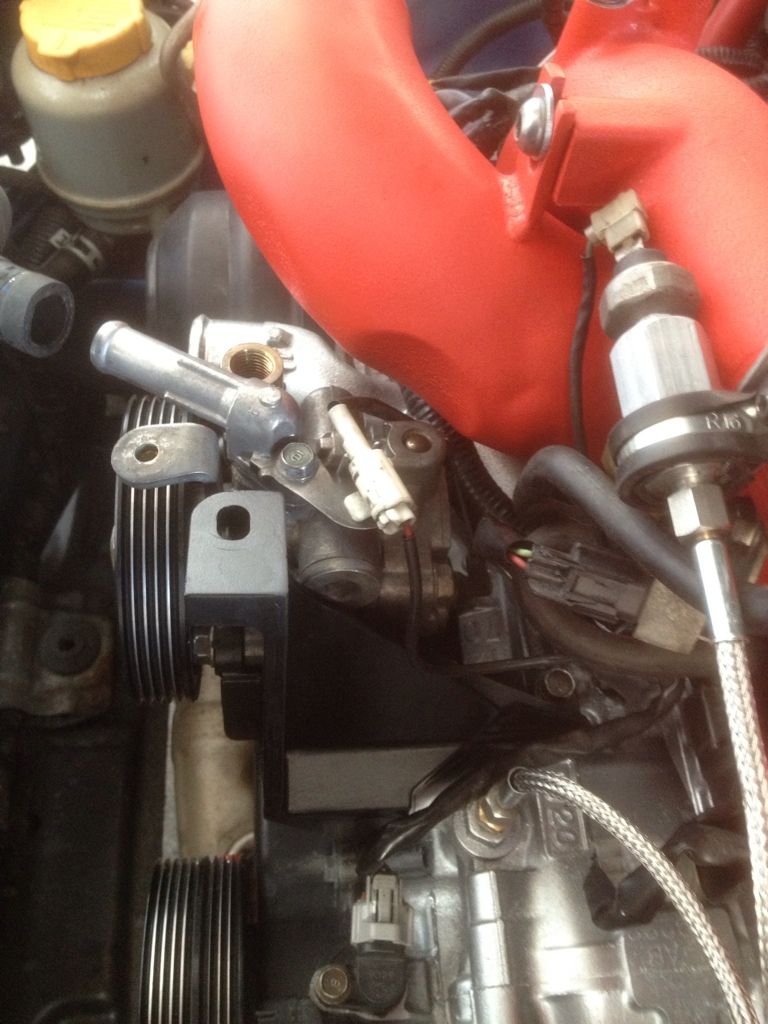 [/IMG]
[IMG]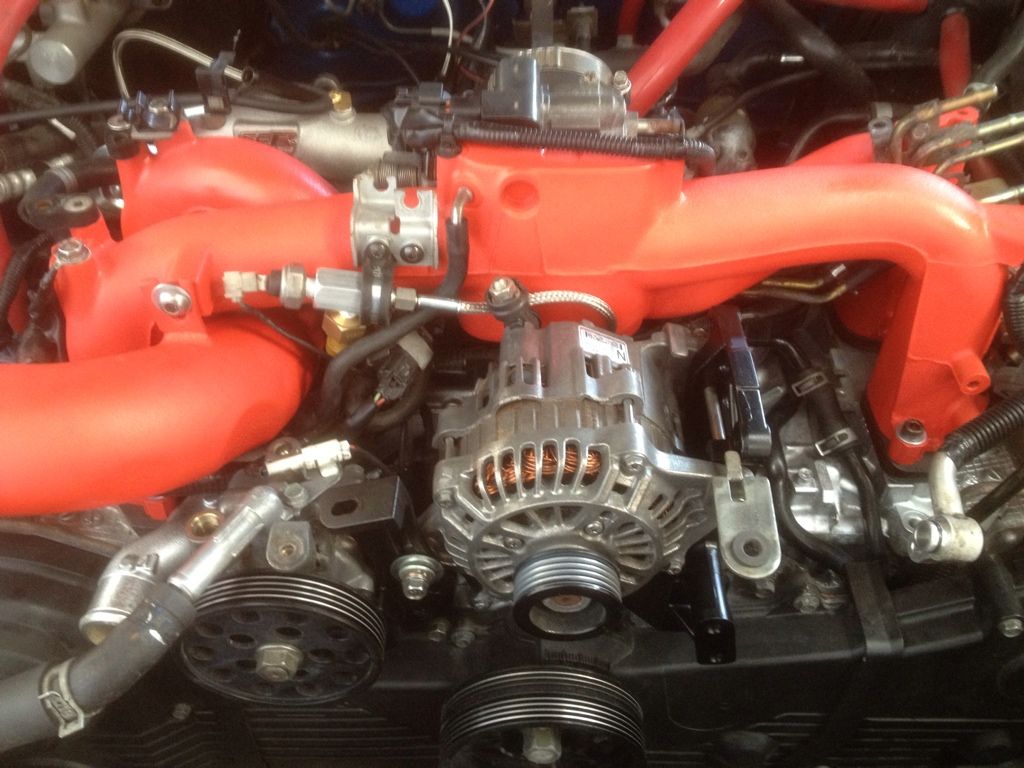 [/IMG]
[IMG]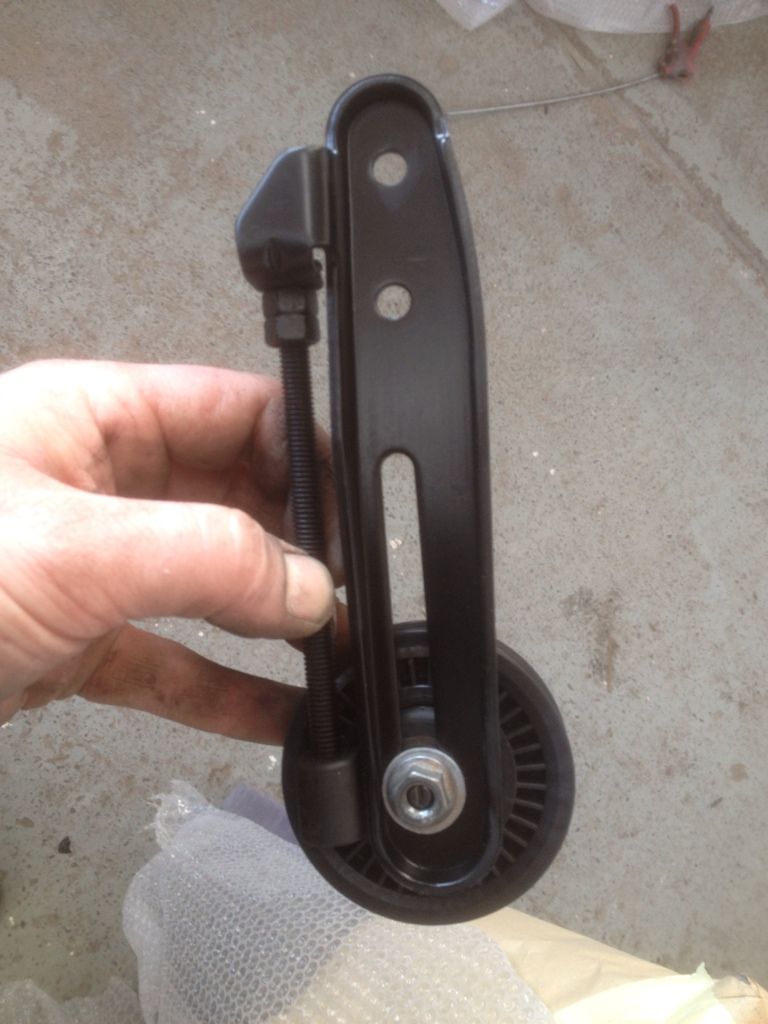 [/IMG]
[IMG]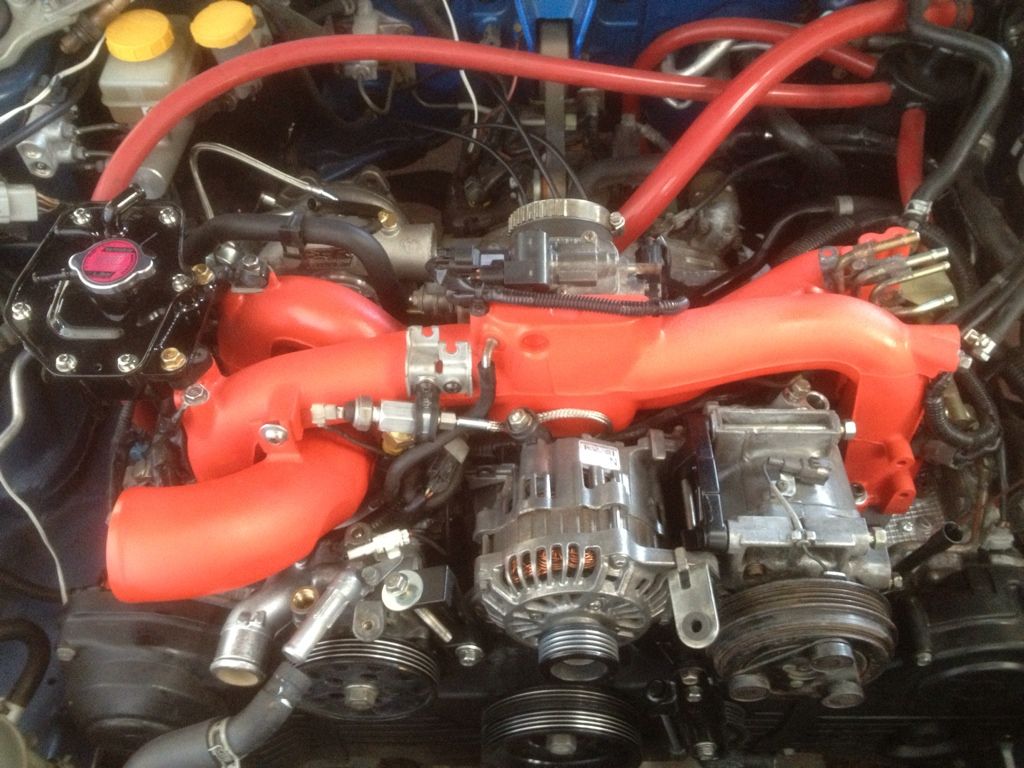 [/IMG]
[IMG]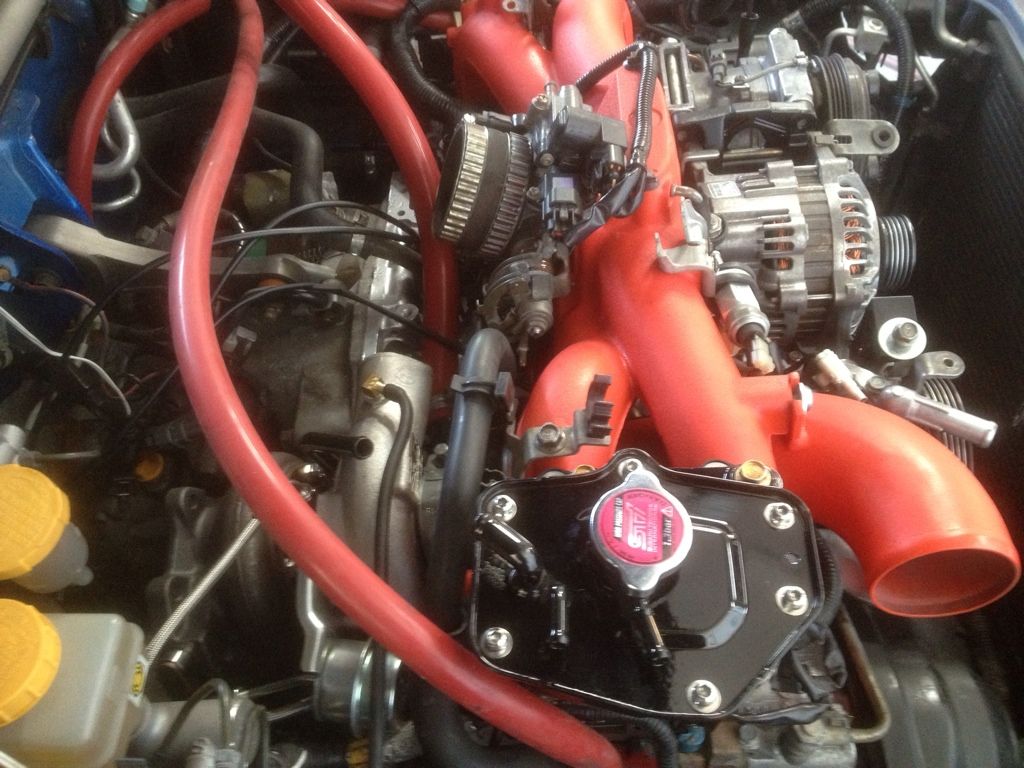 [/IMG]
[IMG]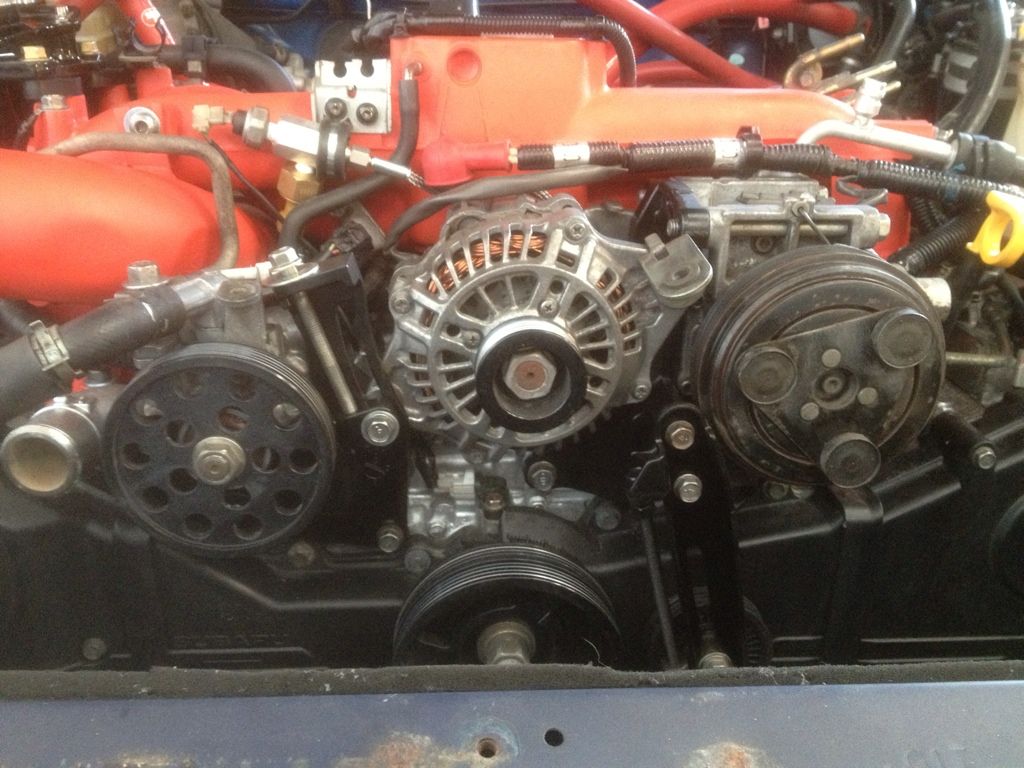 [/IMG]
[IMG]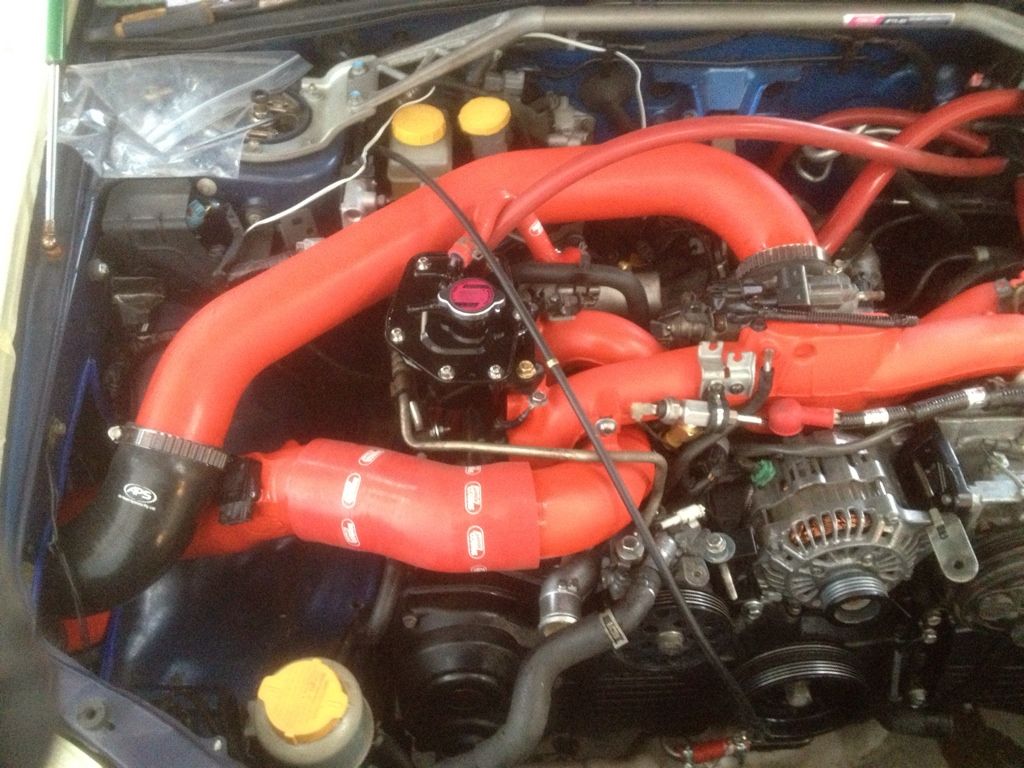 [/IMG]
[IMG]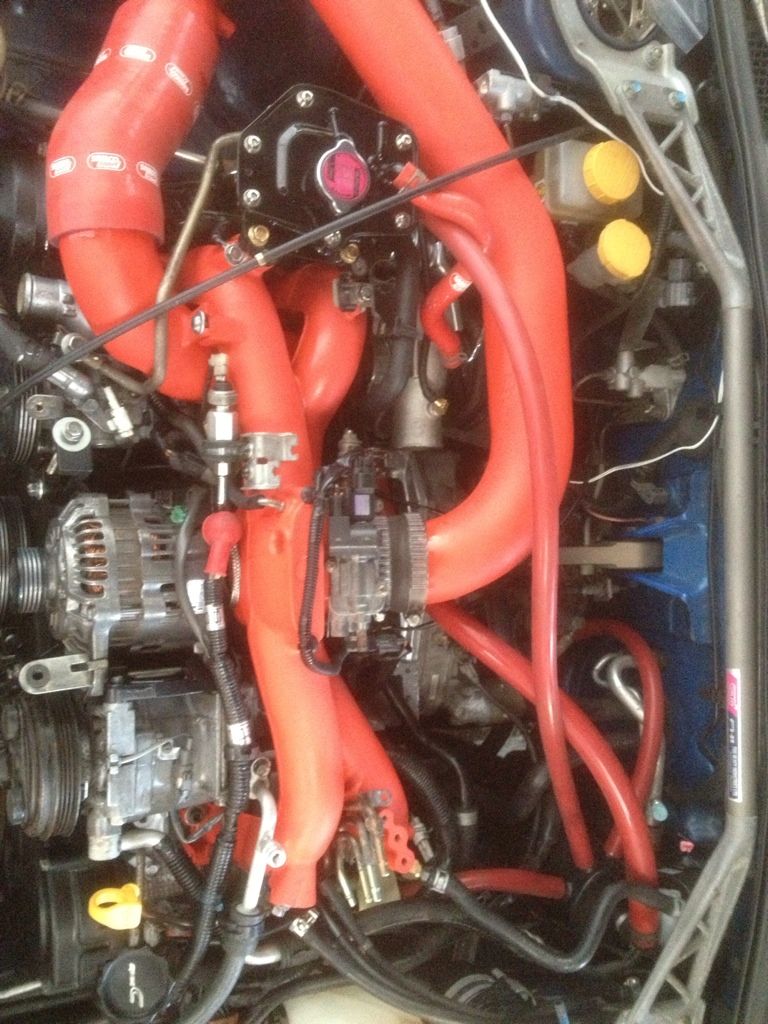 [/IMG]
[IMG]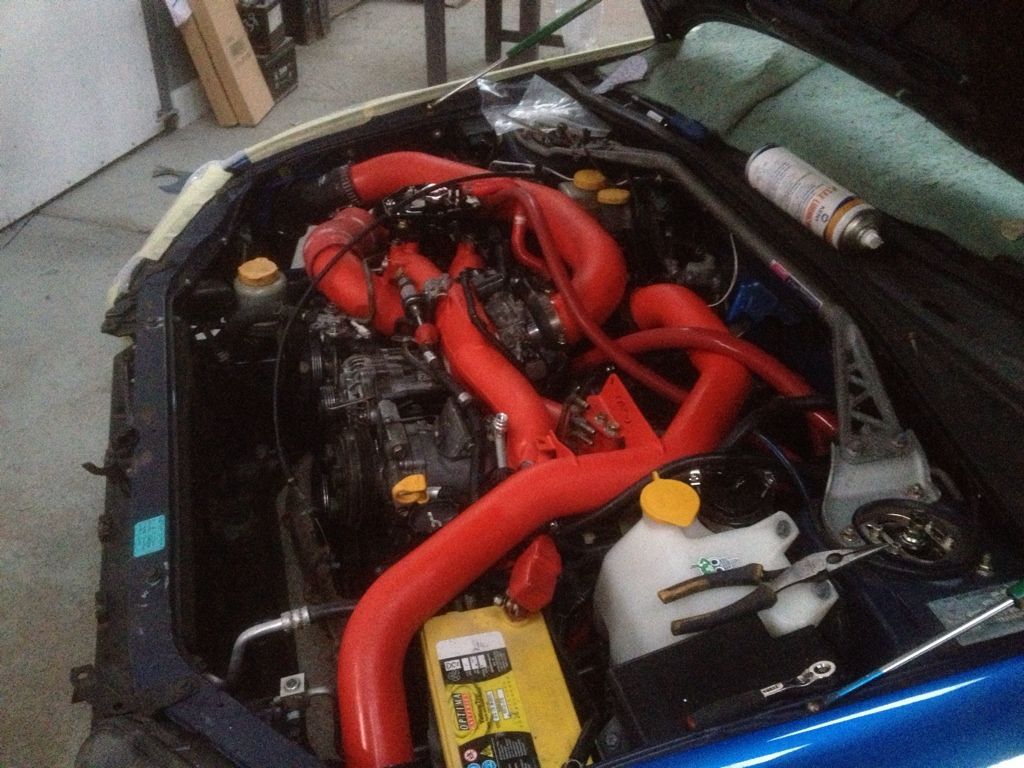 [/IMG]
[IMG]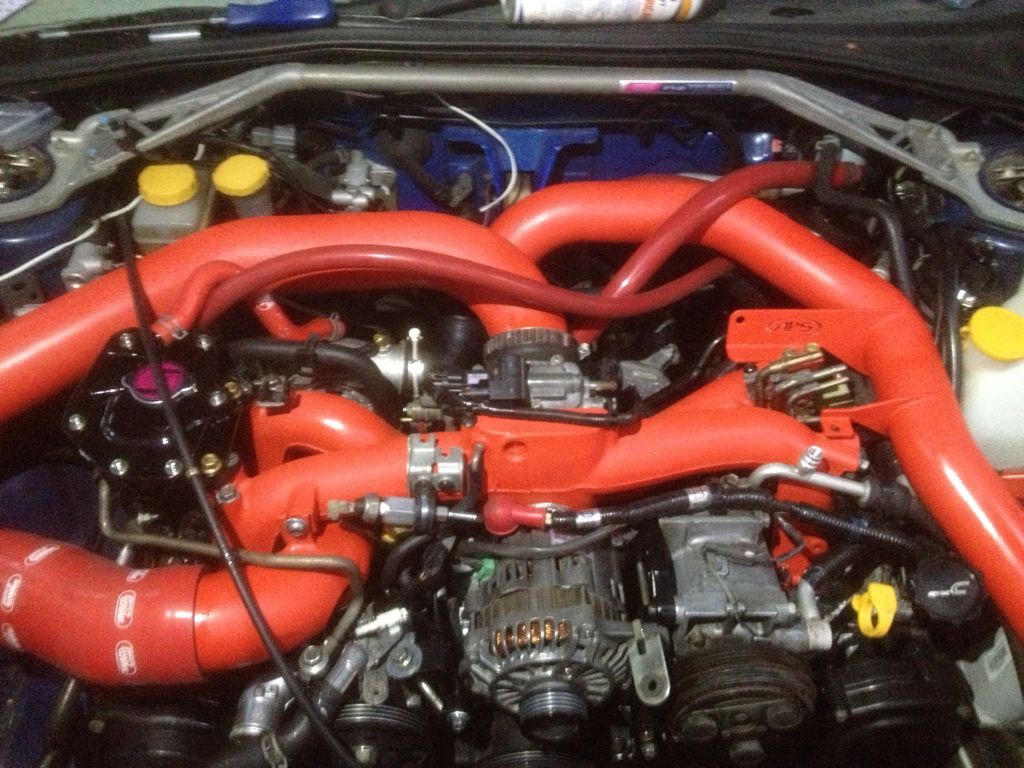 [/IMG]
[IMG]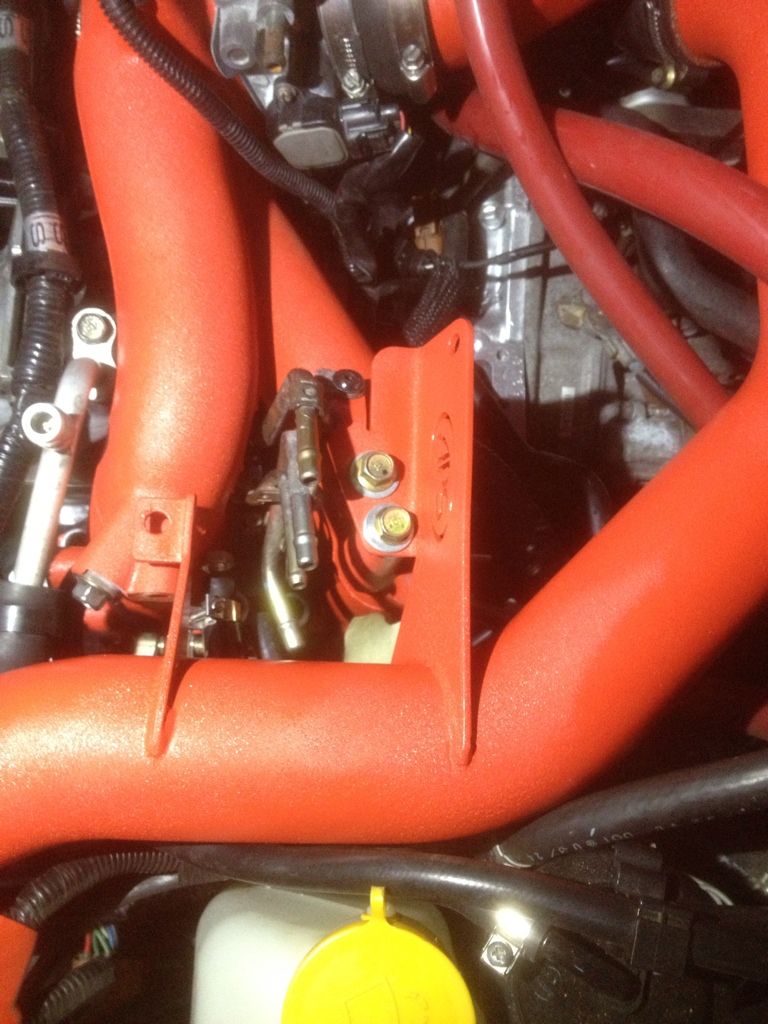 [/IMG]
[IMG] [/IMG]
[IMG]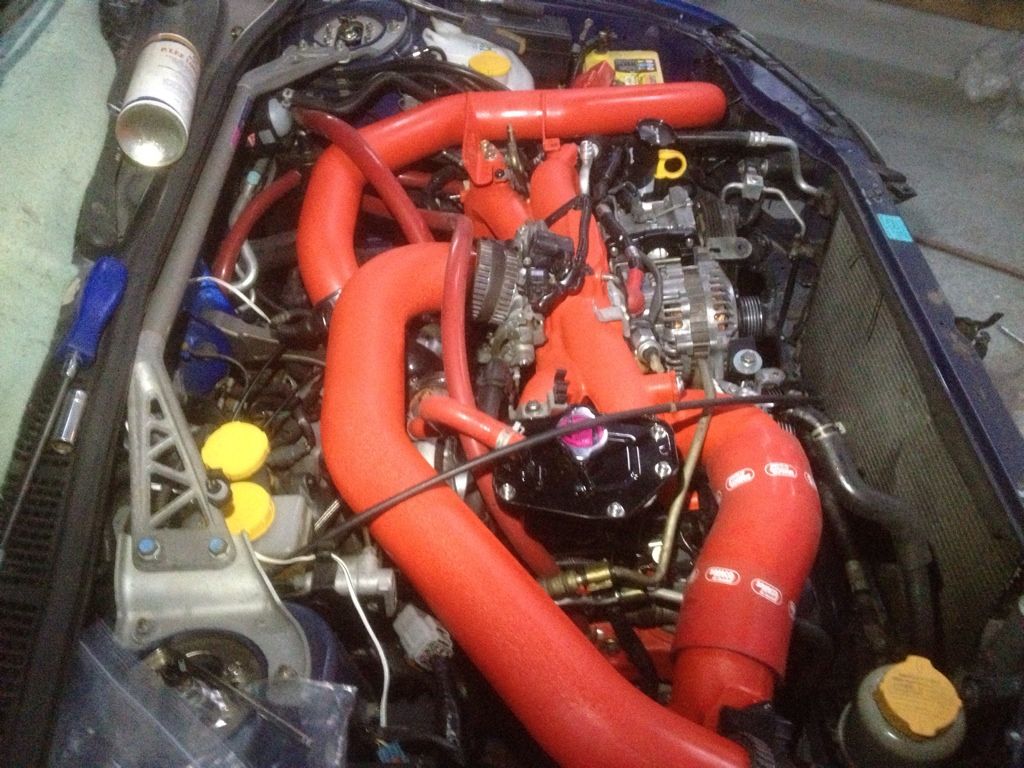 [/IMG]
First off I got the Alternator/aircon/PAS brackets plus aircon tensioning bracket prep'd for paint followed by a coat of etch/primer/black paint to make them look top notch again being in a poor state.
Next job on the list was to cut a bigger opening in the inner wing,this is needed because with Ty now wanting to run a HUGE KN filter on the end of his CAIK,more room is required to allow it to fit in the area which means moving the pipes over and down that run through the inner wing,bit annoyed as I still need a little more clearance but another cut with the air cutter will see that right lol.
Once the butchering was done I got the PAS pump and alternator/aircon pump cleaned up,coupled with the fresh painted brackets they look good once more.
Then it was time to start bolting things back into place,first was getting the SC50 billet bolted down,all pretty straight forward after cleaning up the mating surface.
Then the inlet manifold was next again after cleaning up the head mating surface,2 sets of gaskets required here as Ty runs a 10mm spacer.
Once I had that bolted down in place and all wires connected up I then put the alternator,aircon pump and PAS pump onto there brackets I had already installed.
Next on was the IC pipes followed by putting the battery in place and to finish I installed the header tank as well.
[IMG]
[/IMG][IMG]
[/IMG][IMG]
[/IMG][IMG]
[/IMG][IMG]
[/IMG][IMG]
[/IMG][IMG]
[/IMG][IMG]
[/IMG][IMG]
[/IMG][IMG]
[/IMG][IMG]
[/IMG][IMG]
[/IMG][IMG]
[/IMG][IMG]
[/IMG][IMG]
[/IMG][IMG]
[/IMG][IMG]
[/IMG][IMG]
[/IMG][IMG]
[/IMG][IMG]
[/IMG][IMG]
[/IMG][IMG]
[/IMG][IMG]
[/IMG][IMG]
[/IMG]
03 March 2013, 05:14 AM
#413
Scooby Regular
Thread Starter
iTrader: (100)
Join Date: Oct 2008
Location: Planet Earth
Posts: 13,684
Likes: 0
Received 0 Likes
on
0 Posts
I'm genuinely very happy with the car and what Ryan has done, I didn't realise that Ryan was going to go down to the level of detail that he has in terms of even freshening up the AC and alternator brackets and adjusters.
Ryan really did go at it today and have worked like a trojan to get it to the stage it's at, I really can't thank him enough.
It's nice to see the SC50 in it's rightful position as well Ryan.
Ryan really did go at it today and have worked like a trojan to get it to the stage it's at, I really can't thank him enough.
It's nice to see the SC50 in it's rightful position as well Ryan.
Last edited by Cannon Fodder; 03 March 2013 at 05:25 AM.
03 March 2013, 09:32 AM
#414
Scooby Senior
iTrader: (12)
Join Date: Apr 2006
Location: south wales rhondda
Posts: 4,067
Likes: 0
Received 0 Likes
on
0 Posts
Nice work guys, you will have a real animal when it's finished ty, nice attention to detail and reminds me of when I worked at old school engineering and every little part had to be re freshed or replaced , good work guys and ty any chance you could take me for a spin once done ? As I feel the itch for another scoob but haven't been in one for along time now and foget what they are like, do mis the scooby community
03 March 2013, 10:37 AM
#415
Scooby Regular
iTrader: (7)

Join Date: Oct 2003
Location: Stealth mode on
Posts: 5,277
Likes: 0
Received 0 Likes
on
0 Posts
Looks very nice ty, ryan has done a superb job
But perhaps the water pipes to the expansion vessle can be re-routed as it looks like you have red octopus attacking your engine
But perhaps the water pipes to the expansion vessle can be re-routed as it looks like you have red octopus attacking your engine
03 March 2013, 10:38 AM
#416
Scooby Regular
Thread Starter
iTrader: (100)
Join Date: Oct 2008
Location: Planet Earth
Posts: 13,684
Likes: 0
Received 0 Likes
on
0 Posts
No problem Lee you're more than welcome to have a go in either the passenger or drivers seat when it's completed.
You're 100% correct with the finish level Lee, I'm really impressed with Ryan's attention to detail and finish.
You're 100% correct with the finish level Lee, I'm really impressed with Ryan's attention to detail and finish.
03 March 2013, 11:39 AM
#419
Scooby Regular
iTrader: (6)

Join Date: Aug 2007
Location: Llanelli with a spanner in my hand!
Posts: 2,260
Likes: 0
Received 0 Likes
on
0 Posts
Looking good Ryan, it's nice to see all the pipe work the same shade of red! Ty, I bet you're a happy man, it looks like the finish line is in sight.
03 March 2013, 01:01 PM
#420
Scooby Regular
Thread Starter
iTrader: (100)
Join Date: Oct 2008
Location: Planet Earth
Posts: 13,684
Likes: 0
Received 0 Likes
on
0 Posts
And having the pipework matching will certainly help the engine bay shine.
Ryan has done a lot of work removing the DV port from the intercooler pipework and the breather ports from the turbo inlet pipe - a lot of this will be unseen but it makes it all look like it was factory installed.