My attempt at a spot of detailing
 13 April 2009, 05:48 PM
#1
Scooby Regular
Thread Starter
Join Date: Jan 2009
Location: Chesterfield
Posts: 181
Likes: 0
Received 0 Likes
on
0 Posts
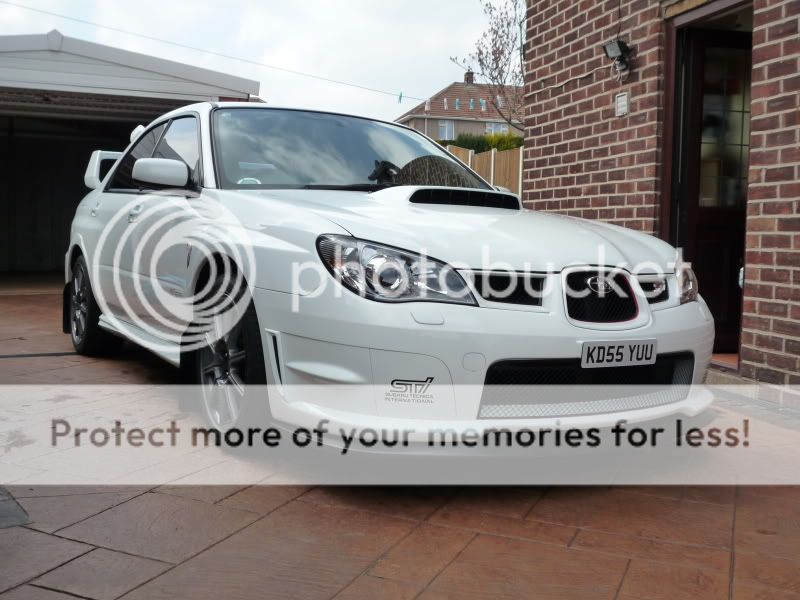
Woke up this morning with nothing planed for today so I thought it was about time I gave the scoob a proper good clean as it was looking really grim and needed it quite bad and with the sun out I thought it would be the perfect chance to show and shine lol.
Anyway here's the products I used and my effort:
Here's some of the things used today

So with these I first jet wash the car off then give it a good snow foaming
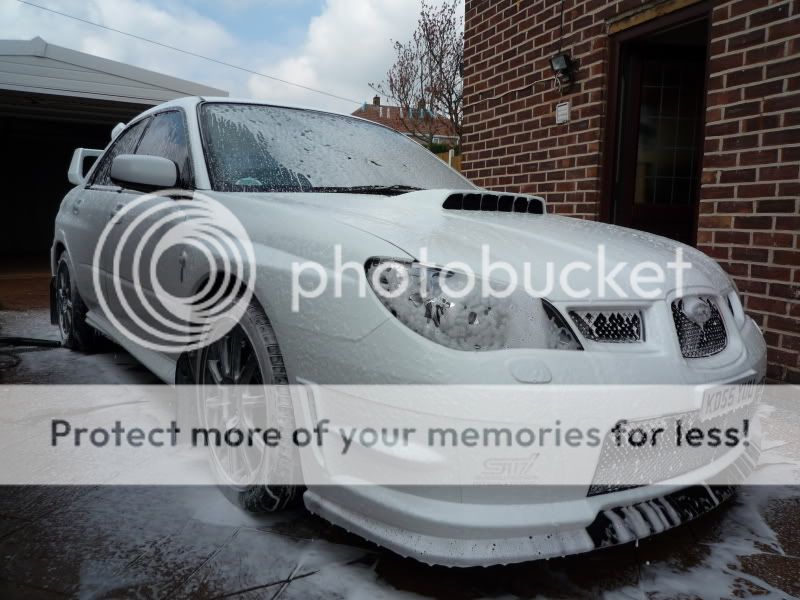
Once I applied the snow foam I left it to soak for around 10 mins then jet washed off, already the car is looking better
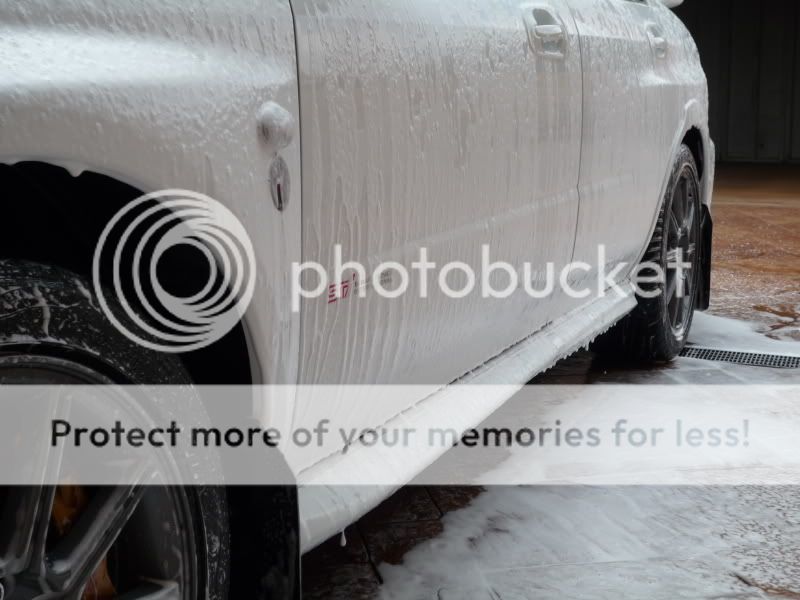
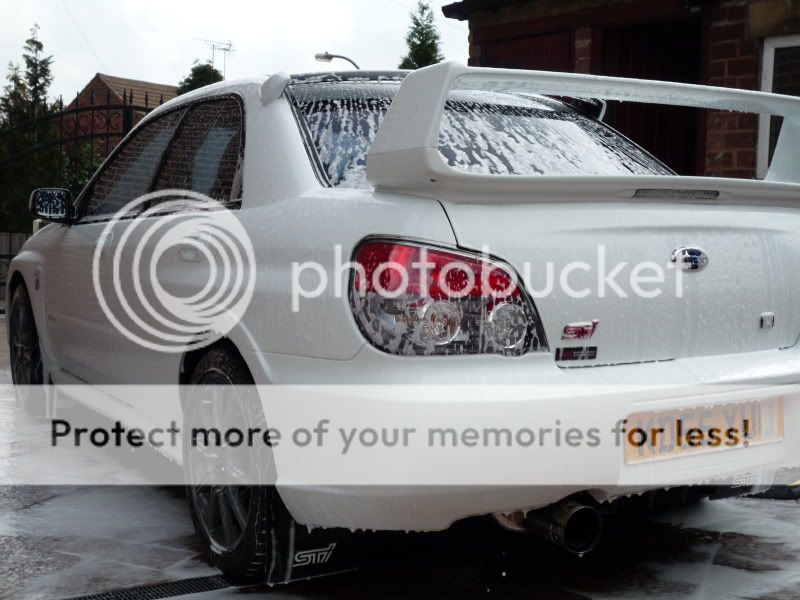
So then it was time for the two bucket wash with grit guard using meguires gold class shampoo and lambs wool mitt

Once I washed the car I went all over it using detail spray and clay bar

You can see from this the amount of rubbish this fetches out of the paint

After the clay time again for a second two bucket wash and dry down using a large waffle weave

Getting there now lol
I always use a seperate leather to dry the body parts that are lower down and tucked away that tend to store more dirt and grime, like door shuts boot and under the bonnet
Right car now dry, its time for some dodo juice lime prime

After a full covering of this applying and cleaning 2 panels at a time it time for the wax, dodo juice orange crush, this might not have been the best choice on a white car but its all I had lol

I applied that to as many panels as poss in a fifteen minute's to allow the wax to set then buffing off until I did the whole car.
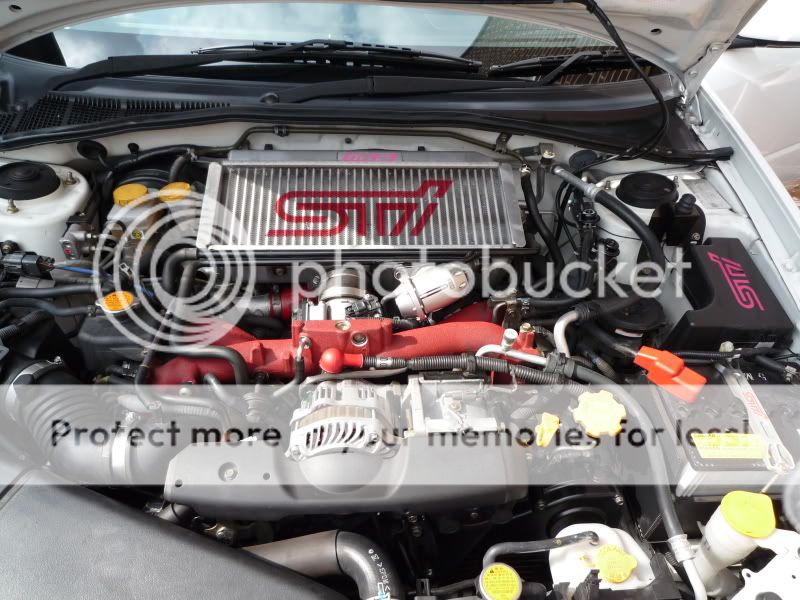
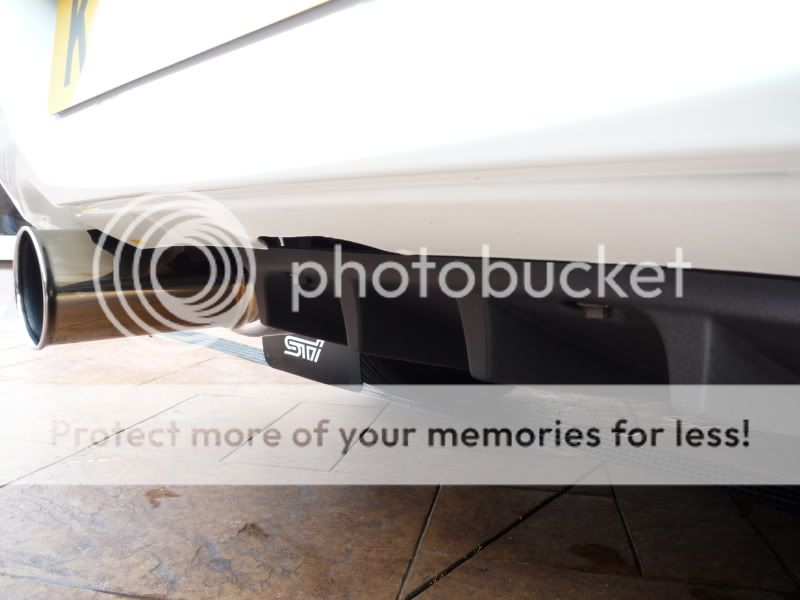
Then it was time for the smaller parts starting with the group N back box, using auto glym metal polish

Came up a treat


I gave the wheels a dose of lime prime followed by a once over with poor boys wheel sealer

Now the bit I hate the most the windows, but with the help of the sonus glass kit they came up really well

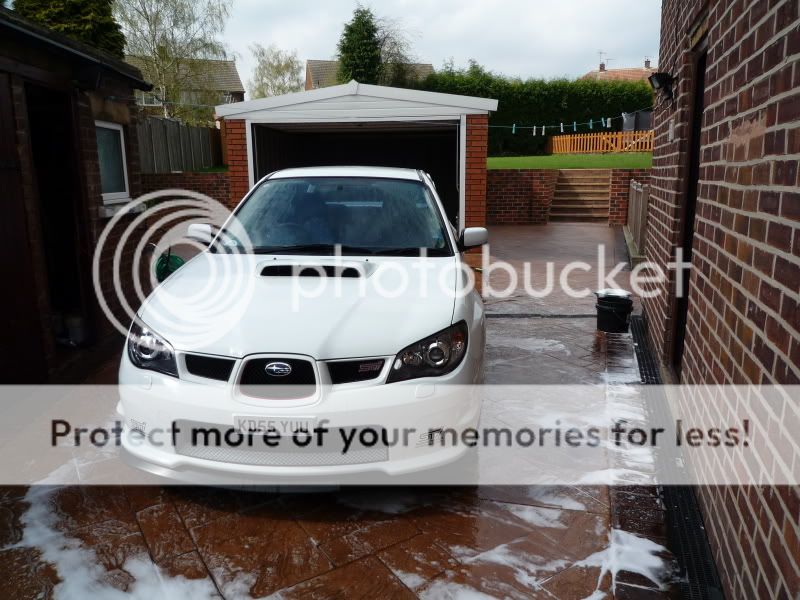
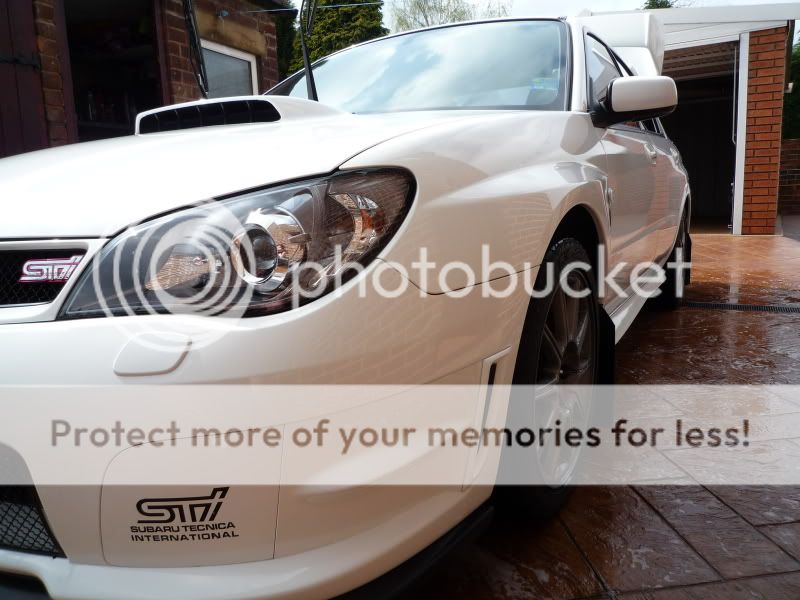
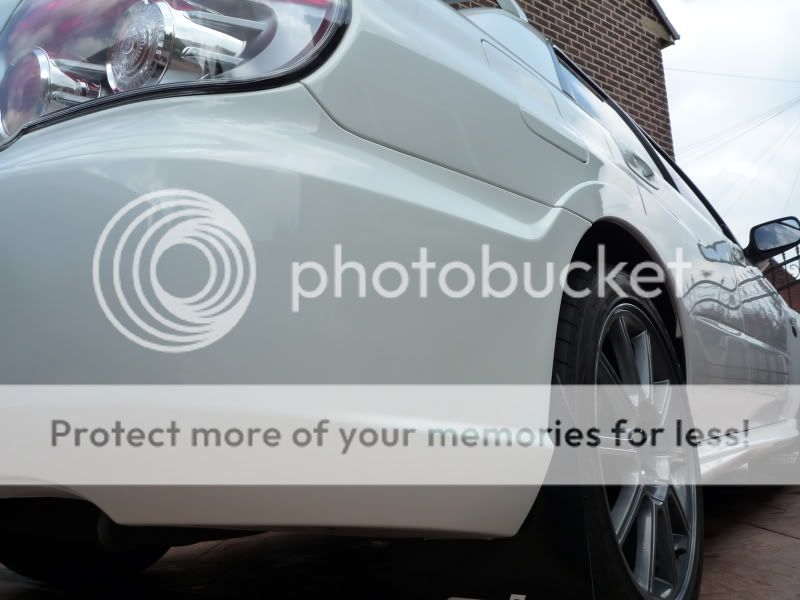
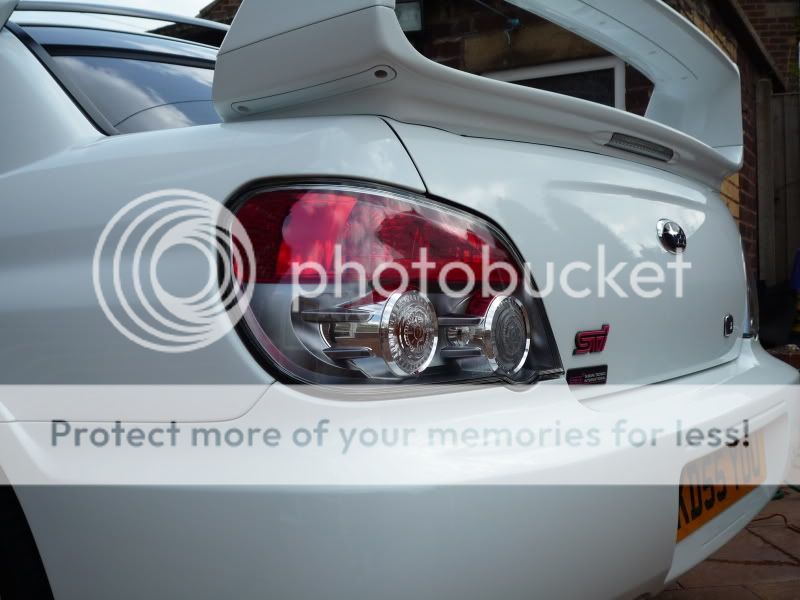
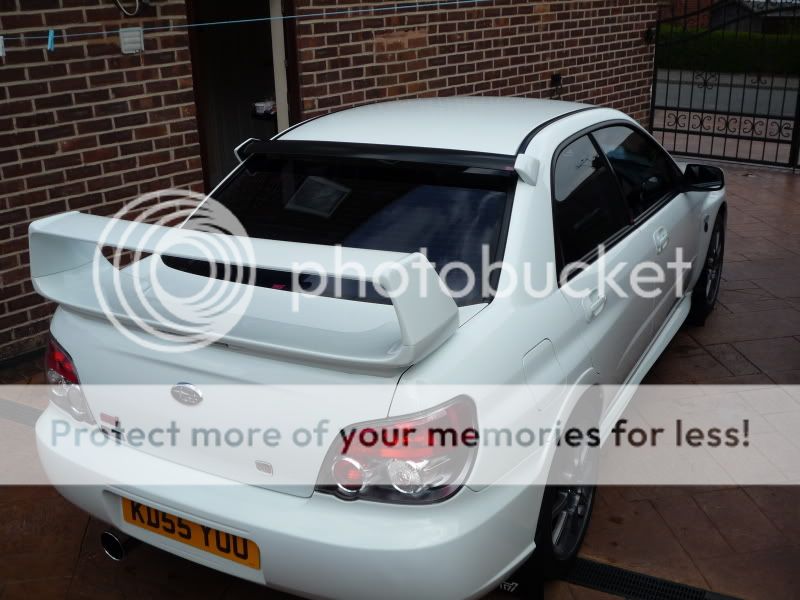
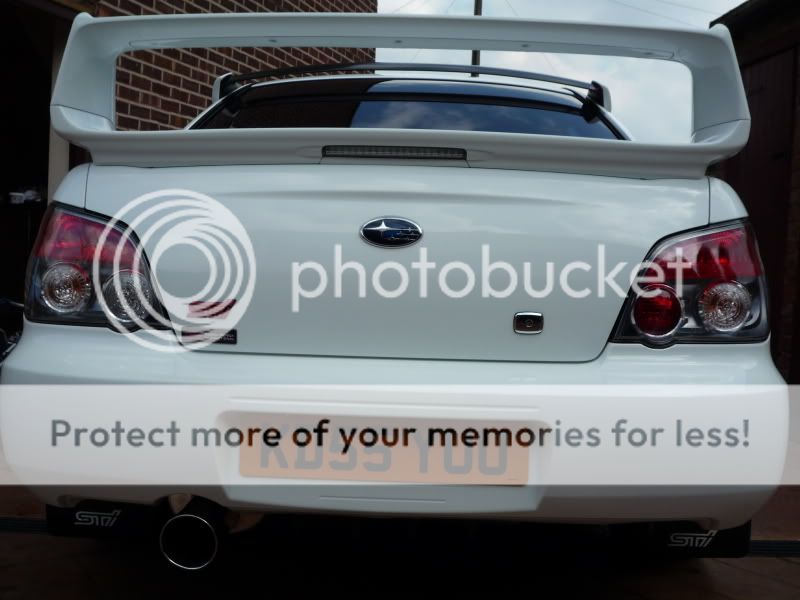
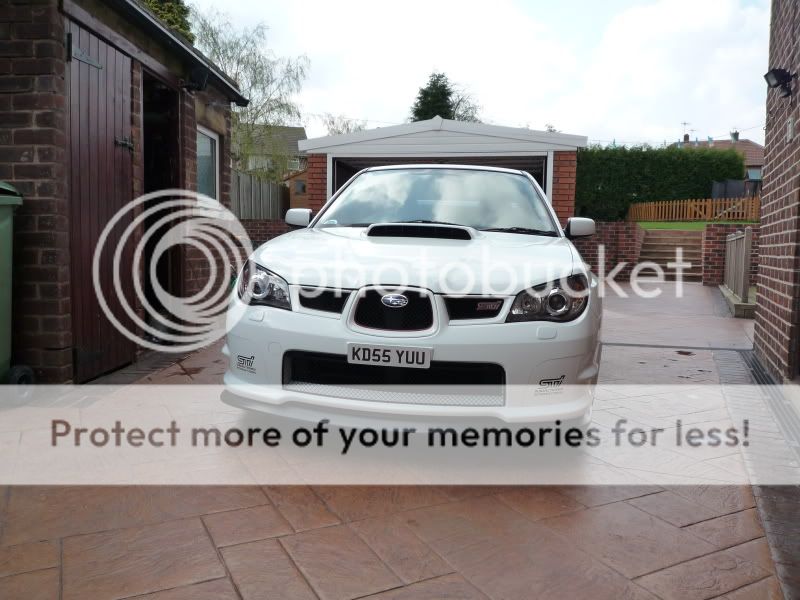
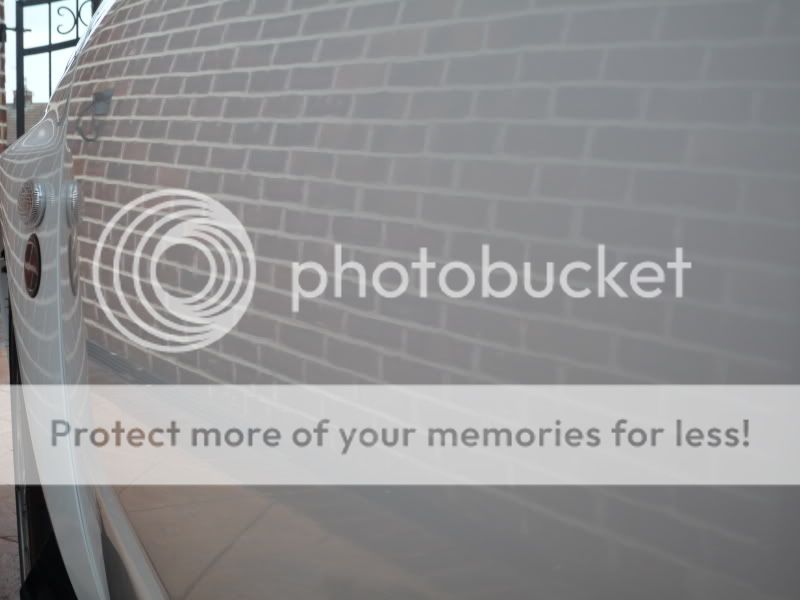
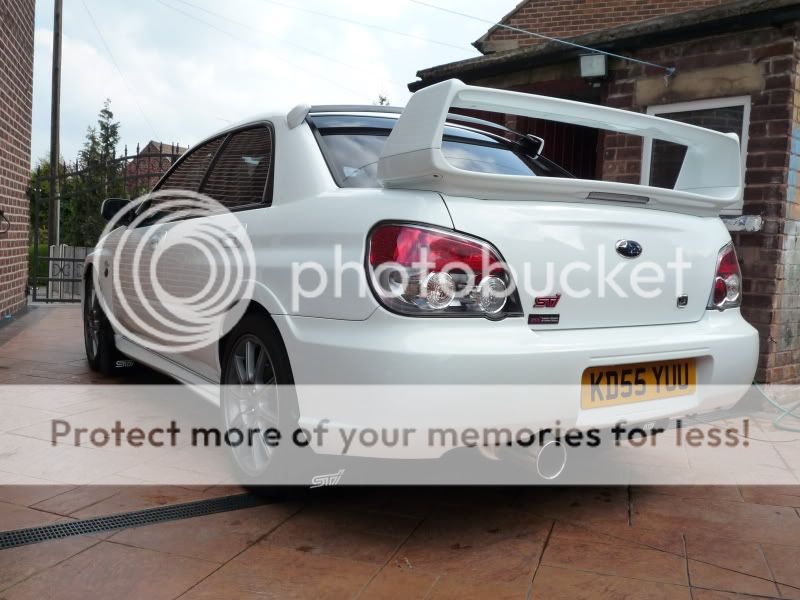
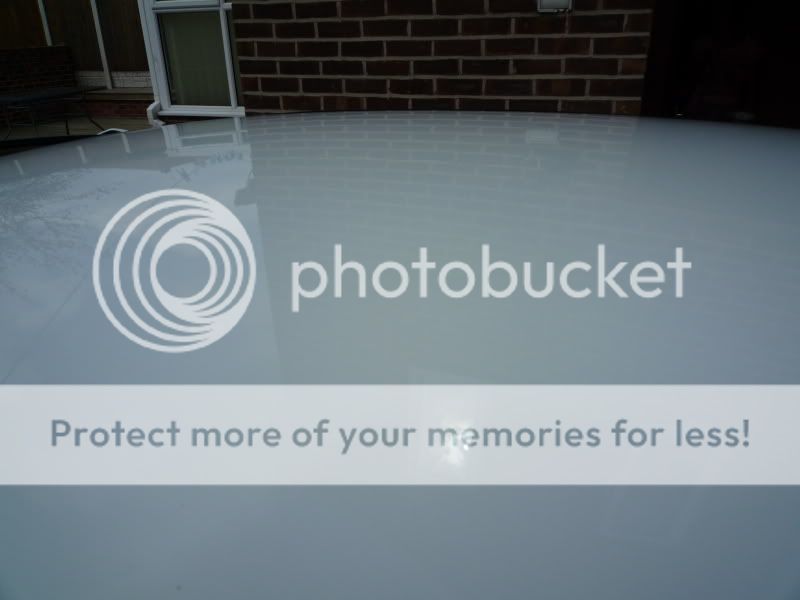
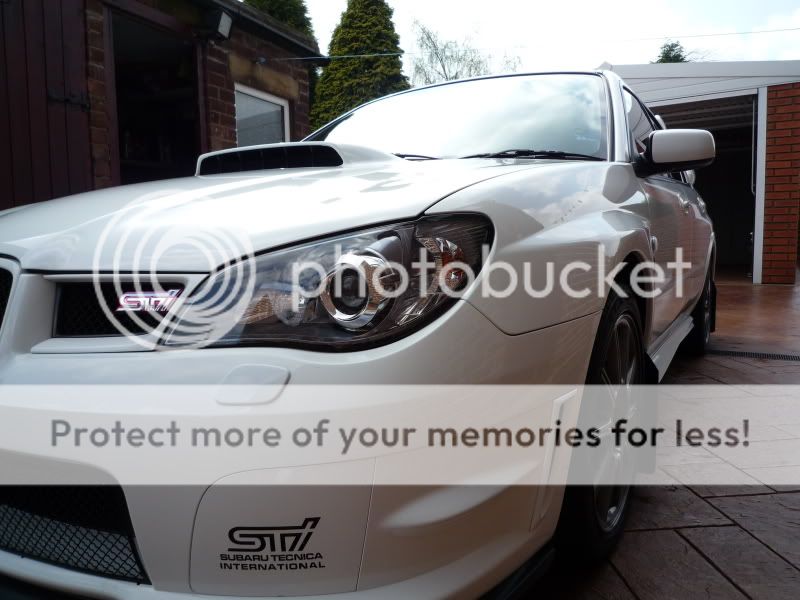
Right job done here's the results, bloody sun went in while I was taking these though typical ha:


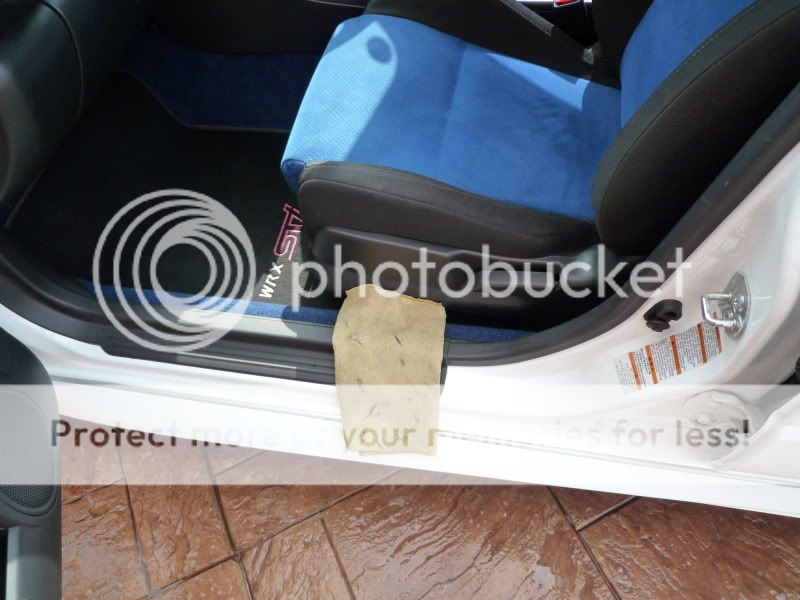
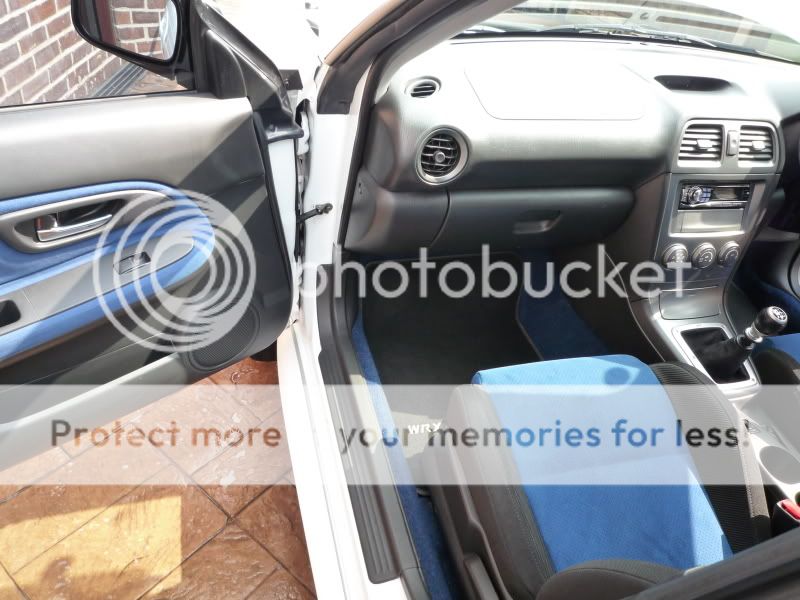
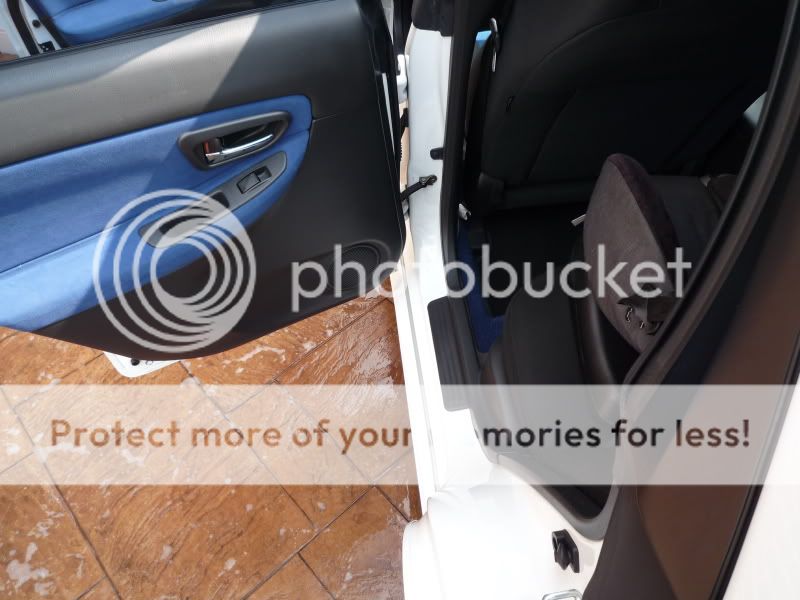
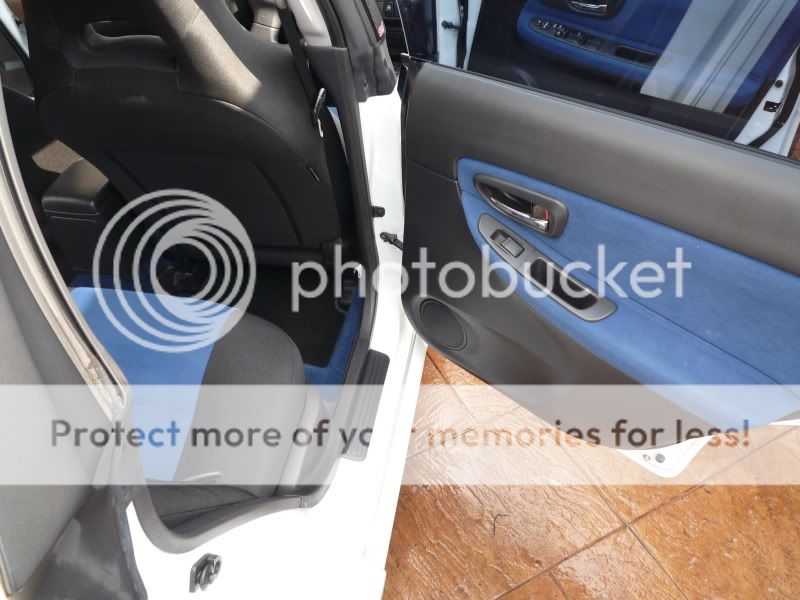
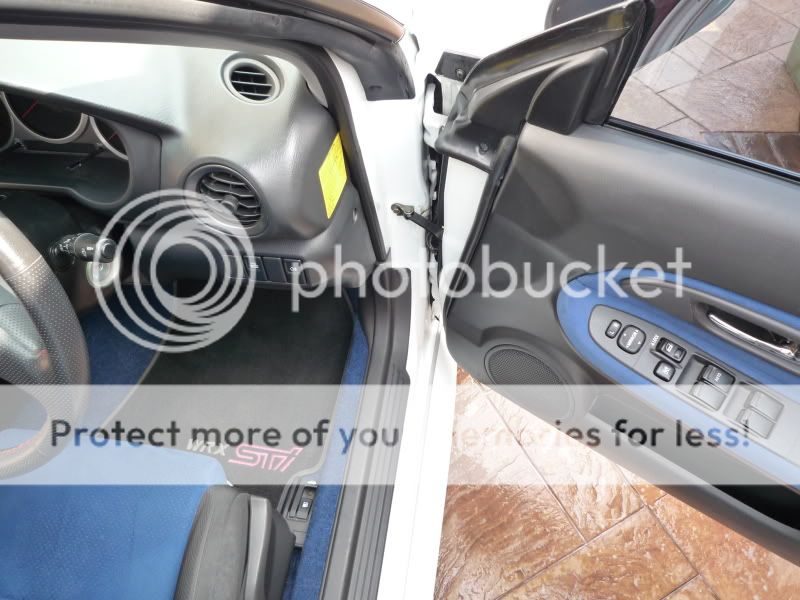
Though I best give the inside a little clean to match
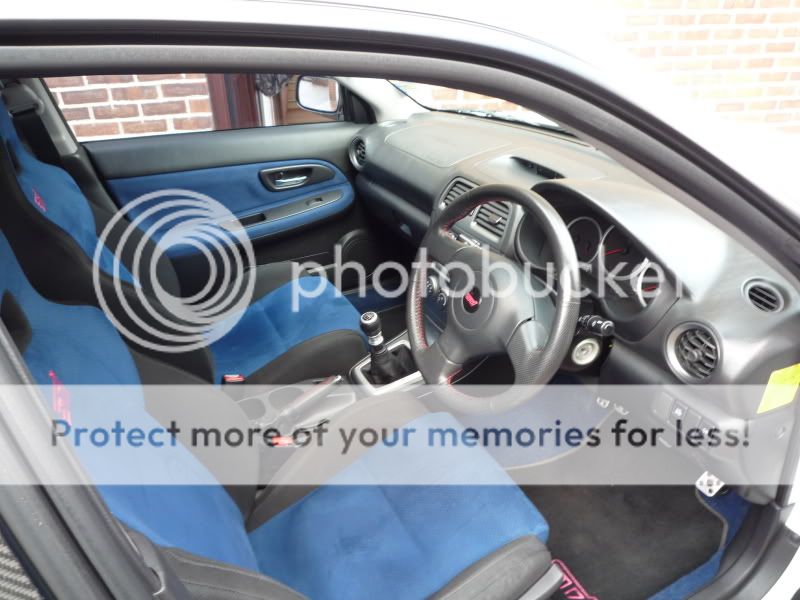
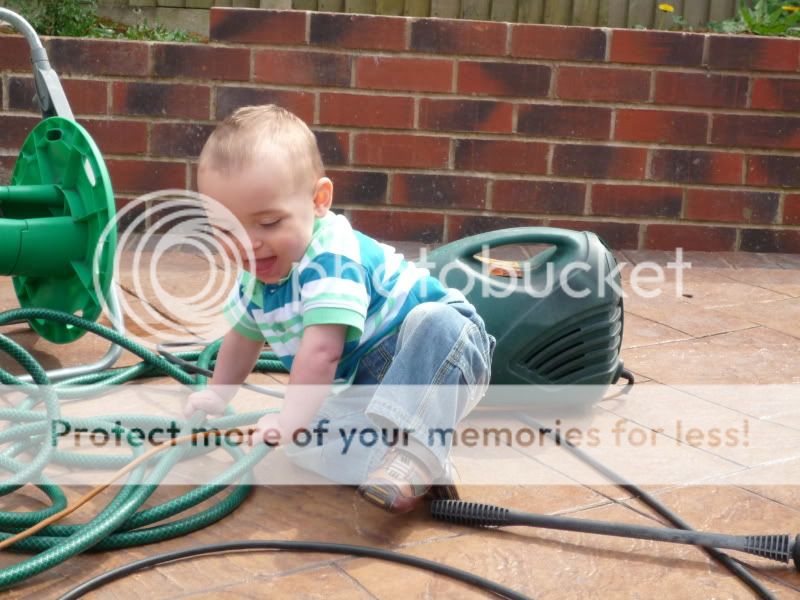
All done but cant forget to add the little help I had to finish it from my 1 year old son lol
Thanks for looking.
Anyway here's the products I used and my effort:
Here's some of the things used today
So with these I first jet wash the car off then give it a good snow foaming
Once I applied the snow foam I left it to soak for around 10 mins then jet washed off, already the car is looking better
So then it was time for the two bucket wash with grit guard using meguires gold class shampoo and lambs wool mitt
Once I washed the car I went all over it using detail spray and clay bar
You can see from this the amount of rubbish this fetches out of the paint
After the clay time again for a second two bucket wash and dry down using a large waffle weave
Getting there now lol
I always use a seperate leather to dry the body parts that are lower down and tucked away that tend to store more dirt and grime, like door shuts boot and under the bonnet
Right car now dry, its time for some dodo juice lime prime
After a full covering of this applying and cleaning 2 panels at a time it time for the wax, dodo juice orange crush, this might not have been the best choice on a white car but its all I had lol
I applied that to as many panels as poss in a fifteen minute's to allow the wax to set then buffing off until I did the whole car.
Then it was time for the smaller parts starting with the group N back box, using auto glym metal polish
Came up a treat
I gave the wheels a dose of lime prime followed by a once over with poor boys wheel sealer
Now the bit I hate the most the windows, but with the help of the sonus glass kit they came up really well
Right job done here's the results, bloody sun went in while I was taking these though typical ha:
Though I best give the inside a little clean to match
All done but cant forget to add the little help I had to finish it from my 1 year old son lol
Thanks for looking.


 13 April 2009, 06:09 PM
#6
WOW!! what a job. Intrested about the 2 bucket cleaning what does this entail and also the snow foam. New to this detailing lark but really getting into it. How do you use the clay bar and can it be used on wheels to get the annoying tar spots off? Sorry for all the stupid questions, just interested

Trending Topics
13 April 2009, 06:20 PM
#8
Scooby Senior
iTrader: (51)
Join Date: Nov 2005
Location: Wherever I park my car, that's my home
Posts: 20,491
Likes: 0
Received 2 Likes
on
2 Posts
WOW!! what a job. Intrested about the 2 bucket cleaning what does this entail and also the snow foam. New to this detailing lark but really getting into it. How do you use the clay bar and can it be used on wheels to get the annoying tar spots off? Sorry for all the stupid questions, just interested
2 buckets = one for soapy water and one for rinsing the grit out of the (lamswool) sponge between soaping, so wash, rinse, dip in soapy water, wash, rinse etc.
For the clay you spray the car with quick detail and then just rub, and yes it can be used on wheels, I use clay on my white wheels to get rid of the tar spots
 13 April 2009, 06:21 PM
#9
Scooby Regular
Thread Starter
Join Date: Jan 2009
Location: Chesterfield
Posts: 181
Likes: 0
Received 0 Likes
on
0 Posts
WOW!! what a job. Intrested about the 2 bucket cleaning what does this entail and also the snow foam. New to this detailing lark but really getting into it. How do you use the clay bar and can it be used on wheels to get the annoying tar spots off? Sorry for all the stupid questions, just interested
Im just getting in to it my self mate, the two bucket wash is one for clean water and one for rinsing the dirt off in, and using a bucket with a grit guard it stops you getting the grit back on the mitt, and doing it this way helps reduce the chance of swirls.
The snow foam is quite thick and when its running off it pulls all the grit and most of the grime with it, so again it helps reduce the swirls.
You can use a clay bar on your wheels, It will be the same as if you were using it on your body so will help shift tar and crap out of your paint.
Hope this helps mate thanks for the comments.
 I need to do this very soon

 13 April 2009, 07:17 PM
#14
Scooby Senior
iTrader: (51)
Join Date: Nov 2005
Location: Wherever I park my car, that's my home
Posts: 20,491
Likes: 0
Received 2 Likes
on
2 Posts

 13 April 2009, 07:46 PM
#20
Scooby Regular
iTrader: (7)
Join Date: Jul 2008
Location: warwickshire
Posts: 331
Likes: 0
Received 0 Likes
on
0 Posts
Hey you missed a bit !!!
top work there Shane and lovely looking car,did mine today but for different reasons, could be going over to the dark side ,going to have a look at a porsche 996 tommorow in silver tiptronic always wanted one just not sure it will be worth the extra wedge just wanting a change
kev
top work there Shane and lovely looking car,did mine today but for different reasons, could be going over to the dark side
,going to have a look at a porsche 996 tommorow in silver tiptronic always wanted one just not sure it will be worth the extra wedge just wanting a changekev
13 April 2009, 07:52 PM
#21
Scooby Regular
Thread Starter
Join Date: Jan 2009
Location: Chesterfield
Posts: 181
Likes: 0
Received 0 Likes
on
0 Posts
Hey you missed a bit !!!
top work there Shane and lovely looking car,did mine today but for different reasons, could be going over to the dark side,going to have a look at a porsche 996 tommorow in silver tiptronic always wanted one just not sure it will be worth the extra wedge just wanting a change
kev
top work there Shane and lovely looking car,did mine today but for different reasons, could be going over to the dark side
,going to have a look at a porsche 996 tommorow in silver tiptronic always wanted one just not sure it will be worth the extra wedge just wanting a changekev


 You seem to know your stuff. Whats the best product and method to remove swirl marks and light scratches. thanks for any help
