EJ20 upgrade on standard internals
#1
I've had my UK94 Impreza for over 6 years & had done 140k on the standard engine & box. Last year (04) the box become noisy, so given the mileage & the opportunity to source a cheap closed deck WRX engine & box, the drivetrain was replaced.
Currently it has a few tweaks such as:
Decat
Scoobyecu
2001 STI Front Brembos
Bilsteins
So probably c.270-280bhp ?
I've recently noticed bubbles in the header tank & a bit of coolant loss, pointing towards a headgasket. As I don't use it as a daily driver anymore, I thought I'd reduce the costs & rip the engine out myself, but get someone to do the headgaskets & then I'd refit it.
A Prodrive GrpN ecu with ALS then landed in my lap, which has meant I need to add a few more mods to at least attempt to do it justice.
Given that 350bhp is deemed to be the 5 speeds' breaking point (and my TD05) & I don't want to fork out for a 6 spds / gearkits etc it seems sensible to aim for this natural barrier.
Now added to the shopping list:
Steel headgasket
440cc injectors
Walbro pump
Air filter
Lightened flywheel
Upgraded clutch
+ Various bits for the ALS
This evening the project has begun & the engine has been ripped out, I'll update tomorrow with a virgins guide (with pics) to engine removal......
(Now going to thaw out !)
D
Last edited by Dunk; 30 December 2005 at 09:50 AM.
#2
I've attempted to log the steps taken to take the engine out, I'm sure that the 3 hours I took are on the long side & I've probably missed shortcuts....
Before:

1) Drain & remove rad, then move car to avoid lying in the wet patch:
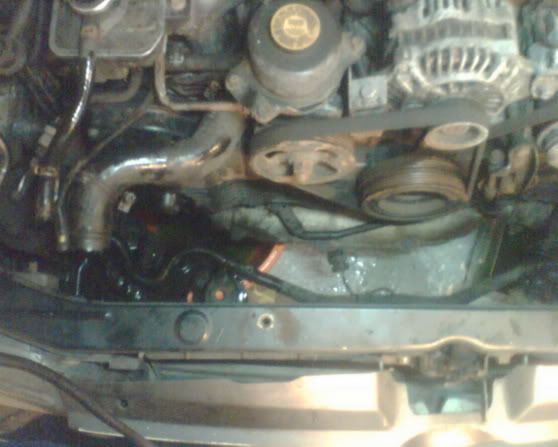
2) Remove battery & two main harness plugs behind it
(No Pic)
3) Remove air con compressor from block (no need to undo pressurised pipework) & place onto empty battery tray. Alternator also removed, although no need to on a non aircon car.
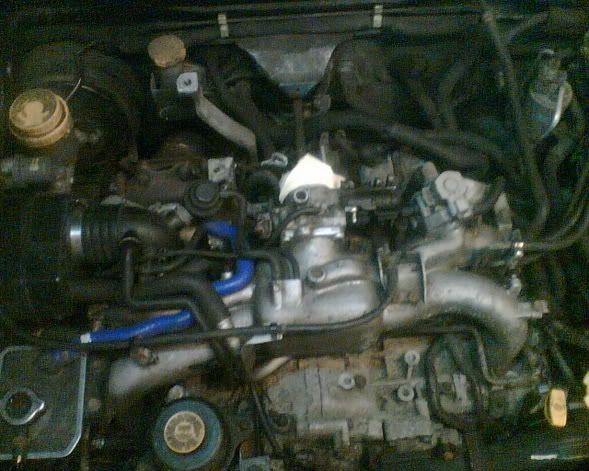
4) Remove trunking to airbox
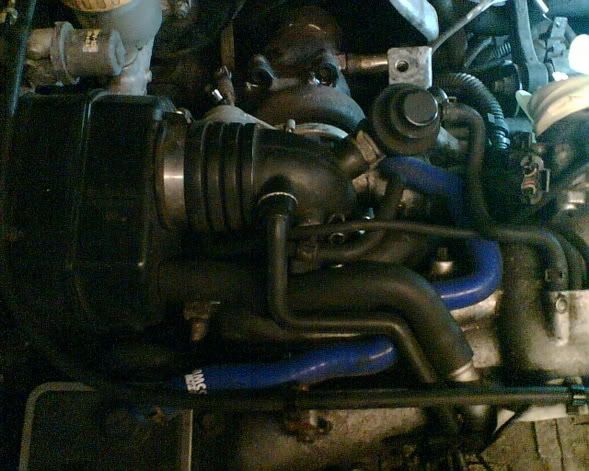
5) Undo fuel lines

6) Undo heater matrix pipes
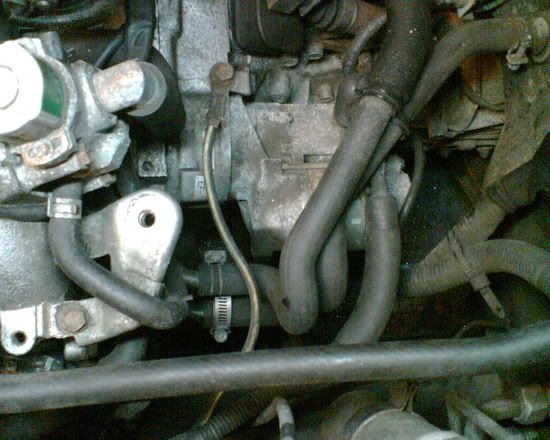
7) Remove top mount intercooler & unclip loom, release downpipe
8) Remove starter

9) Remove the infamous 10mm allen key plug in the bellhousing
Before:
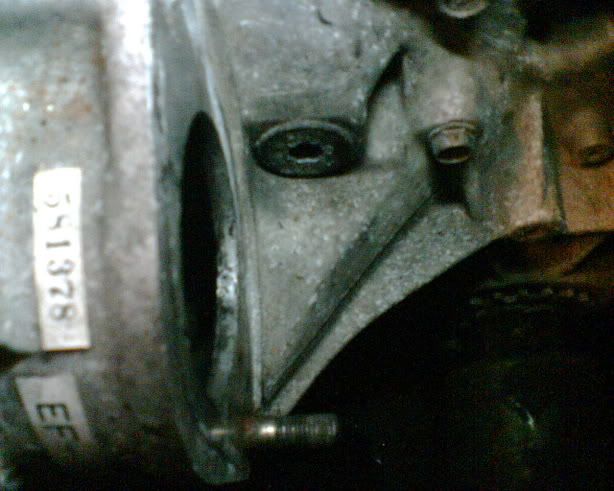
After:

Then use a small bolt to thread into the revealed hole to pull out the retaining sleeve & pull the clutch fork upwards to release the release bearing
10) Unbolt power steering pump from the block & fold back (system kept pressurised)
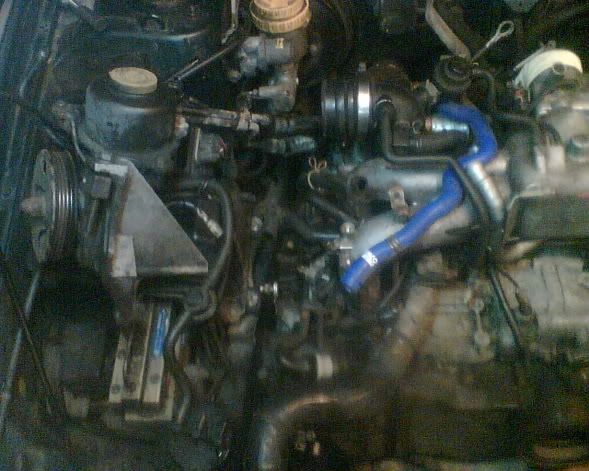
11) Unbolt bellhousing from engine (6 bolts/nuts)
12) Remove & check for any other attached pipes & leads (carbon cannister etc.)
13) Position trolley jack under centre of the box
14) Wheel in the big beastie, (2 ton collapsable new for £150 !)
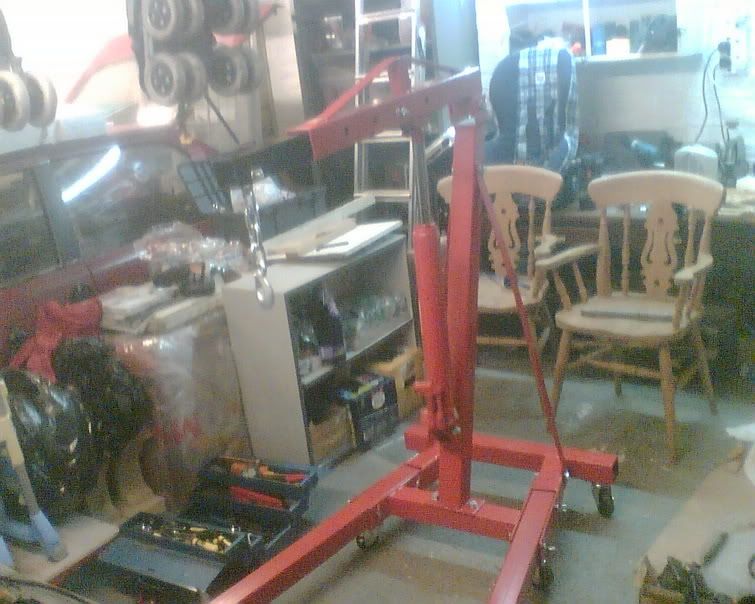
15) Fasten around the inlet maniford (be careful not to catch any pipework) & allow it to take a small load
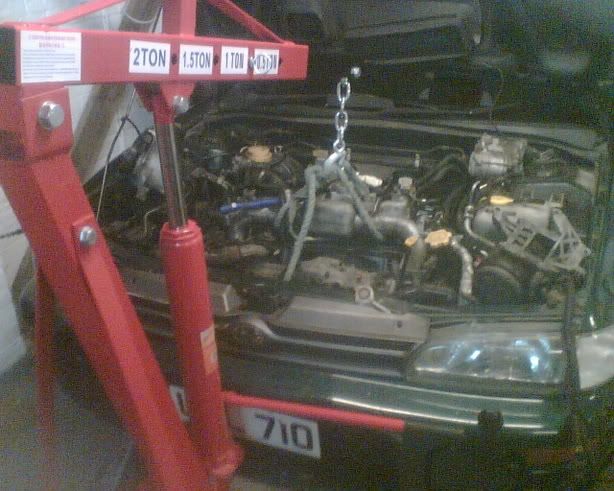
14) Undo last two engine mounts (nuts under the subframe) & top gearbox stay bar
15) Jack up gearbox & engine should breakaway from the box
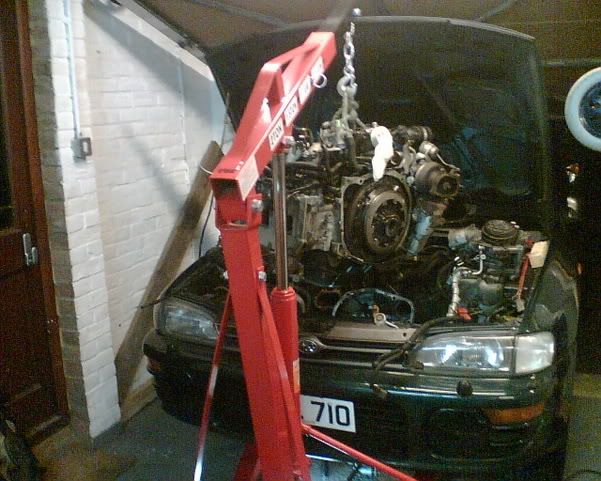
16) Job done !
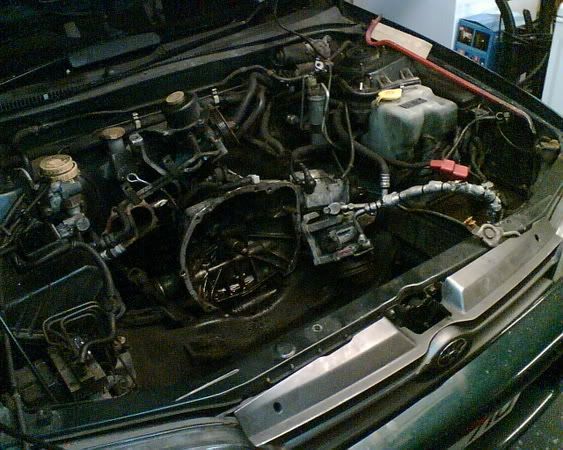
I've no doubt that I've missed a few tricks, the biggest howler I made was undoing the lower engine mounts from the block & not the nuts in the lower subframe....took me a good half hour to work out why the engine & box wouldn't split.......you live & learn !
Feel free to post up where I went wrong & anything I've missed out.
D
Before:

1) Drain & remove rad, then move car to avoid lying in the wet patch:

2) Remove battery & two main harness plugs behind it
(No Pic)
3) Remove air con compressor from block (no need to undo pressurised pipework) & place onto empty battery tray. Alternator also removed, although no need to on a non aircon car.

4) Remove trunking to airbox

5) Undo fuel lines

6) Undo heater matrix pipes

7) Remove top mount intercooler & unclip loom, release downpipe
8) Remove starter

9) Remove the infamous 10mm allen key plug in the bellhousing
Before:

After:

Then use a small bolt to thread into the revealed hole to pull out the retaining sleeve & pull the clutch fork upwards to release the release bearing
10) Unbolt power steering pump from the block & fold back (system kept pressurised)

11) Unbolt bellhousing from engine (6 bolts/nuts)
12) Remove & check for any other attached pipes & leads (carbon cannister etc.)
13) Position trolley jack under centre of the box
14) Wheel in the big beastie, (2 ton collapsable new for £150 !)

15) Fasten around the inlet maniford (be careful not to catch any pipework) & allow it to take a small load

14) Undo last two engine mounts (nuts under the subframe) & top gearbox stay bar
15) Jack up gearbox & engine should breakaway from the box

16) Job done !

I've no doubt that I've missed a few tricks, the biggest howler I made was undoing the lower engine mounts from the block & not the nuts in the lower subframe....took me a good half hour to work out why the engine & box wouldn't split.......you live & learn !
Feel free to post up where I went wrong & anything I've missed out.
D
Last edited by Dunk; 31 December 2005 at 12:12 AM.
#4
You make it look easy!
Never knew the early Impreza's had a slightly different clutch arrangement.
you learn something every day.
LOL at the 2 chairs in the garage. No doubt for the celebration beer!
Happy New Year!
Graham
Never knew the early Impreza's had a slightly different clutch arrangement.
you learn something every day.
LOL at the 2 chairs in the garage. No doubt for the celebration beer!
Happy New Year!
Graham
#7
Originally Posted by Floyd
Is it safe to hold the engine weight on the inlet manifold?
Good write up fella
F
Good write up fella

F
Agreed with Floyd too Excellent write up.
Trending Topics
#9
It seems to be a tried & tested method, I was more worried about my knot tying skills than the inlet manifold coming free.
Engine now going in next week for:
Steel head gaskets
Crank shaft seals
New Belt
Modded Oil pump
Any other essentials worth doing while I can ? (don't want to pull the block apart).
D
Engine now going in next week for:
Steel head gaskets
Crank shaft seals
New Belt
Modded Oil pump
Any other essentials worth doing while I can ? (don't want to pull the block apart).
D
#12
Engine crane from ebay (PAAutos/Tools ?), although there's a few doing them. (Now highly tempted with a 20T press for £150)
Re the exhaust manifold..... was my engine fitted upside down ?
Not a lot to currently report, engine has been dropped off to get the bits done. Now with a 7kg flywheel & paddle clutch.
Hopefully should fit it next week.
D
Re the exhaust manifold..... was my engine fitted upside down ?

Not a lot to currently report, engine has been dropped off to get the bits done. Now with a 7kg flywheel & paddle clutch.
Hopefully should fit it next week.
D
#18
Ecu is newly built from a Z4 (no idea how !), the 440's should suffice given it's still running a TD05.
(It should fit nicely into the bottom class of the SSC)
Just need some mounts (why didn't I think of this earlier ?) & a bit of warmth (can only get the nose in the garage) before I crack on with it.
D
(It should fit nicely into the bottom class of the SSC)
Just need some mounts (why didn't I think of this earlier ?) & a bit of warmth (can only get the nose in the garage) before I crack on with it.
D
Last edited by Dunk; 26 January 2006 at 09:03 AM.
#19
Finally managed to refit the engine this evening, just the intercooler & fluids to do, then it'll be fingers, legs & eyes crossed before the big switching on ceremony.
(Glad I decided to do this thread, it's been a handy reminder given I started this last year.)
A few pics to follow.
D
(Glad I decided to do this thread, it's been a handy reminder given I started this last year.)
A few pics to follow.
D
#22
Nearly.
Saturate the new filter with fresh oil. It will take a surprising amount, takes about 3 mins to soak.
Wet/smear the rubber seal face and install on a clean engine block face.(sorry if it seems I'm talking down to you, not inteded)
Disconnect the crank sensor right under the alternator.
Crank the engine over for about 10 seconds and this will get everything up to pressure. (and test your battery...)
Snap the connector back in place, switch ign on and let the pump stop wirring, and fire up.
Graham
#23
Thks Graham, thought they'd be an easier way than arsing about with the loom. Plan to finish it this eve & get it running before I start doing injectors, fuel pump, intercooler & ecu etc. At least that way I can be confident it did work !
D
D
#26
Intercooler on, battery in, (there must be a better fixing), filter pre filled, oil in, coolant in & .................................................. ....... a small puddle under the OS headers  . I'll try starting it up in anger tomorrow (a little late now) to see if the leak is more obvious.
D
 . I'll try starting it up in anger tomorrow (a little late now) to see if the leak is more obvious.
D
#27
Wooooooooooooooohooooooooooooooooooo, had to jump it as the battery was flat after 3 months, did the crank sensor trick to pressurise, reconnected & then it fired up first time with no sign of the leak.......... only time will tell ! Next is to get the MOT done before starting the go faster stage.
It must be 10 yrs since I've done decent work to car, rather than the easy bits.......I'd forgotten the sense of achievement (& chosen to ignore the 'nam style flashbacks of disappointment & frustration.)
My new found enthusiasm might finally rub off on car project no.2 pictured in the background of the one of the above pics, a non-existant prize for correct identification !
D


