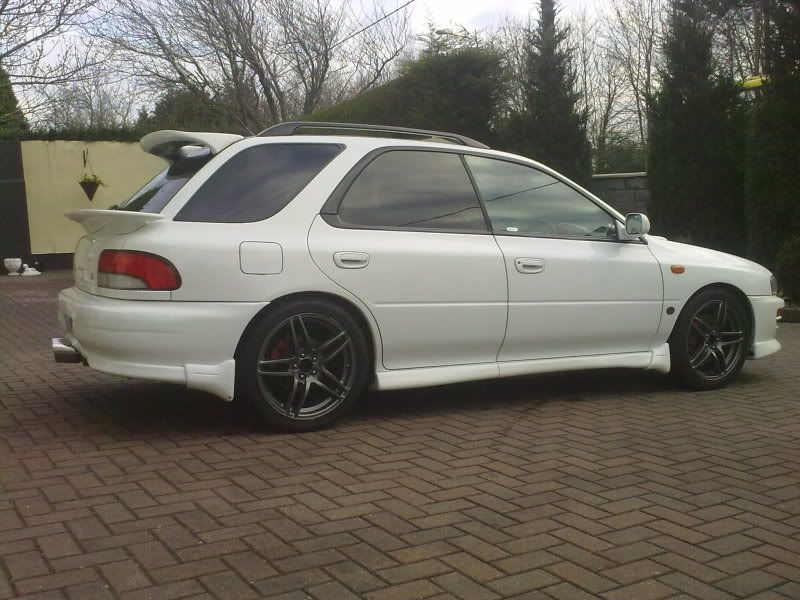
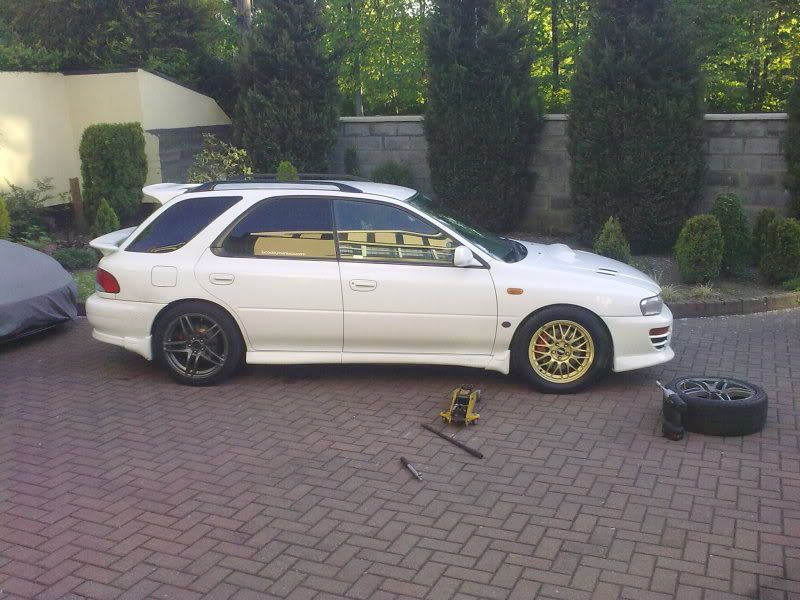
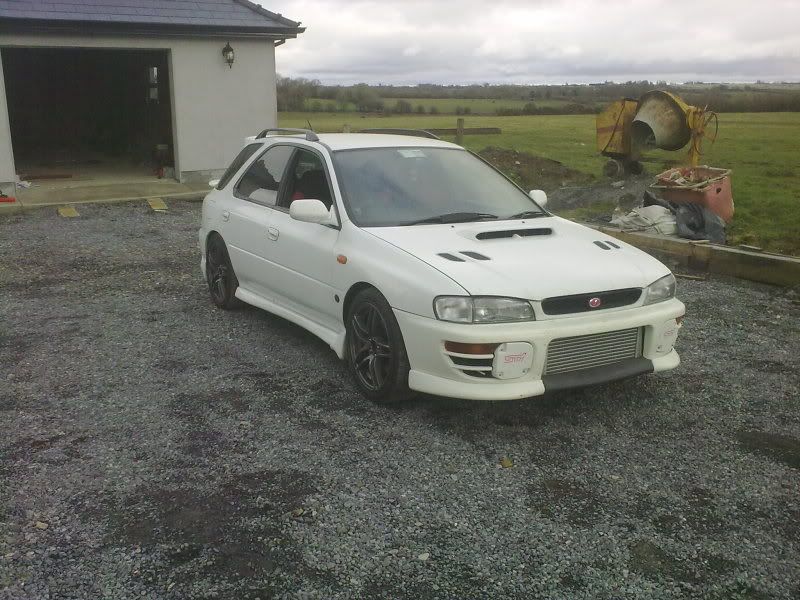
MY98 STi Wagon Rebuild
#1
I said i'd throw this up here last night on my thread in members gallery.See what you guys think. . .
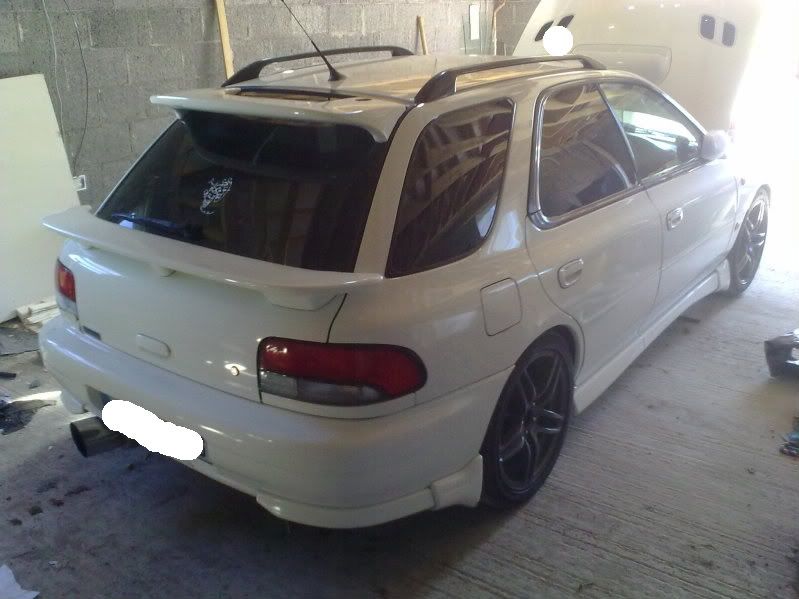
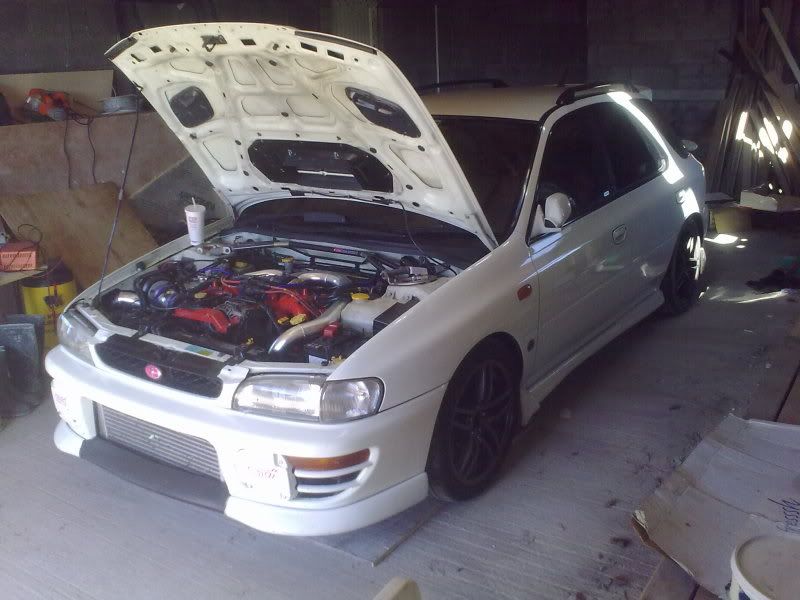
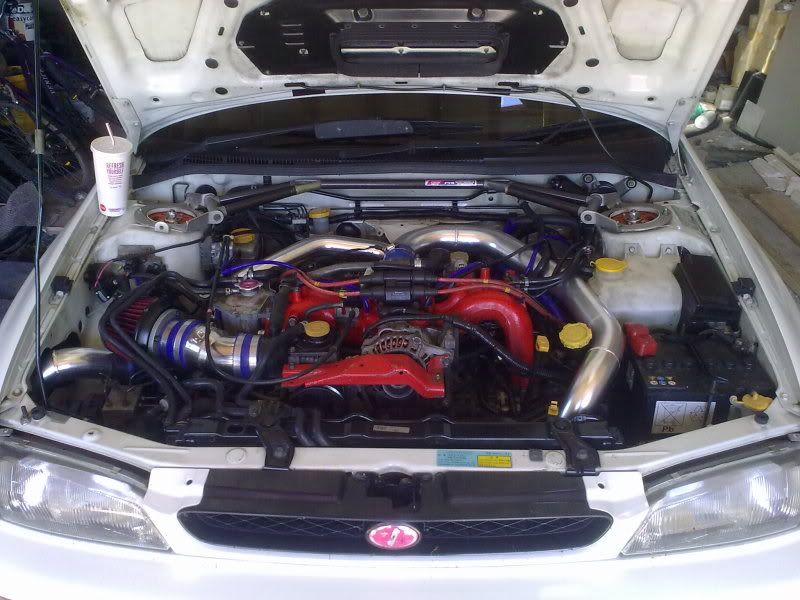
My Brother left me the car when he died back in November '09,had been using alot of oil (2 litres a week) so i took it of the road I think it was back in May
UPDATE 14/08/2010
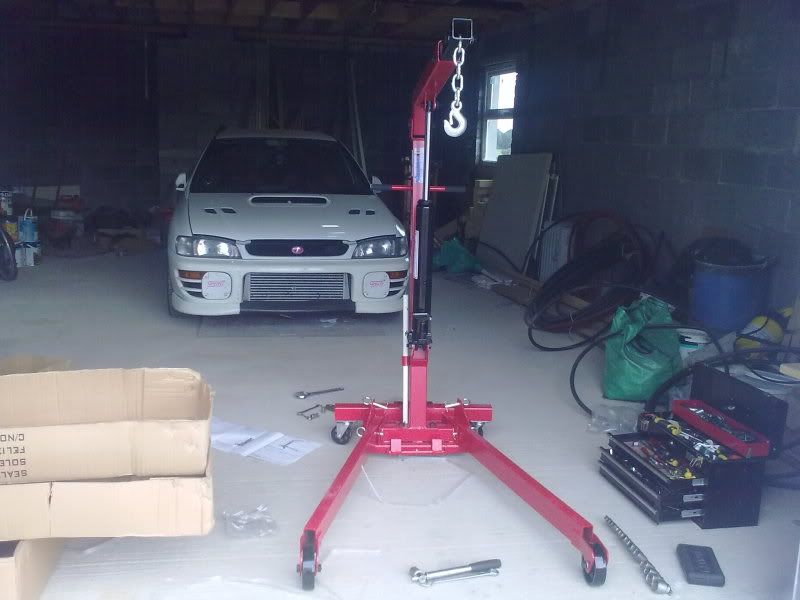
So I have the best girlfriend ever,was my birthday the week before last and she got me an engine crane and engine stand:happy)
I've been putting off stripping it because I was short these and didnt want to borrow then and have to rush the job, ya get me.
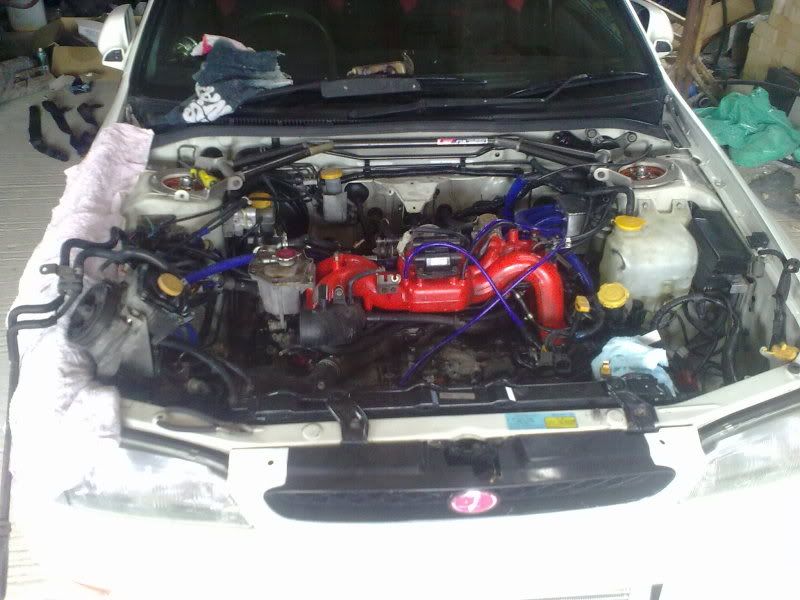
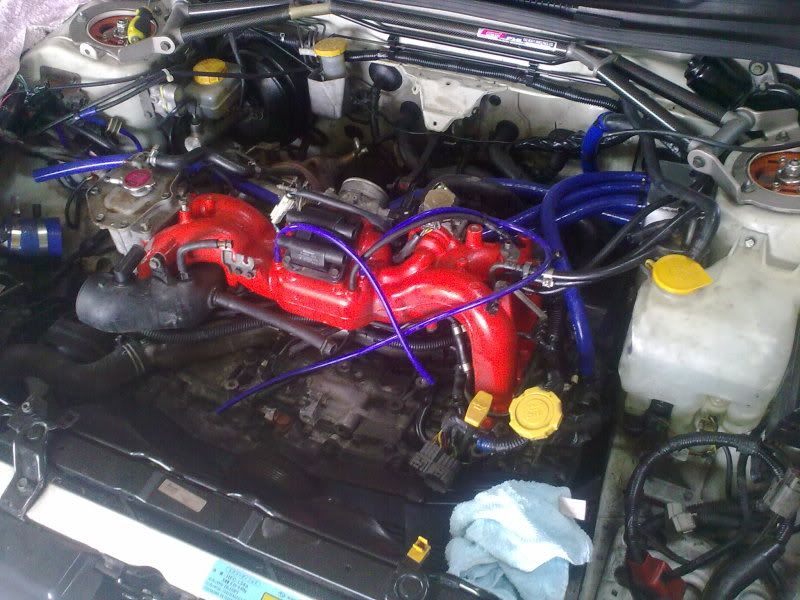
Anyway got some stripping done this day last week. . .not much but its a start
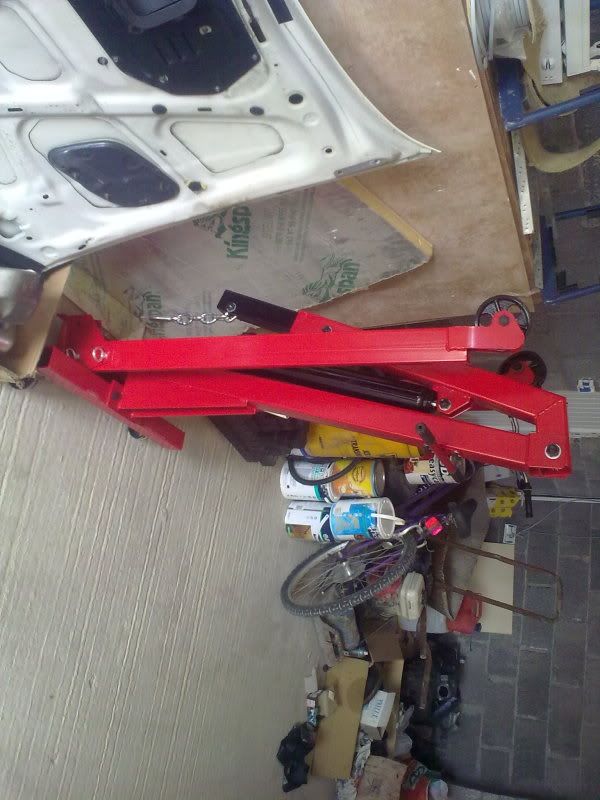
UPDATE - 27/08/2010
Well 3 hours in total driving accross the country to work on this today but with great results bt
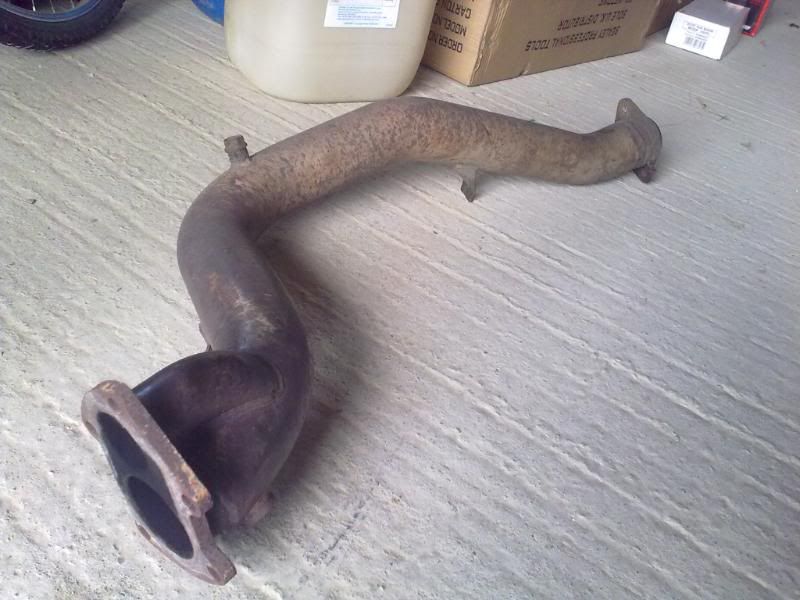
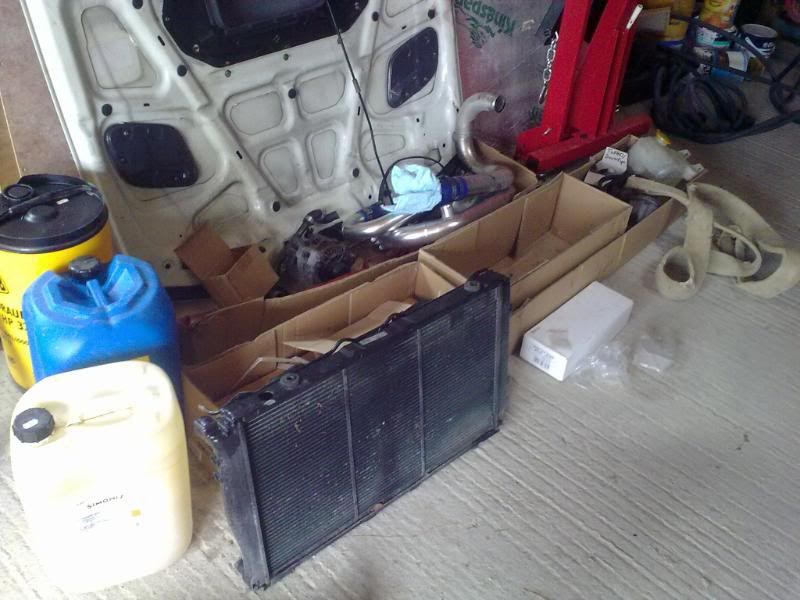
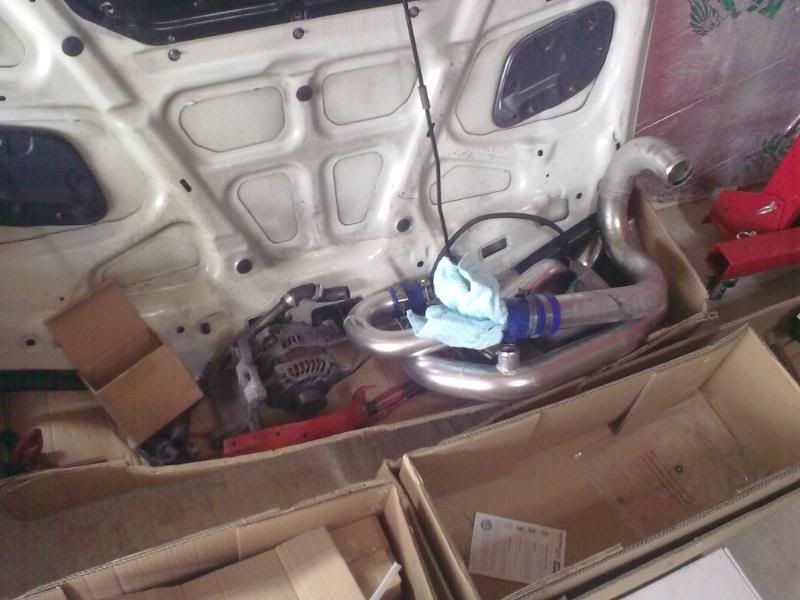
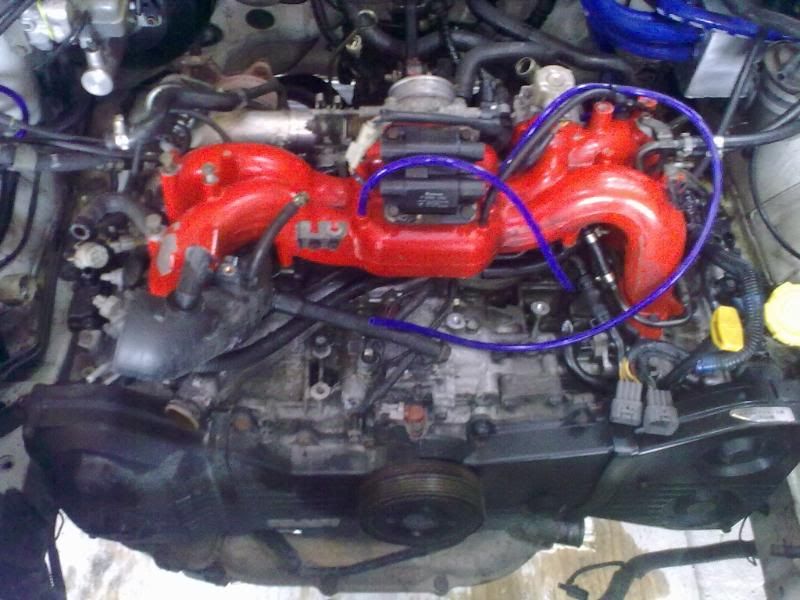
The only way to keep track of them
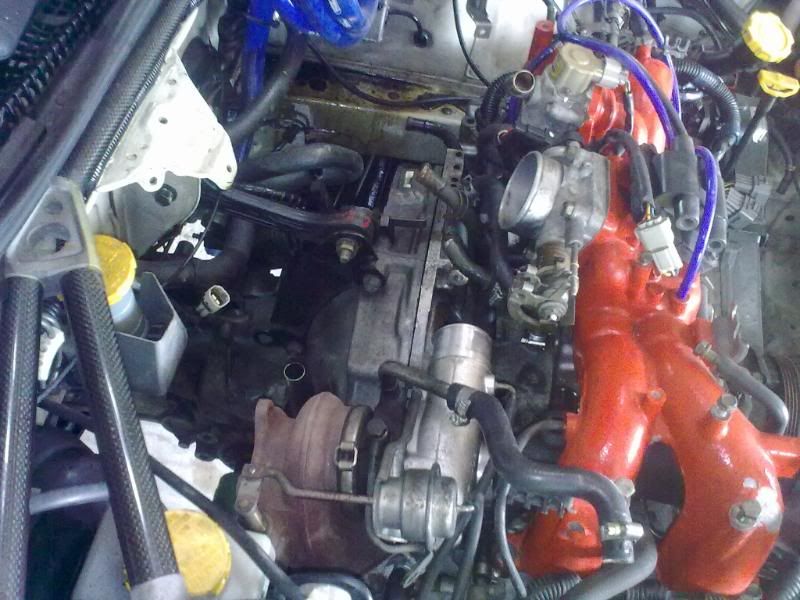
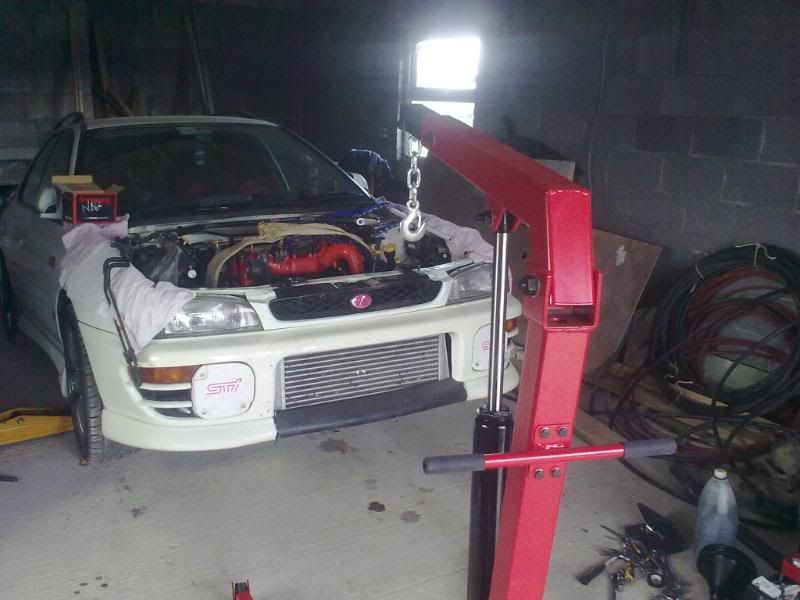
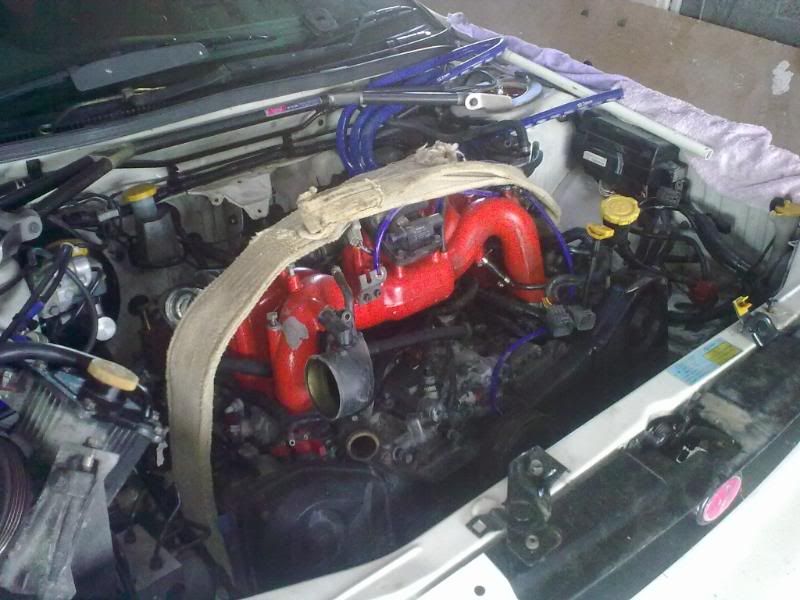
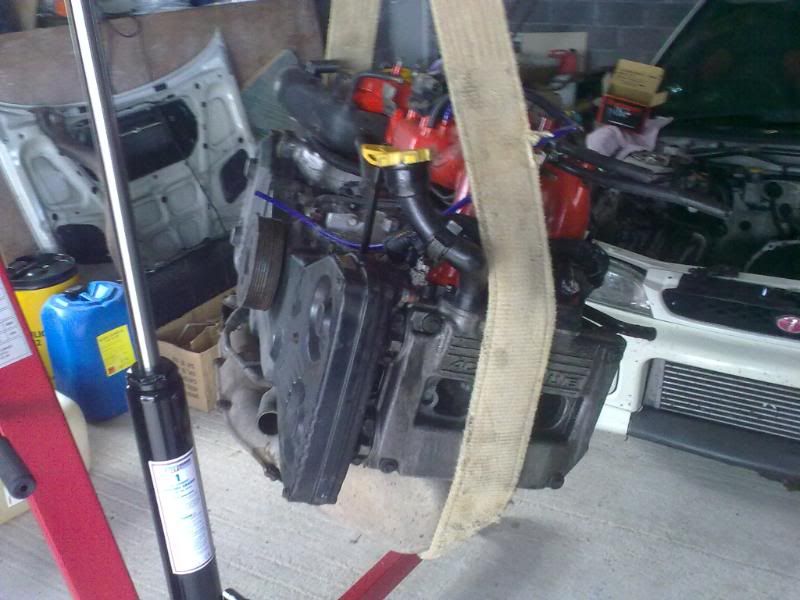
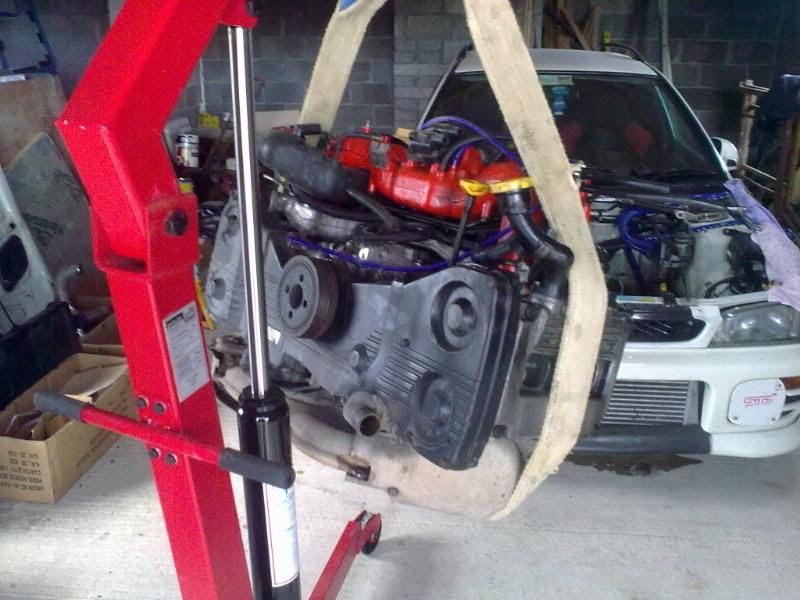
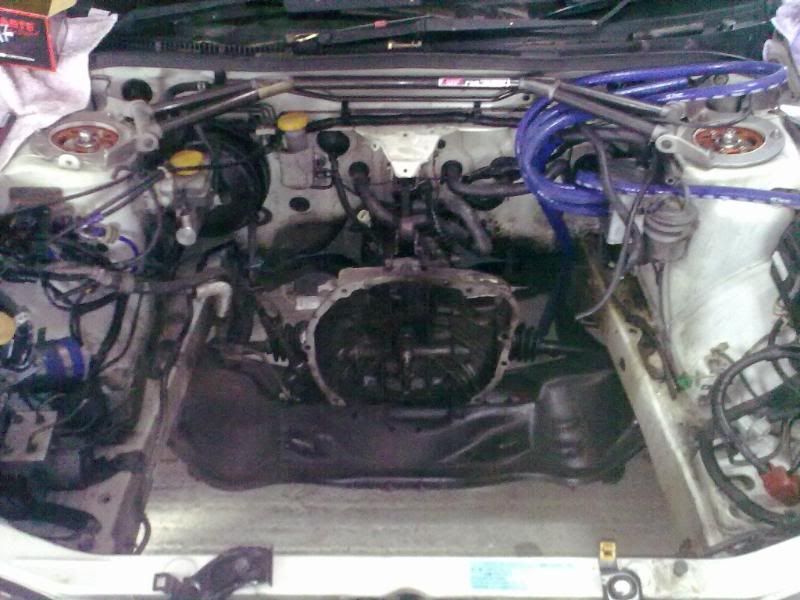
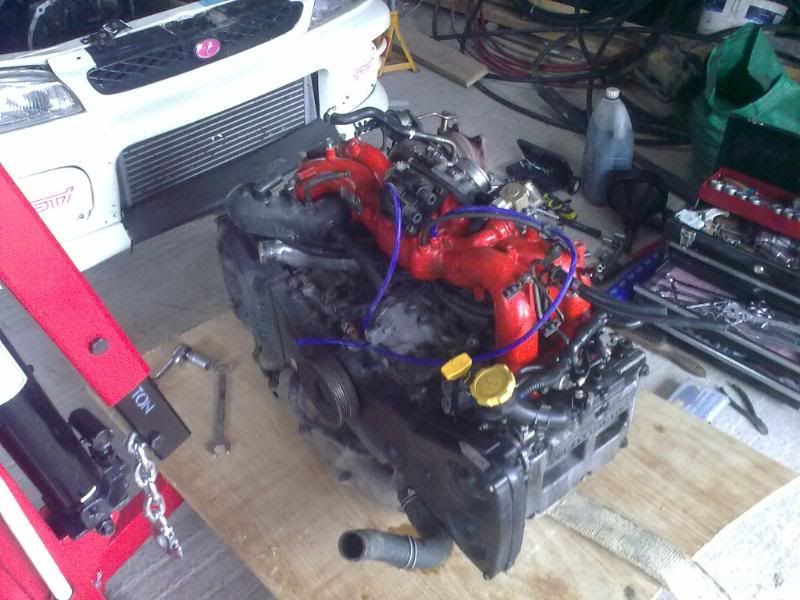
The engine killer bt
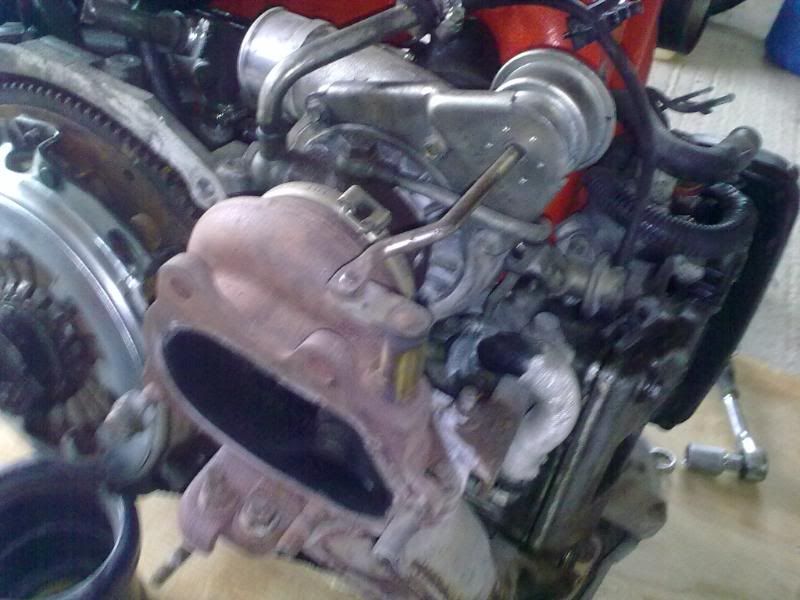
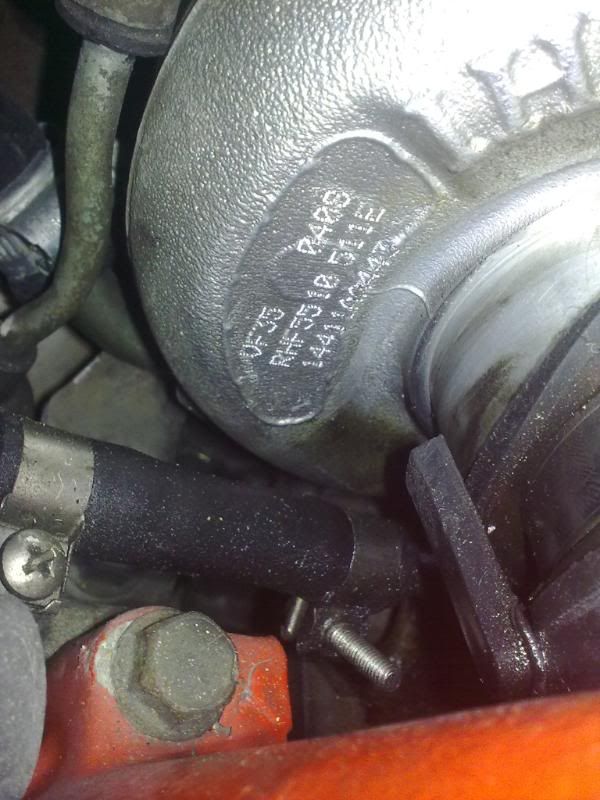
Vf35
My Brother left me the car when he died back in November '09,had been using alot of oil (2 litres a week) so i took it of the road I think it was back in May


UPDATE 14/08/2010
So I have the best girlfriend ever,was my birthday the week before last and she got me an engine crane and engine stand:happy)
I've been putting off stripping it because I was short these and didnt want to borrow then and have to rush the job, ya get me.
Anyway got some stripping done this day last week. . .not much but its a start


UPDATE - 27/08/2010
Well 3 hours in total driving accross the country to work on this today but with great results bt


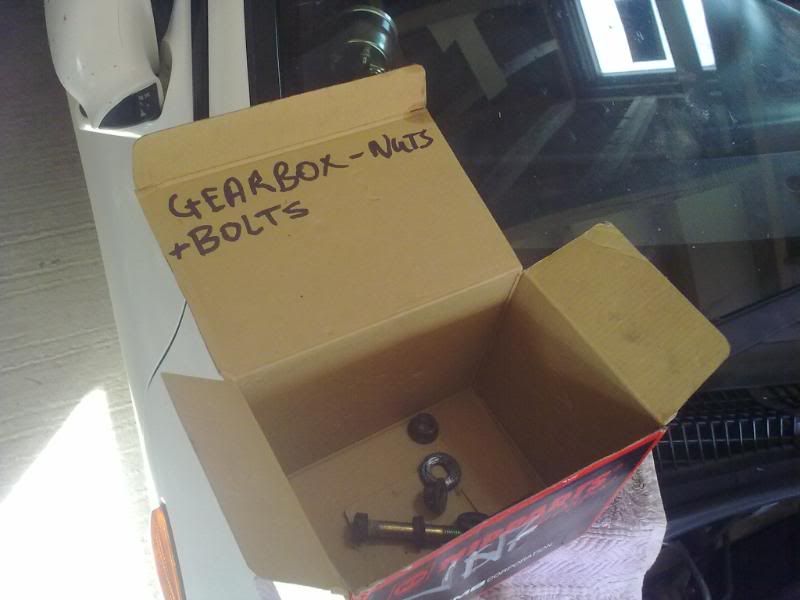
The only way to keep track of them


The engine killer bt


Vf35

#2
UPDATE 06/09/2010
Was working on this last Friday only got chance to put them up now
When I drained the engine there was about a litre of oil in it so it used 3.5 ish litres on a 140km drive before it was parked up
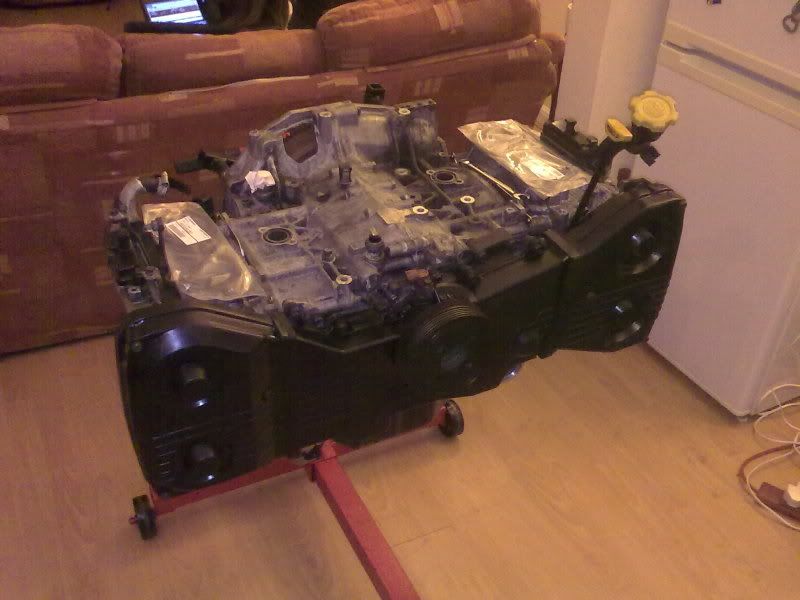
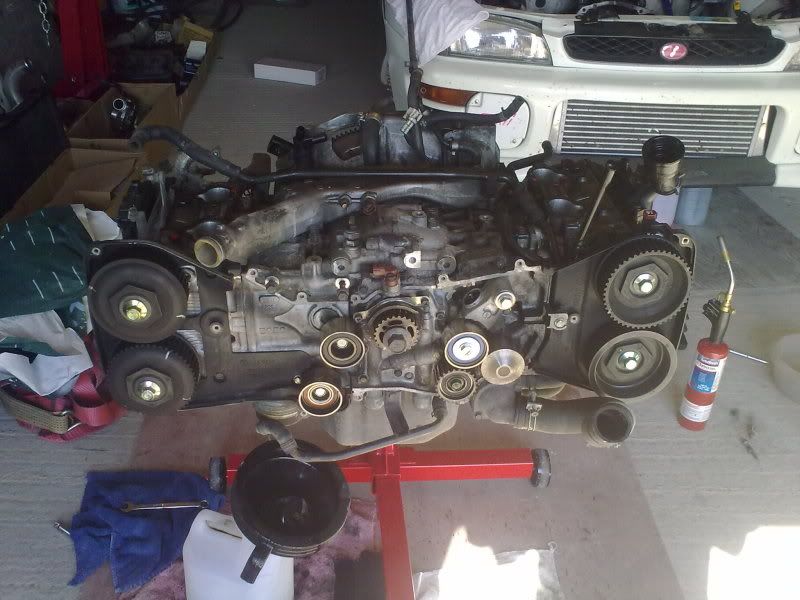
Engine on the stand
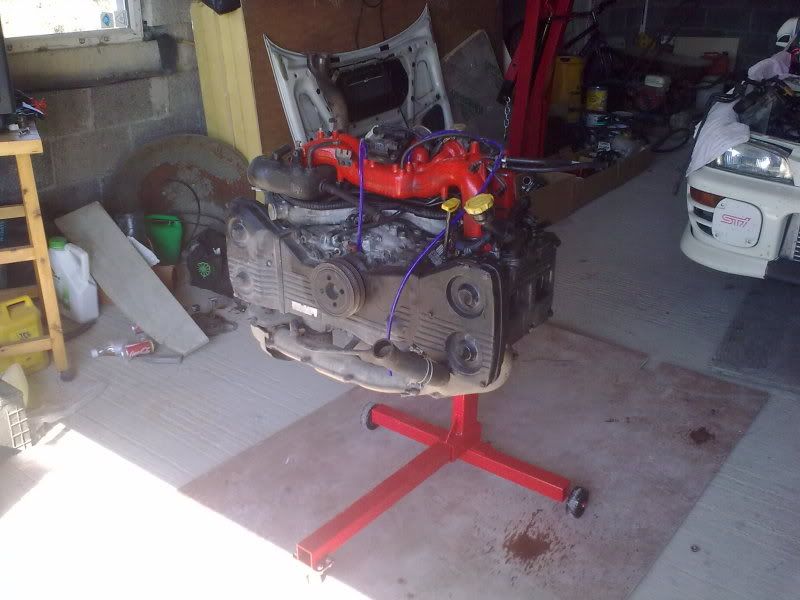
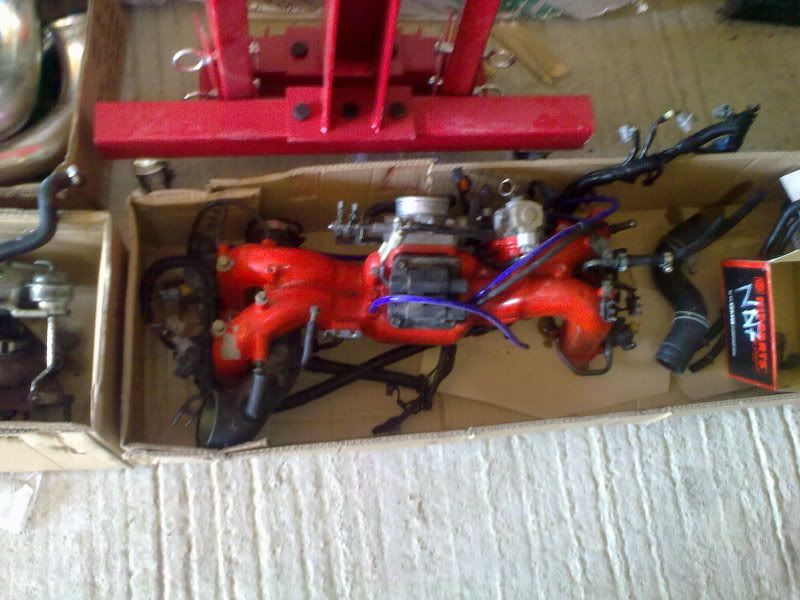
Inlet manifold and loom, absolutely no wiring to this car
Exhaust manifold off ,timing belt and covers off
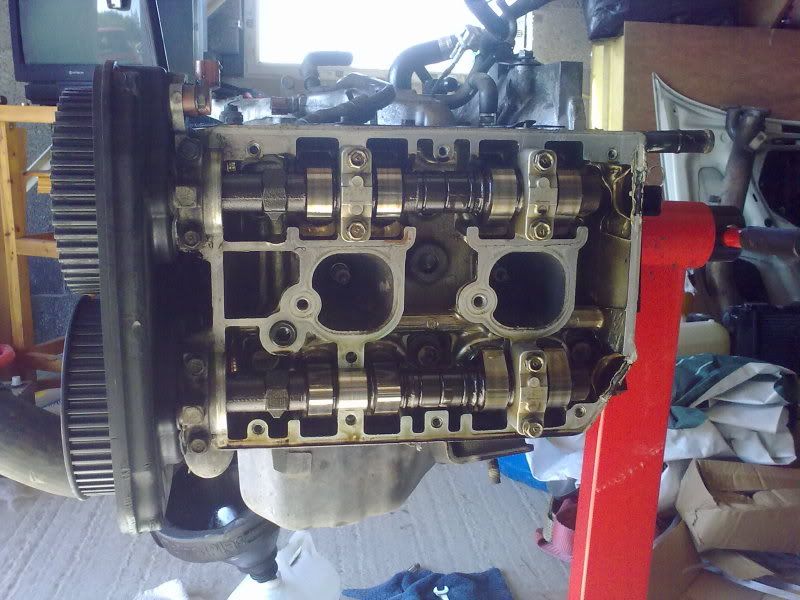
Have to take the cams out to get the heads off
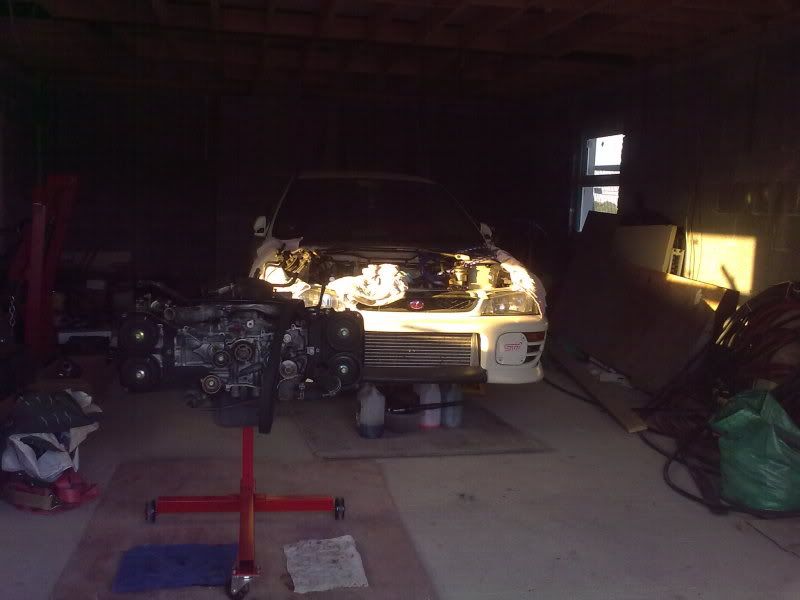
thought this looked like a good picture opportunity
Was working on this last Friday only got chance to put them up now
When I drained the engine there was about a litre of oil in it so it used 3.5 ish litres on a 140km drive before it was parked up
Engine on the stand

Inlet manifold and loom, absolutely no wiring to this car

Exhaust manifold off ,timing belt and covers off

Have to take the cams out to get the heads off

thought this looked like a good picture opportunity

#3
UPDATE
Here is where I am so far
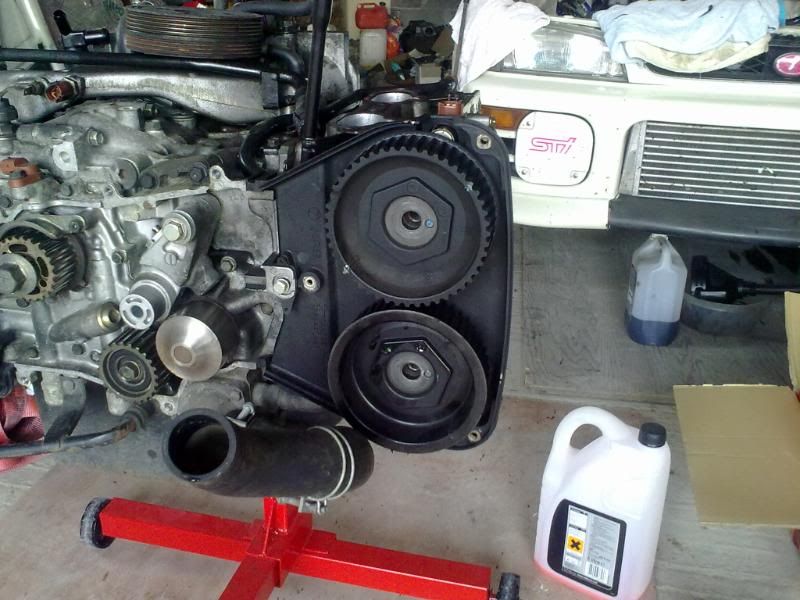
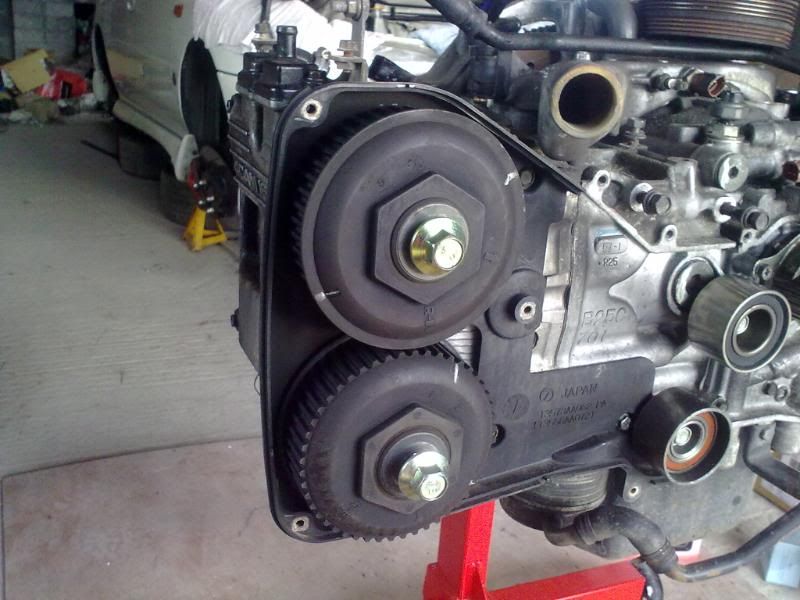
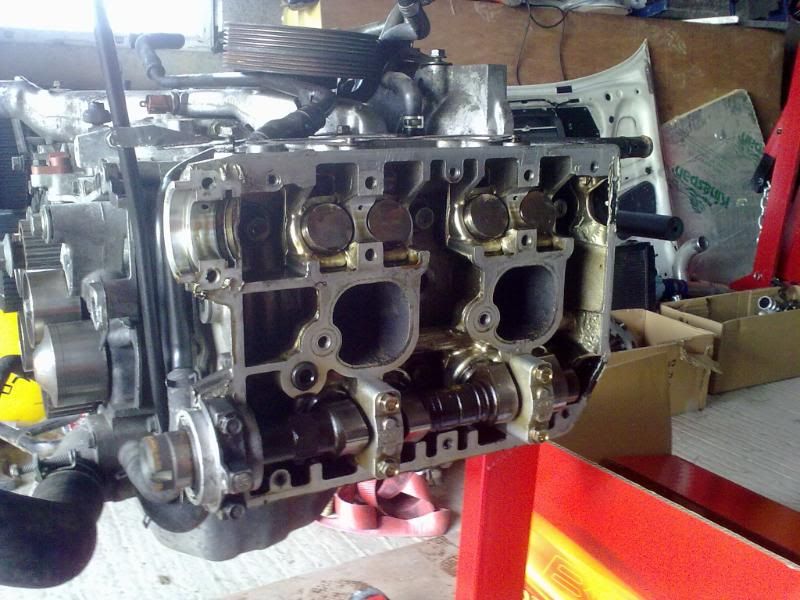
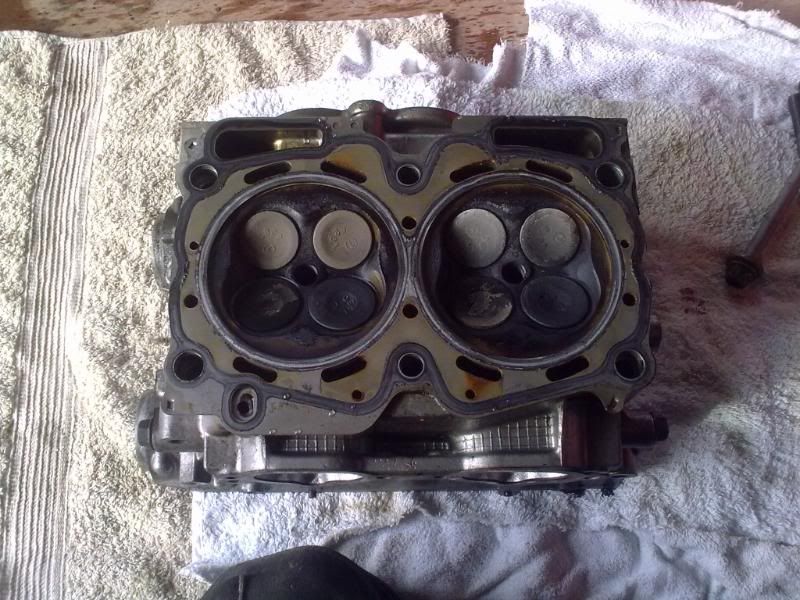
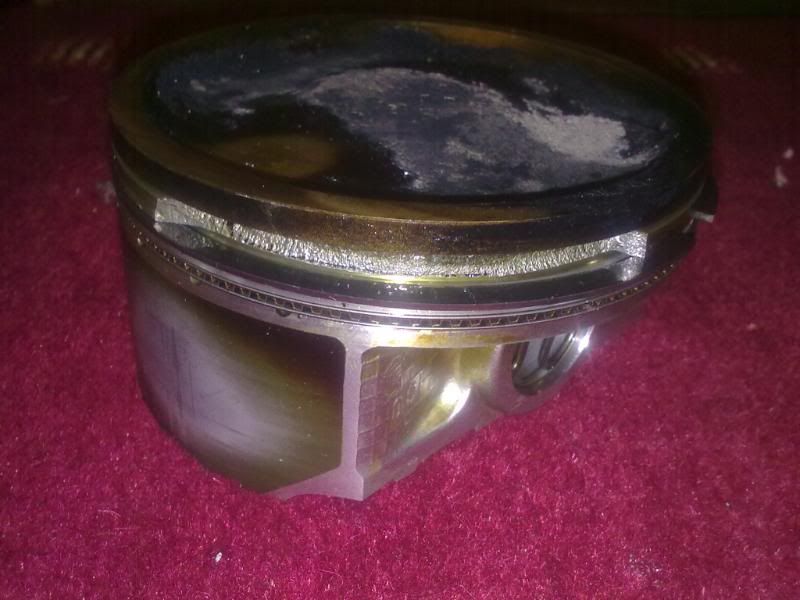
Alot of carbon deposits on the piston faces
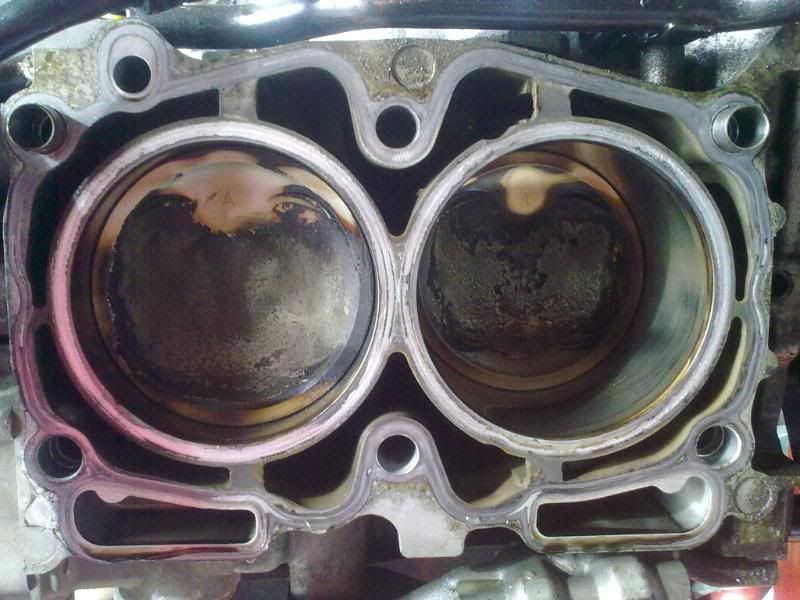
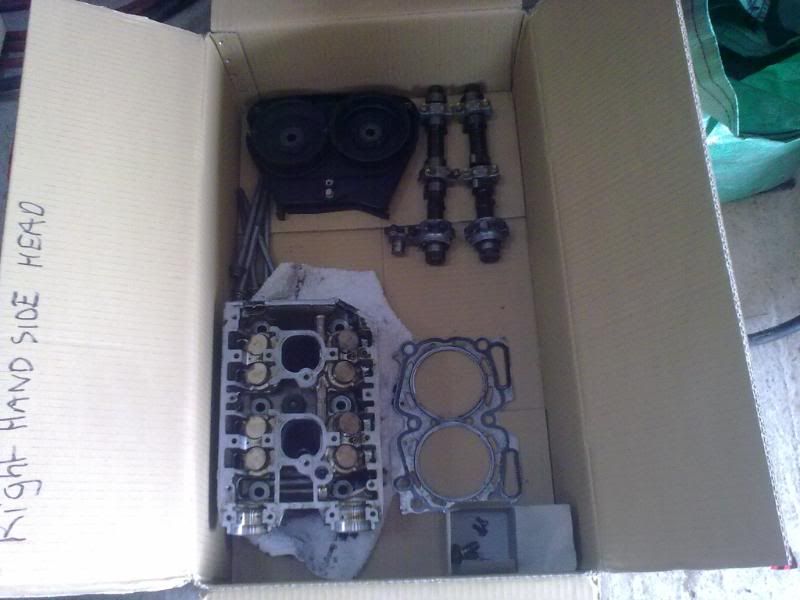
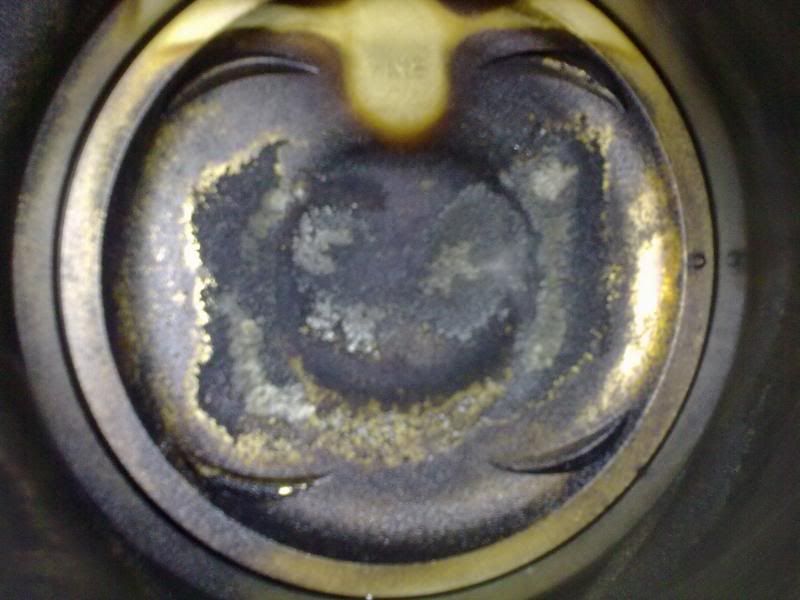
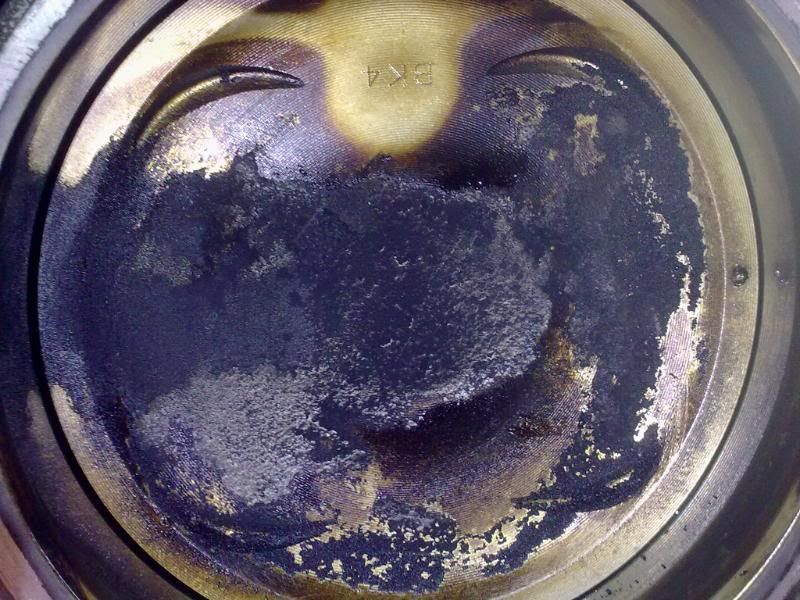
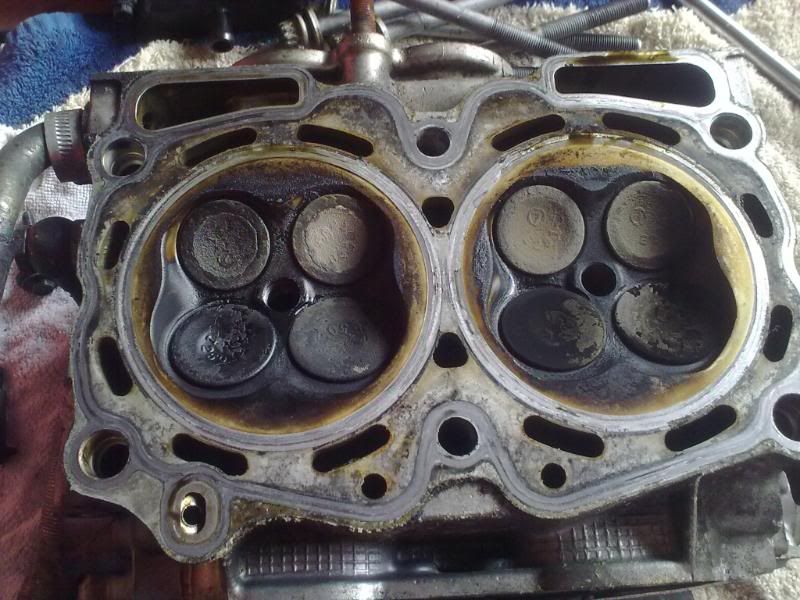
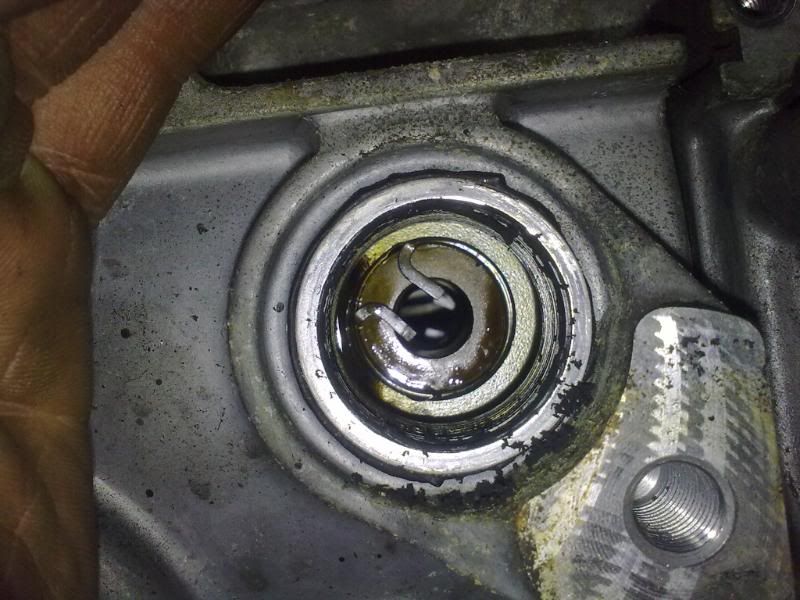
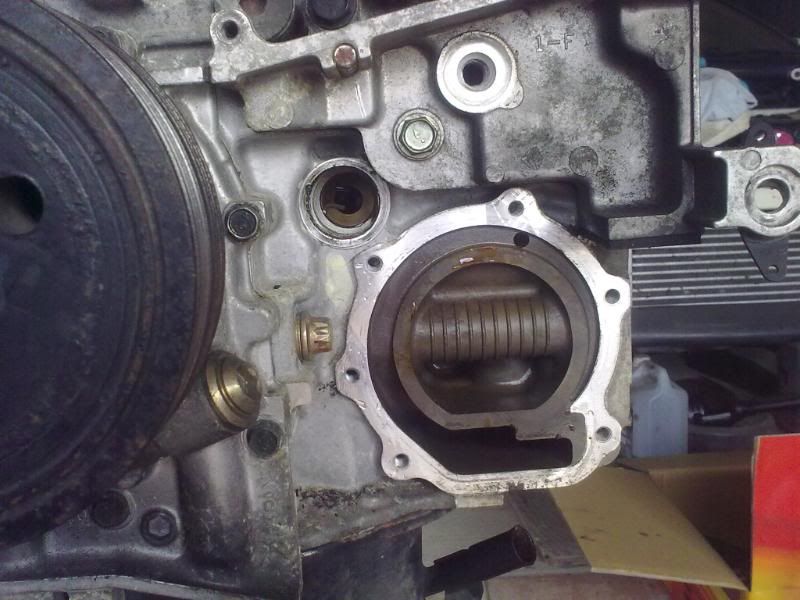
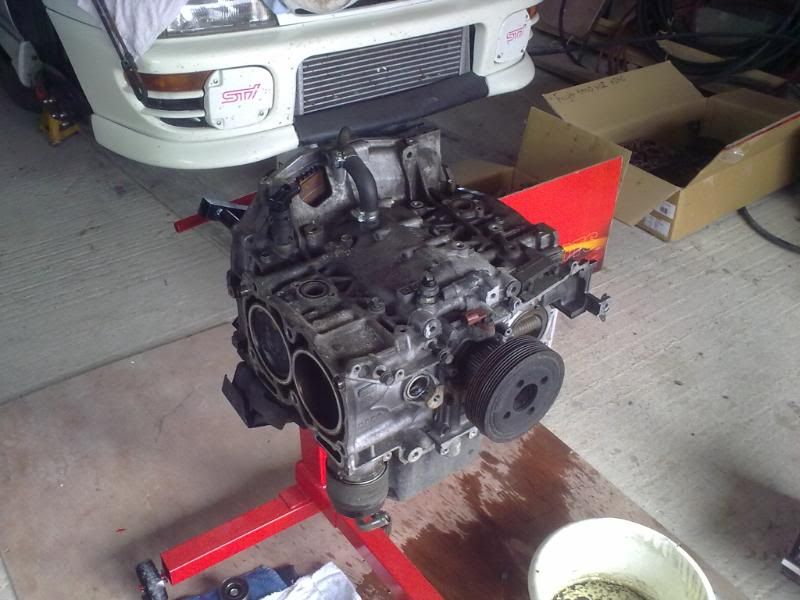
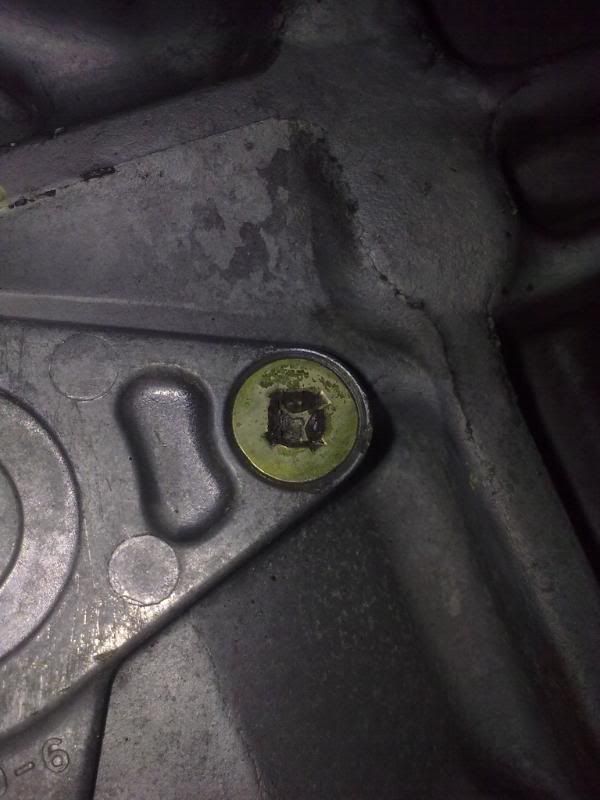
Once I removed the flywheel I found a few butchered screw heads holding the plates on,the plates need to be removed to get access to the circlip holding the gudgen pin in also the pins come out through there
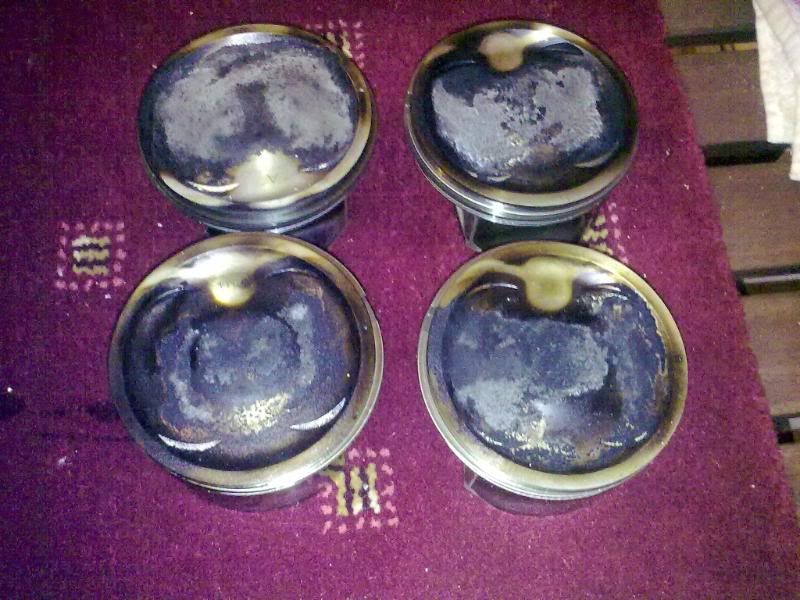
Some score marks on the piston
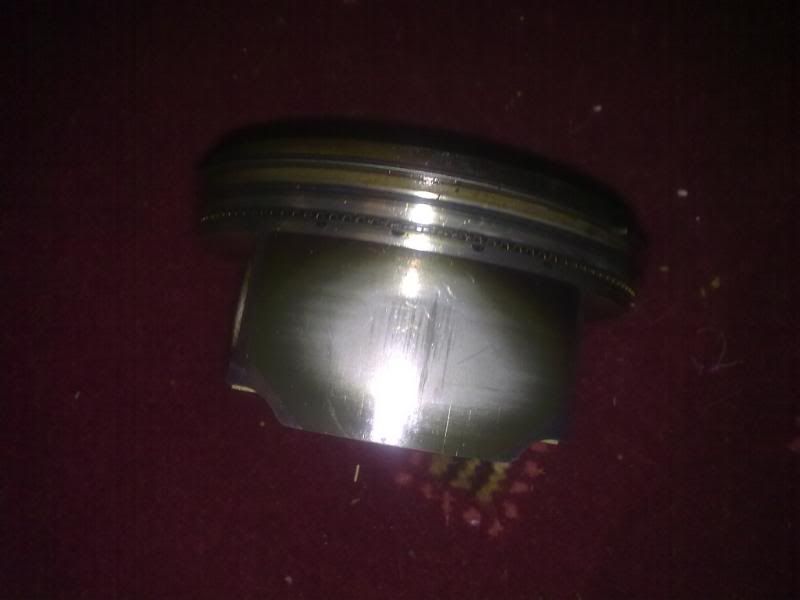
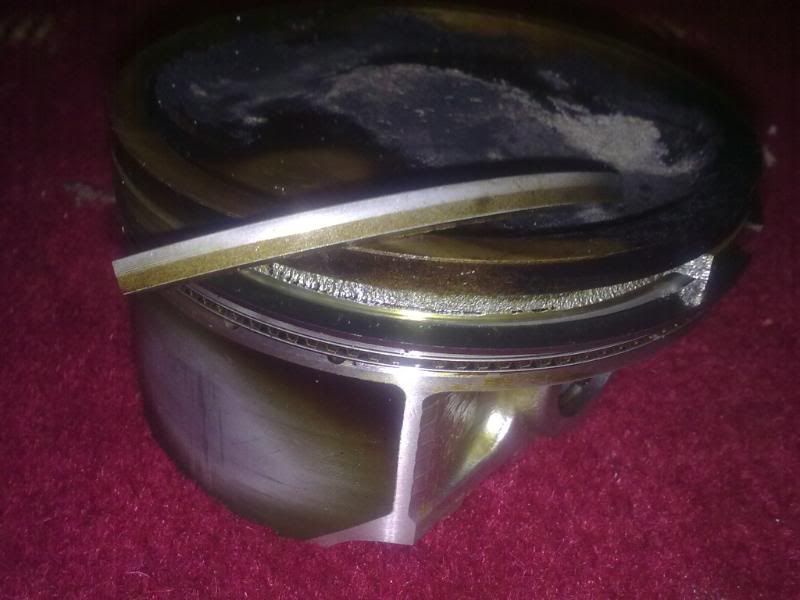
And here's the reason for the build: Broken Ringlands on every piston(rrfl:
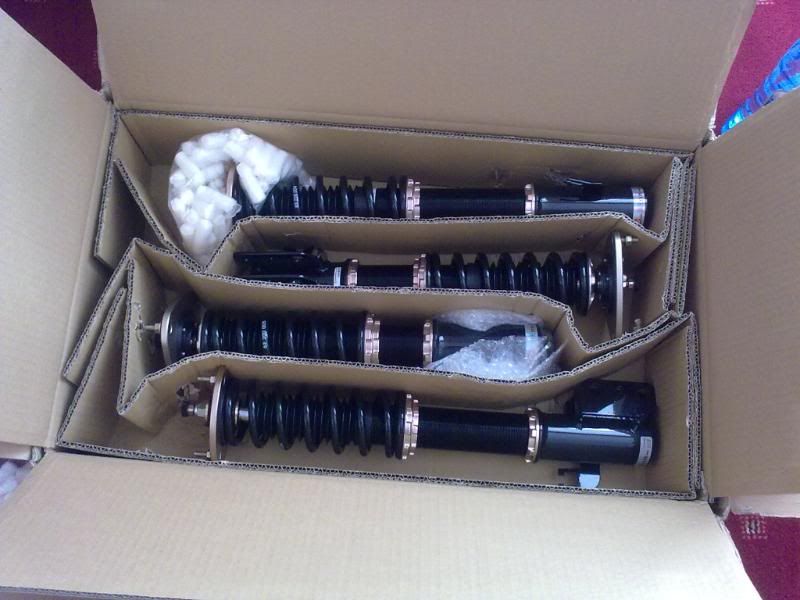
Also got new bc coilovers for it
Here is where I am so far


Alot of carbon deposits on the piston faces


Once I removed the flywheel I found a few butchered screw heads holding the plates on,the plates need to be removed to get access to the circlip holding the gudgen pin in also the pins come out through there


Some score marks on the piston

And here's the reason for the build: Broken Ringlands on every piston(rrfl:


Also got new bc coilovers for it

#4
UPDATE : 23/11/2010
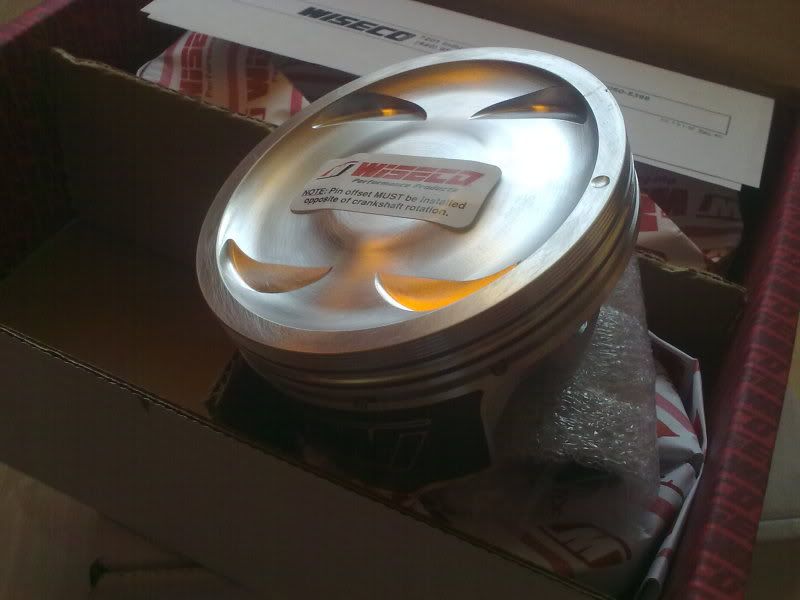
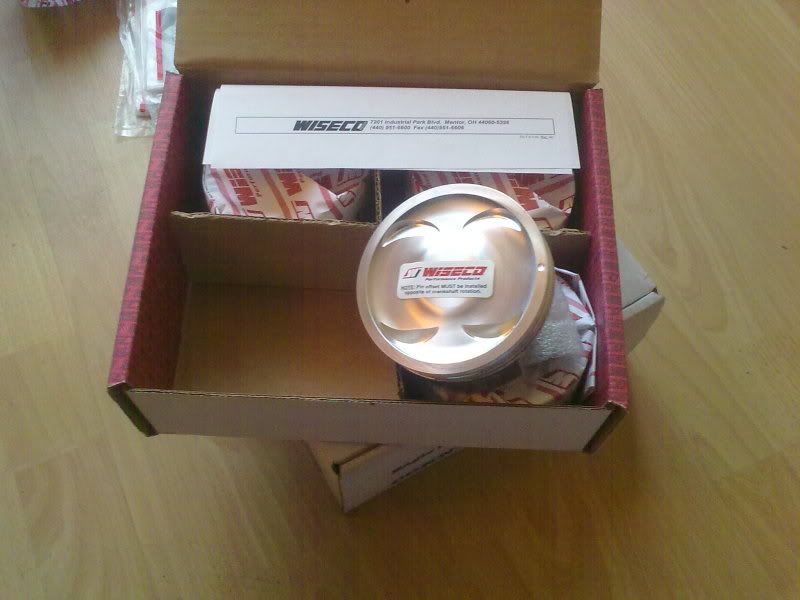
Right lads ,Drove up to Belfast to john in ECC today and picked up the engine internals
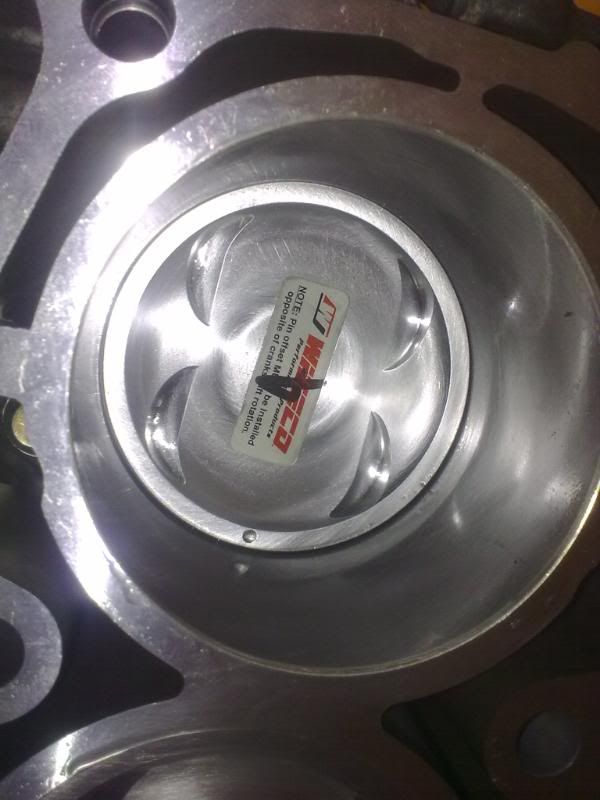
100mm Wiseco Pistons
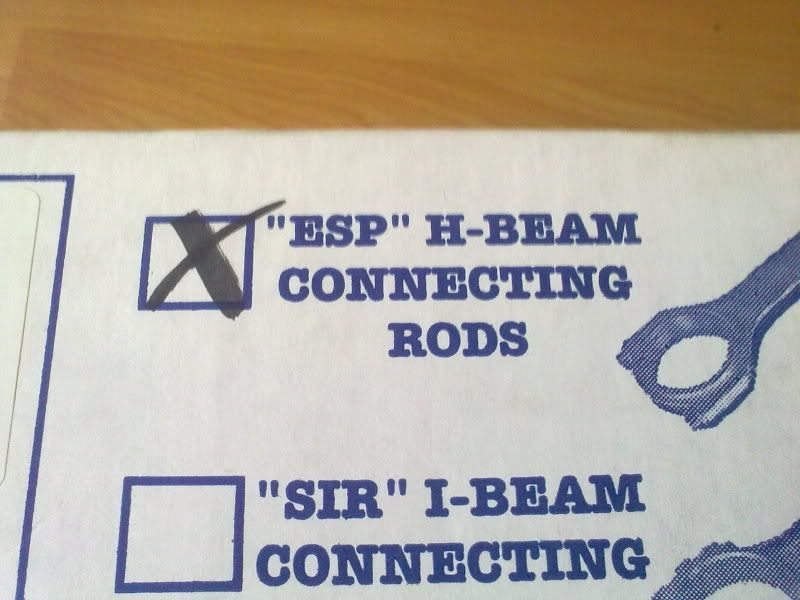
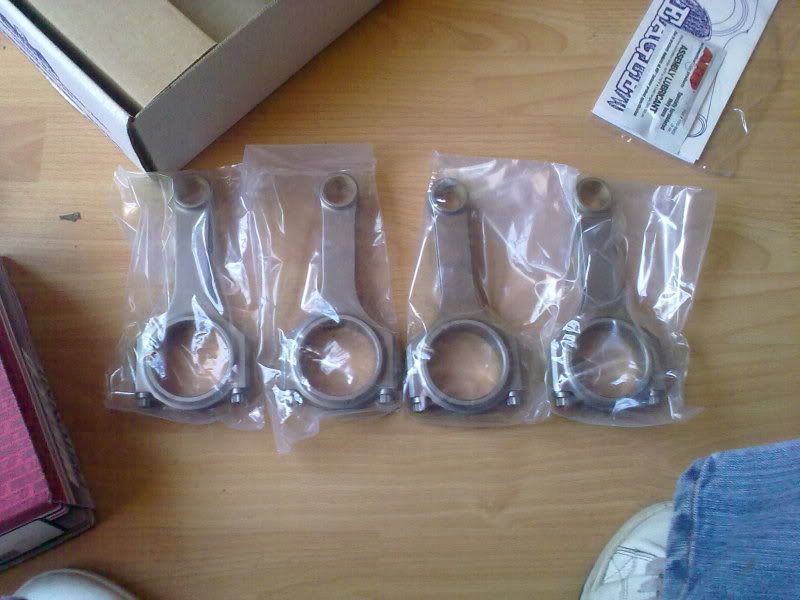
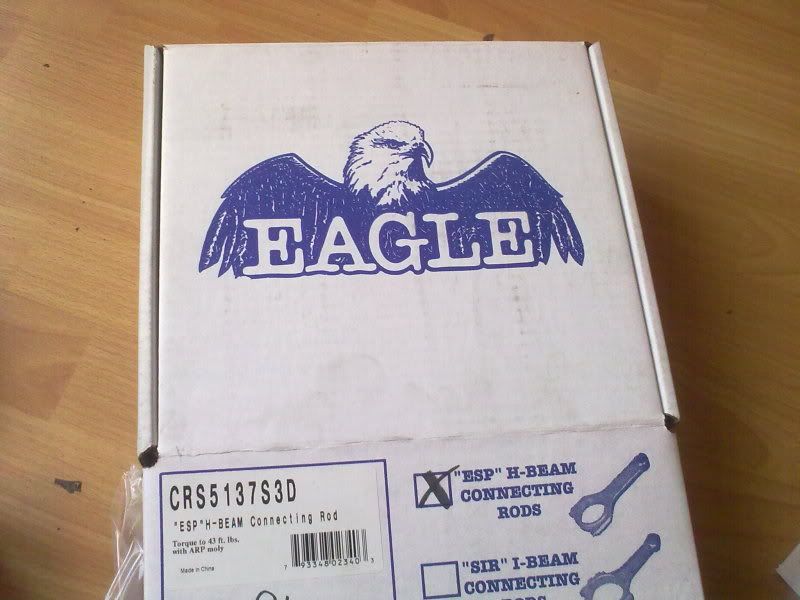
Eagle H beam rods
Acl race bearings (mains and rods)
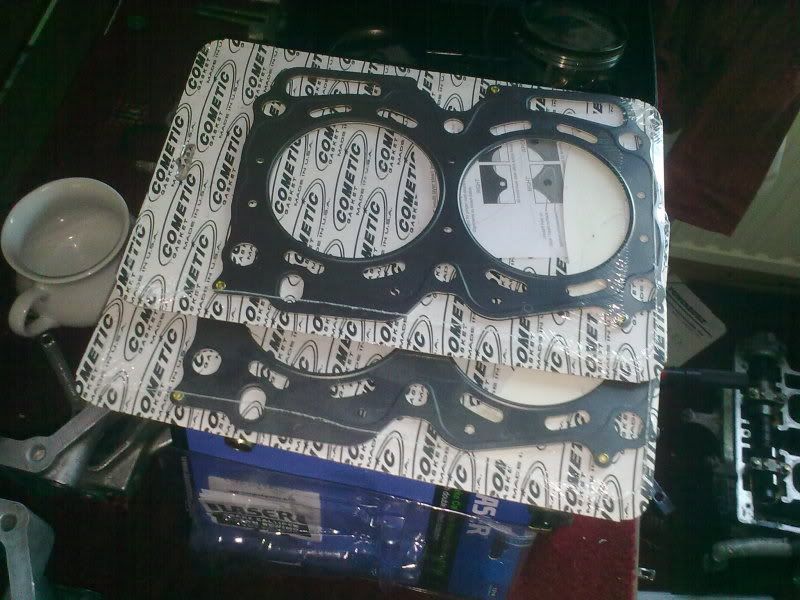
cometic head gaskets X2
Then back to dublin to pick up the block and heads and drop them down to Martin in westward, sound man.
Turns out the heads are not V4 sti heads as Dave (sti tuning) pointed out to me, so i'll need to source a pair of heads to get the most from this build.
Few pics
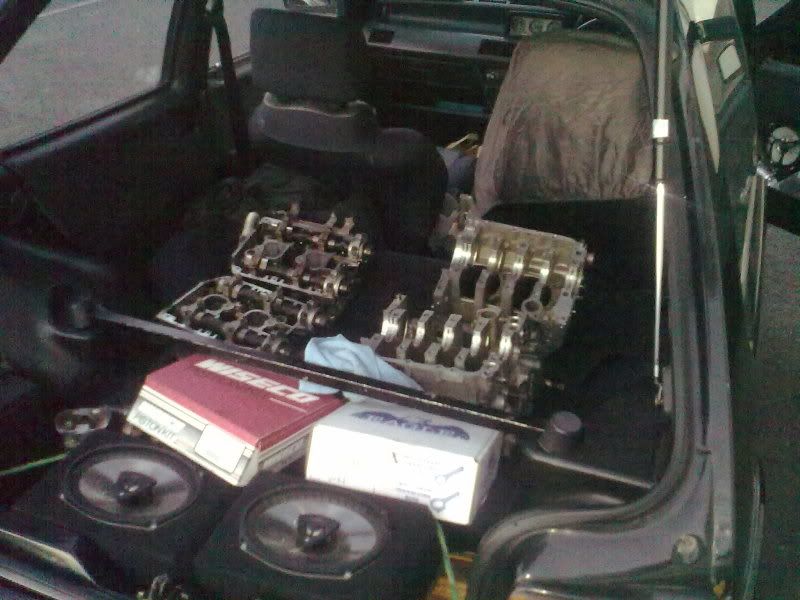
Scooby engined micra lol
Right lads ,Drove up to Belfast to john in ECC today and picked up the engine internals
100mm Wiseco Pistons
Eagle H beam rods
Acl race bearings (mains and rods)
cometic head gaskets X2
Then back to dublin to pick up the block and heads and drop them down to Martin in westward, sound man.
Turns out the heads are not V4 sti heads as Dave (sti tuning) pointed out to me, so i'll need to source a pair of heads to get the most from this build.
Few pics


Scooby engined micra lol
#5
UPDATE: 10/12/2010
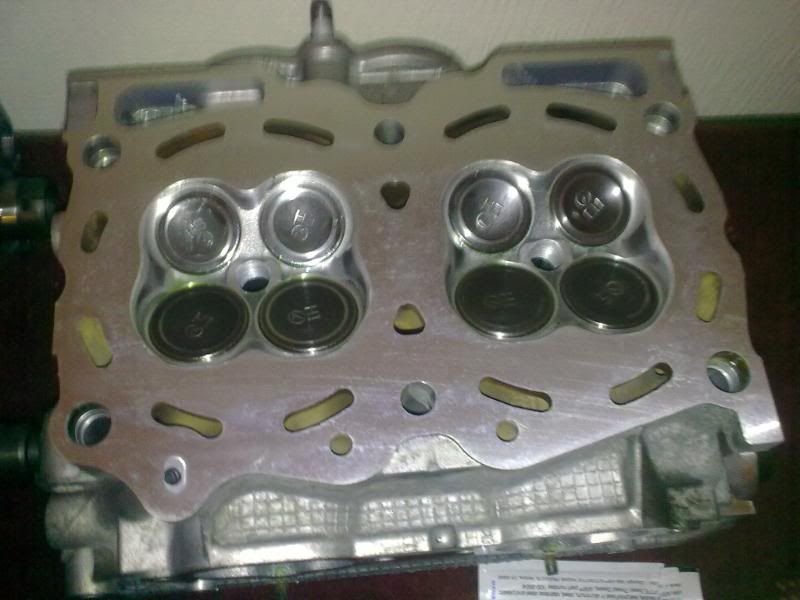
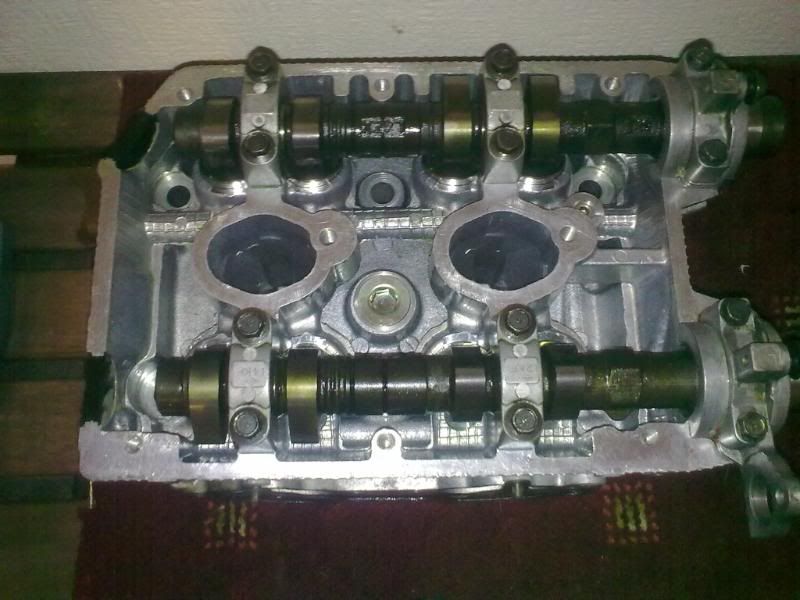
Right lads collected everything from Westward Engineering last night, very happy with the work. Basically what was done was bore the block for 0.5mm oversize pistons, decked etc.
Then the two heads were fully reconditioned,valve seats recut,reground the valves, new valve stem oil seal,and the solid lifters re-shimmed.
Also I asked Martin to gap the piston rings for me as I wasnt confident filing them.
Half the block
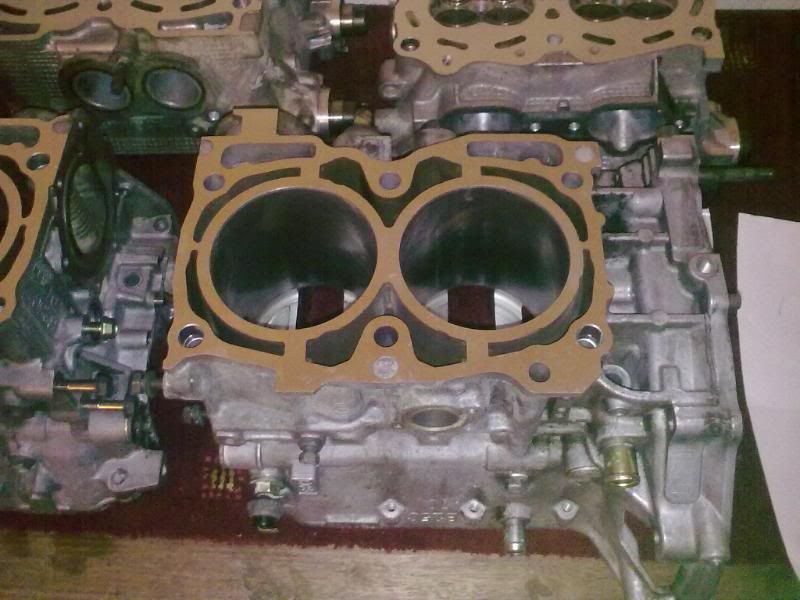
The Fresh bore
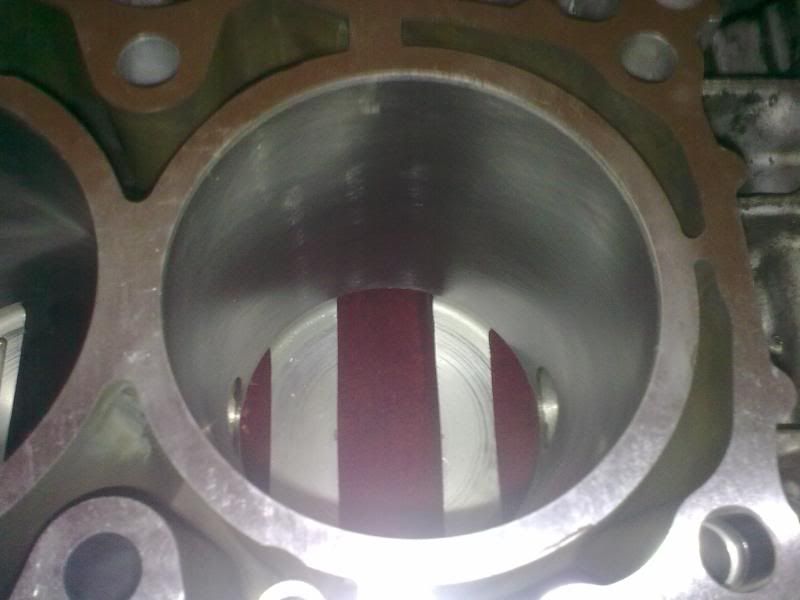
The whole package
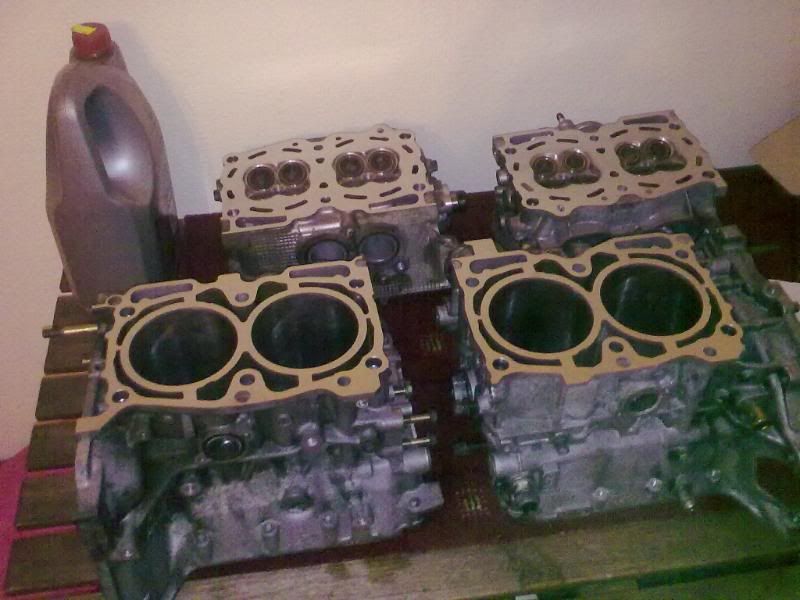
Head 1
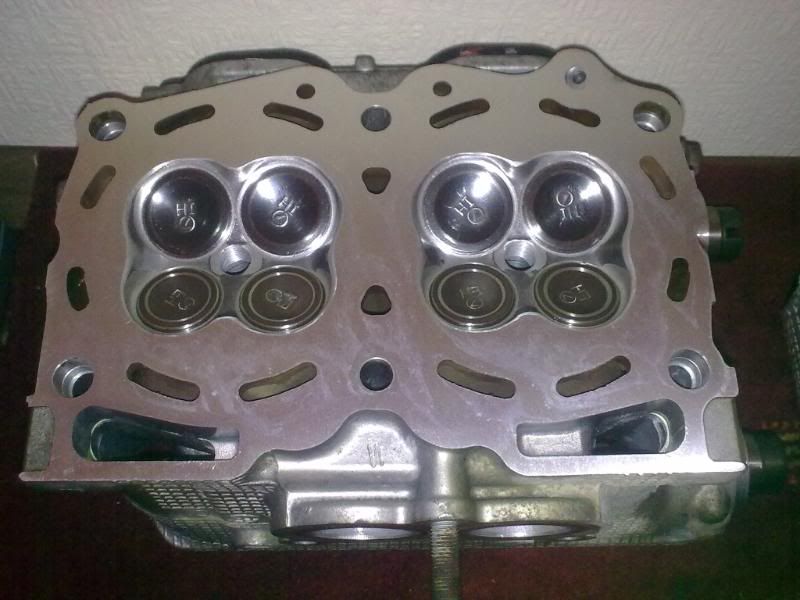
Head 2
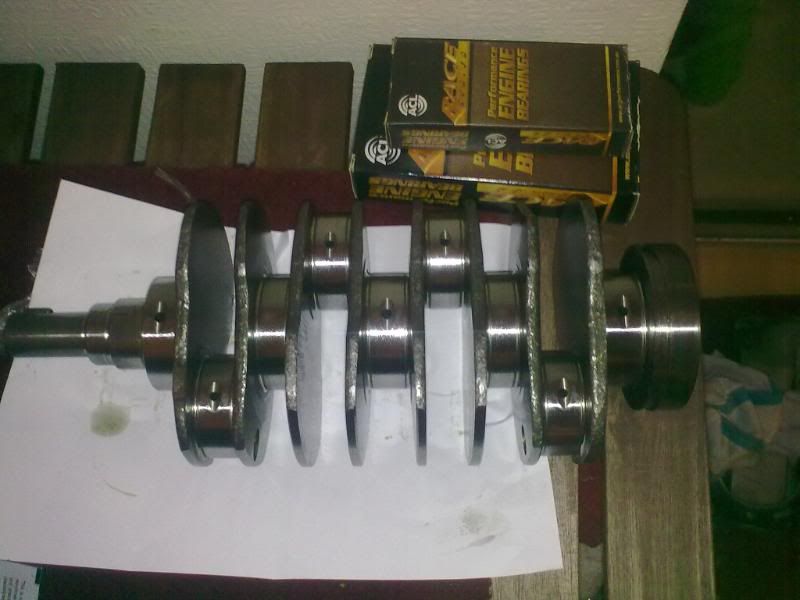
Polished crank
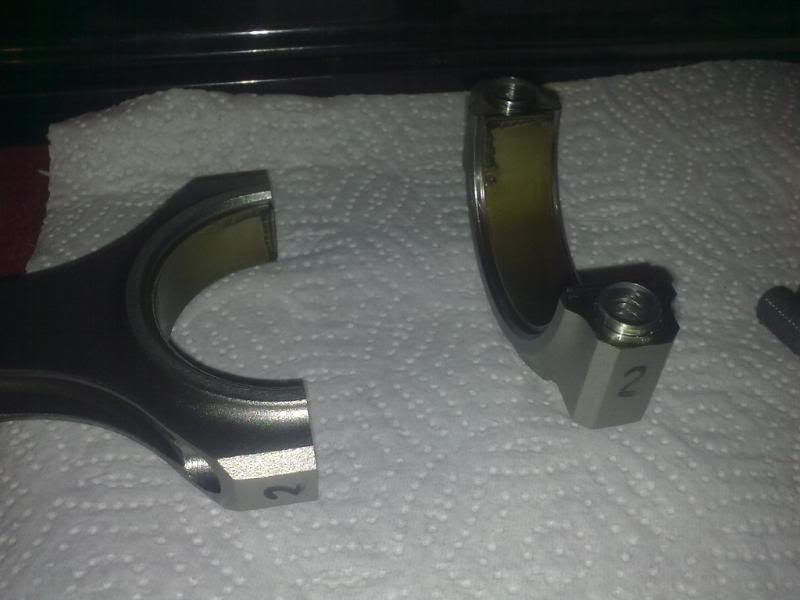
Matching a rod from cylinder 1 to piston from cylinder 1
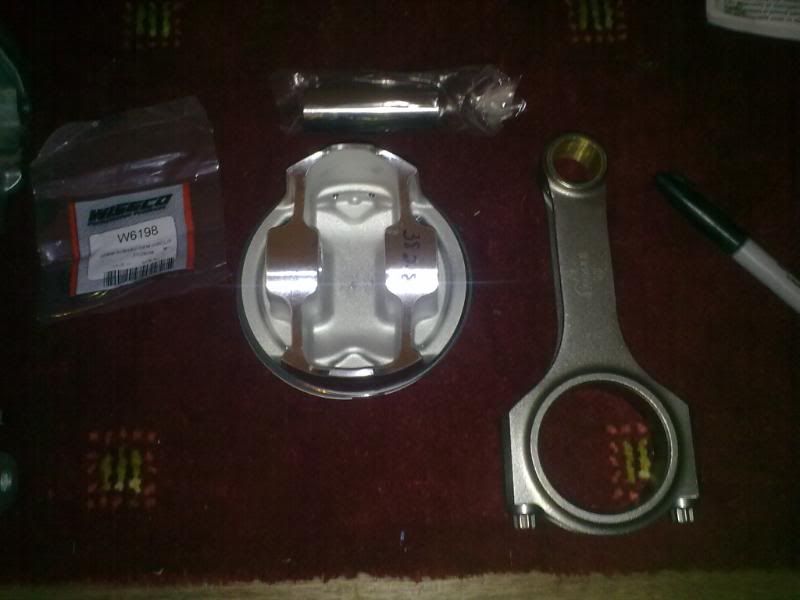
So When I'm done matching number 2 looks like this ,rod and cap marked with a felt tip marker because these can not be mixed
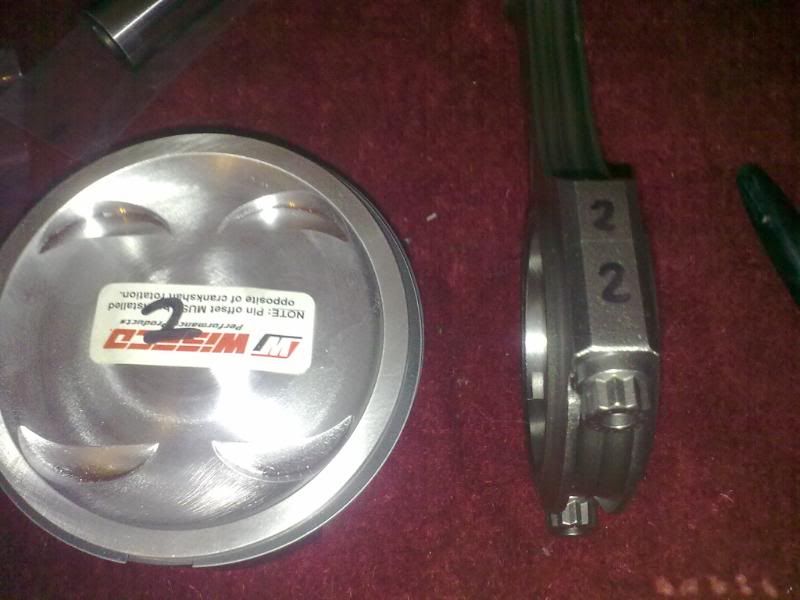
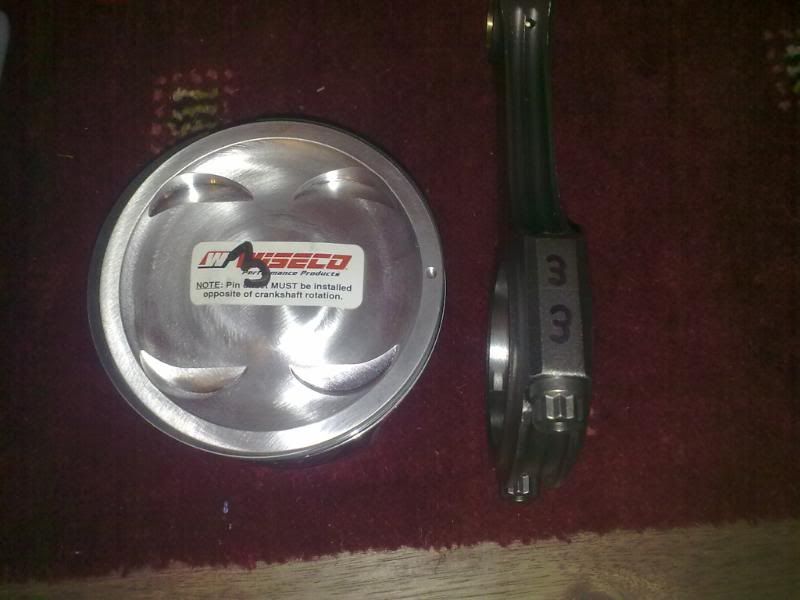
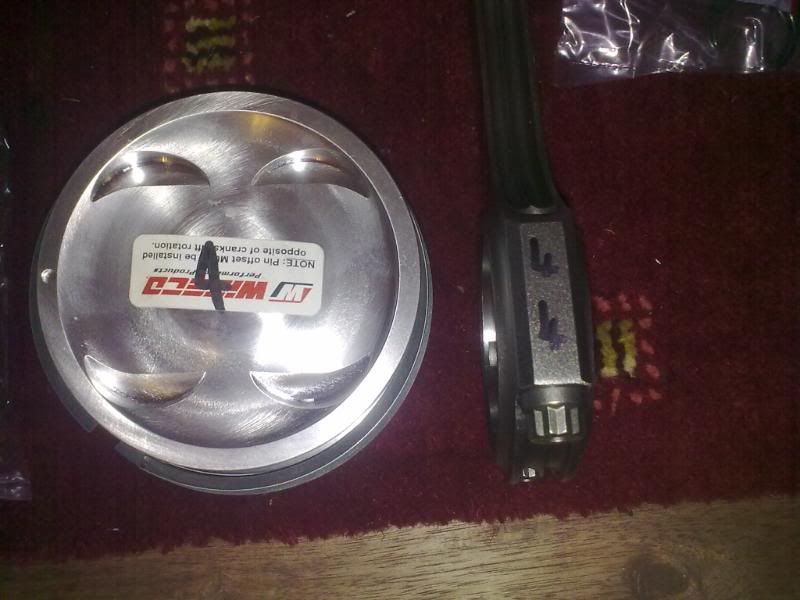
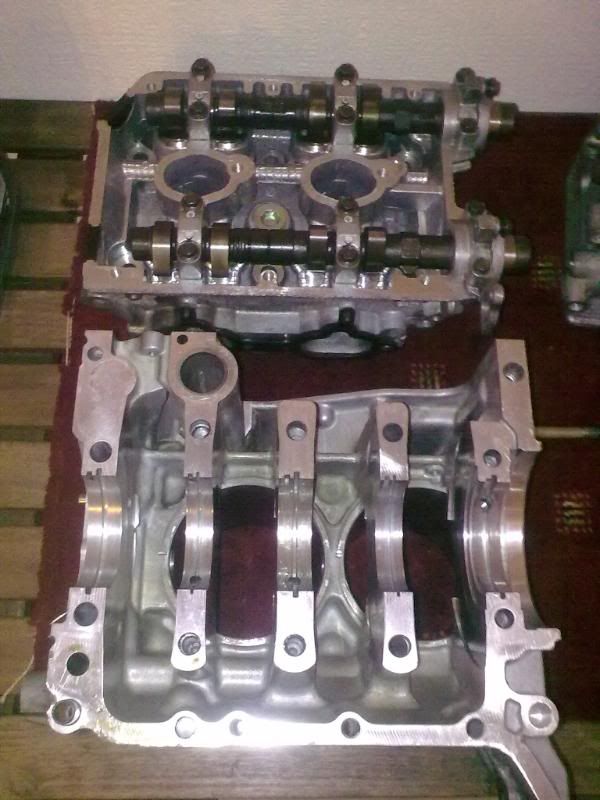
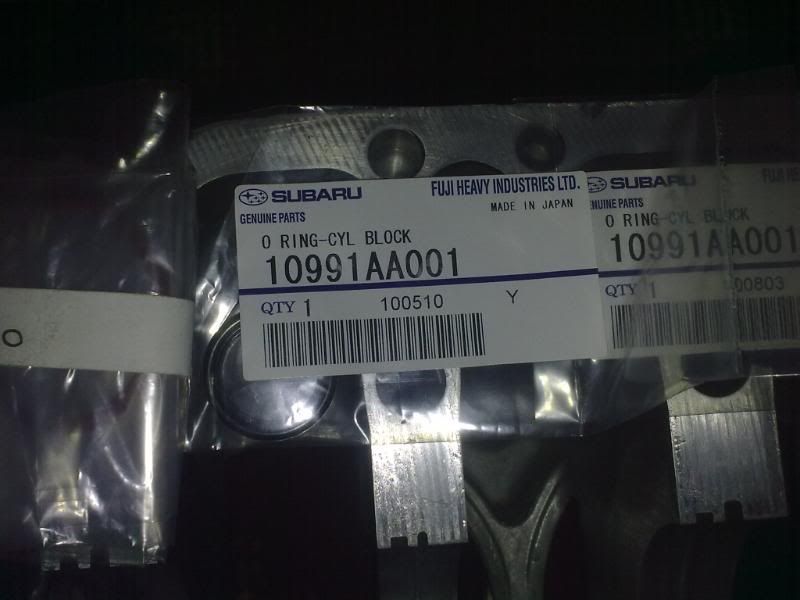
New o rings for the block
Right lads collected everything from Westward Engineering last night, very happy with the work. Basically what was done was bore the block for 0.5mm oversize pistons, decked etc.
Then the two heads were fully reconditioned,valve seats recut,reground the valves, new valve stem oil seal,and the solid lifters re-shimmed.
Also I asked Martin to gap the piston rings for me as I wasnt confident filing them.
Half the block

The Fresh bore

The whole package

Head 1

Head 2

Polished crank

Matching a rod from cylinder 1 to piston from cylinder 1

So When I'm done matching number 2 looks like this ,rod and cap marked with a felt tip marker because these can not be mixed


New o rings for the block

Trending Topics
#10
#17
UPDATE 14/12/2010
I'll let the pictures do the talking. . .
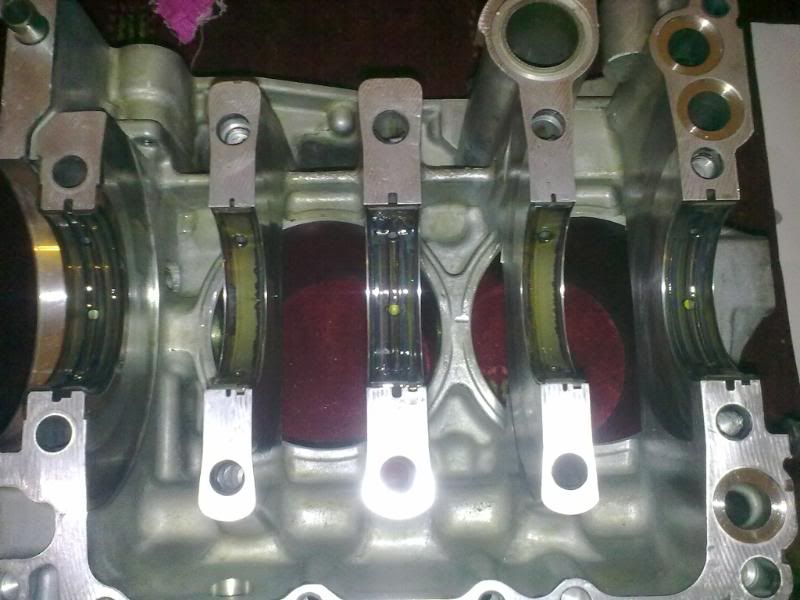
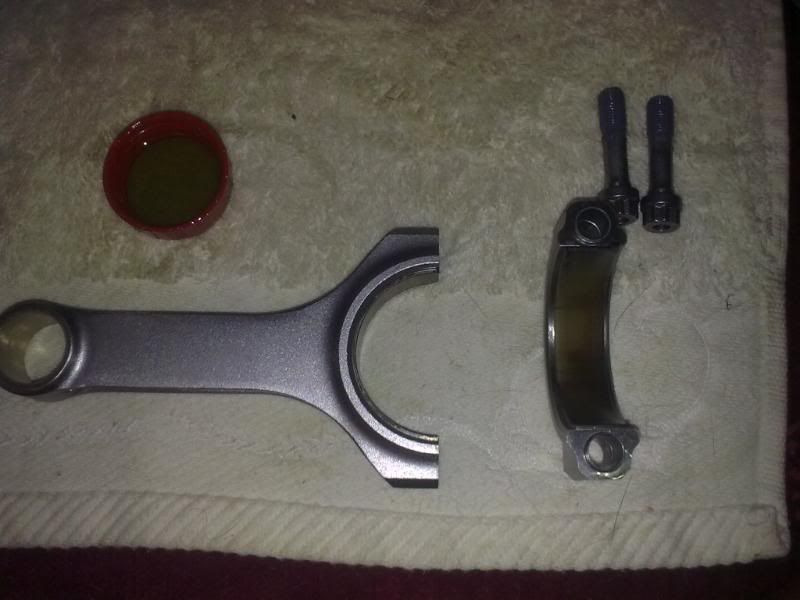
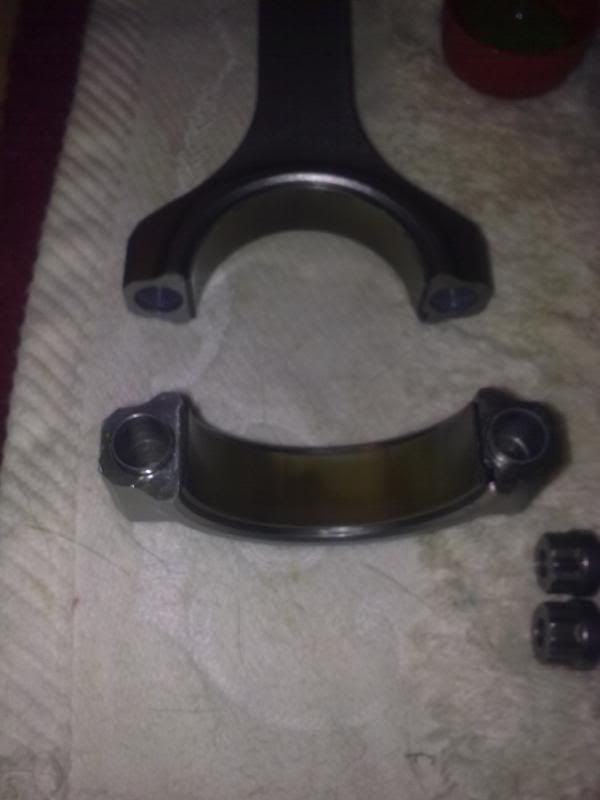
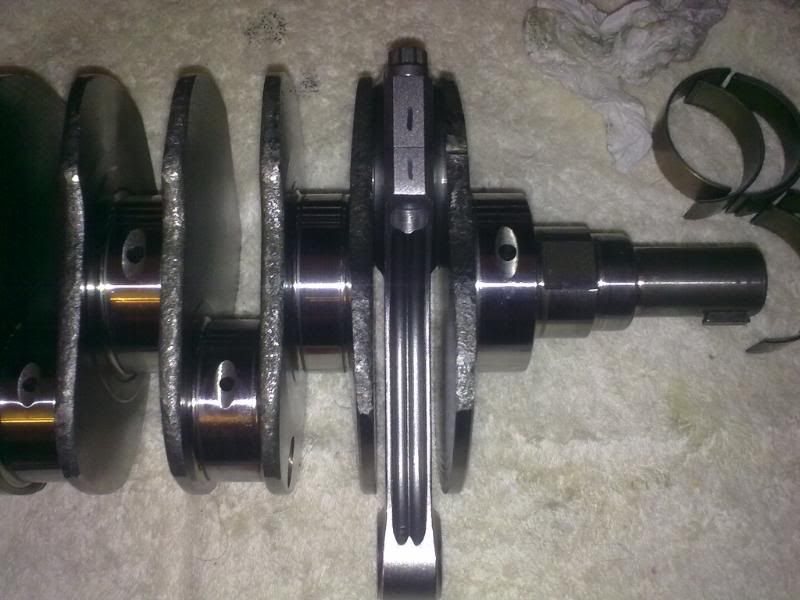
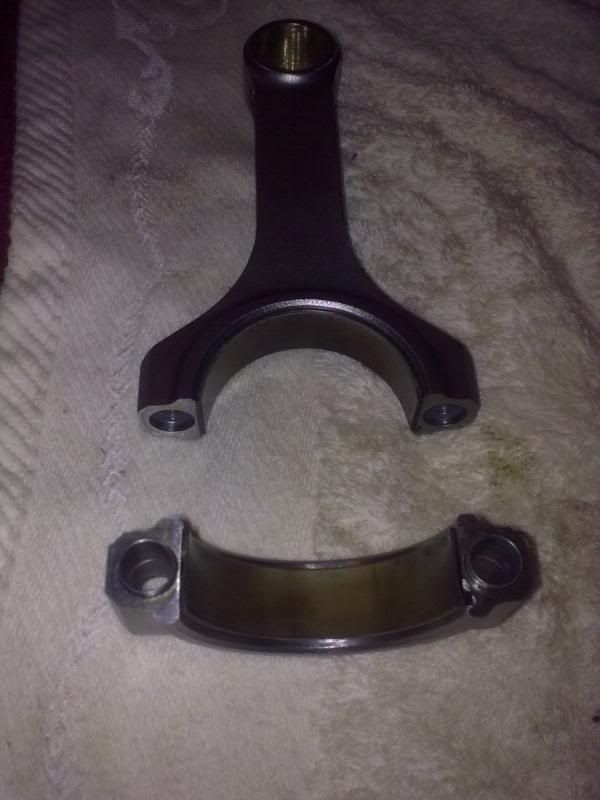
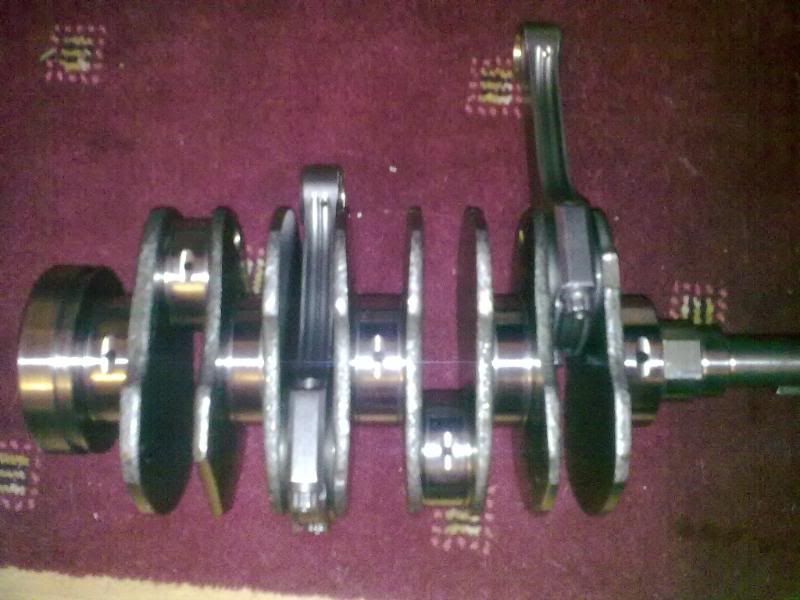
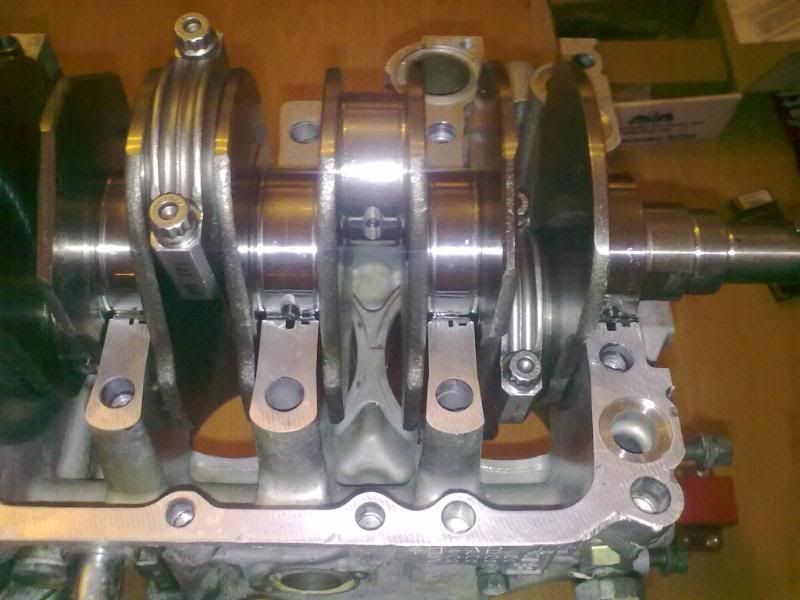
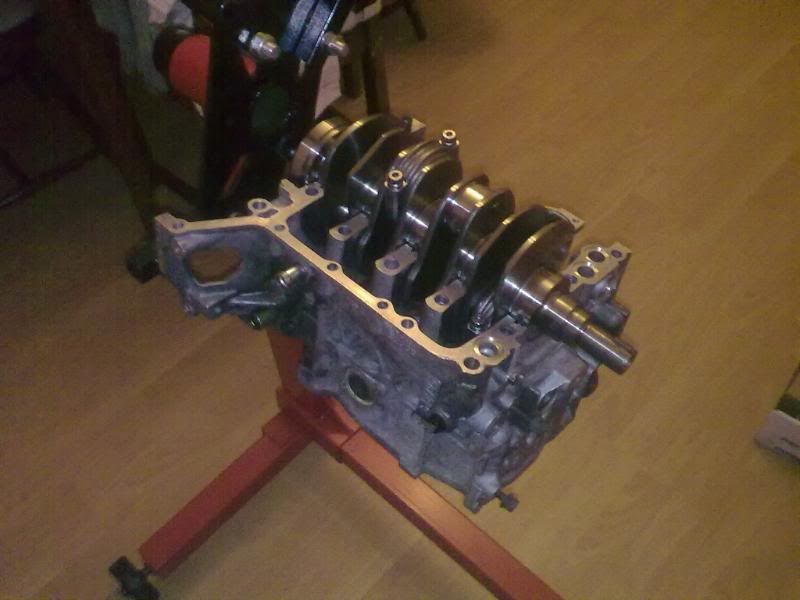
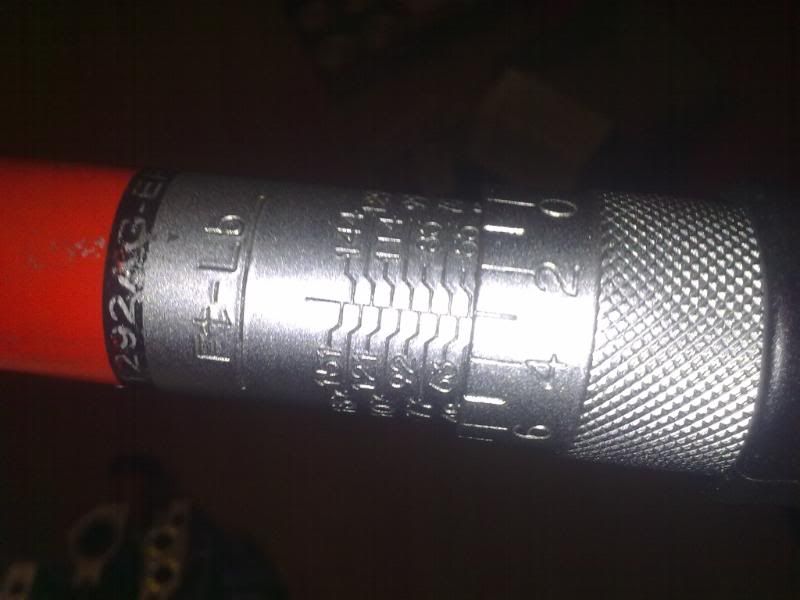
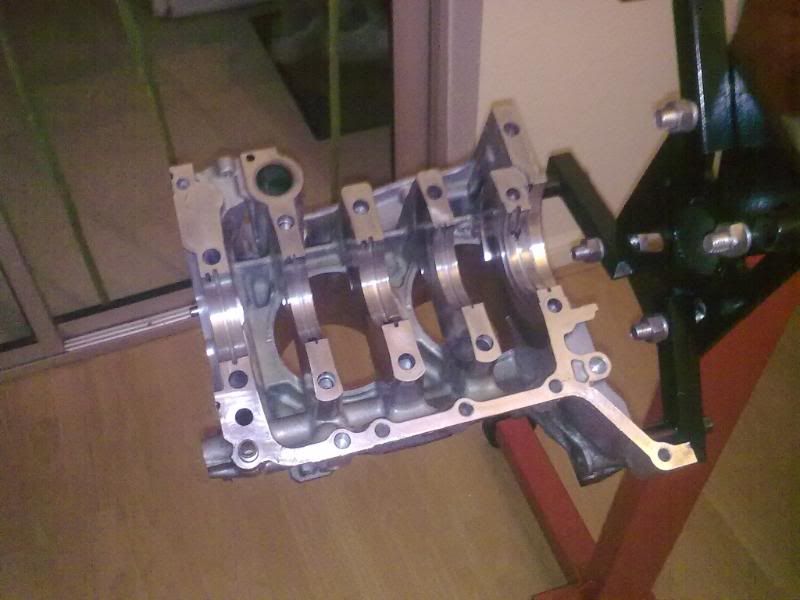
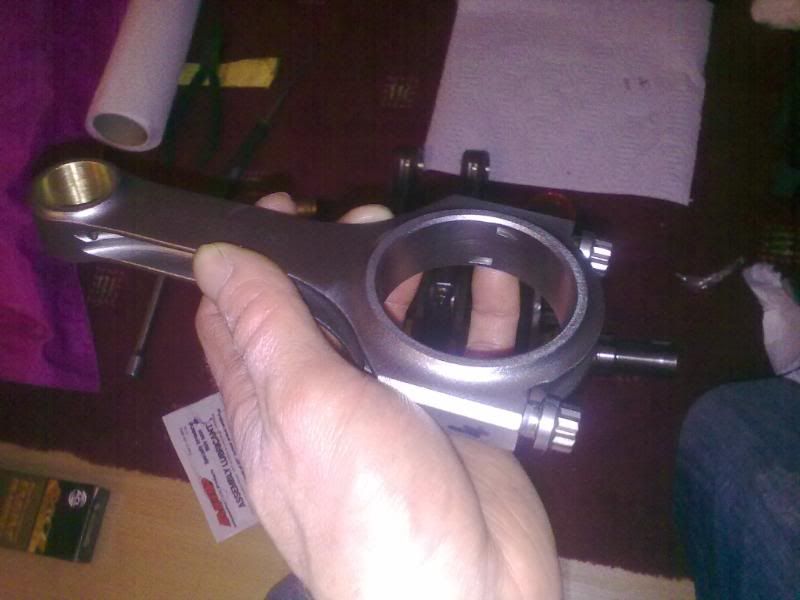
Complete crank with the new rods torqued up
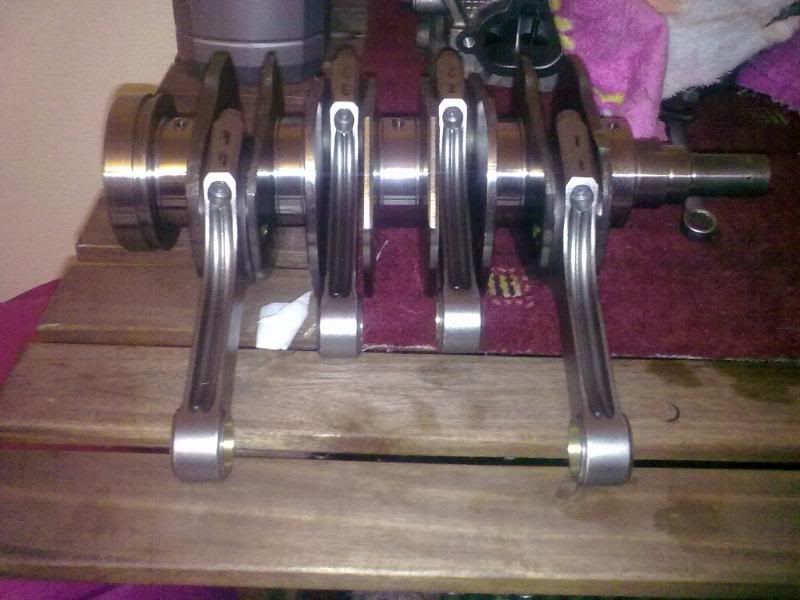
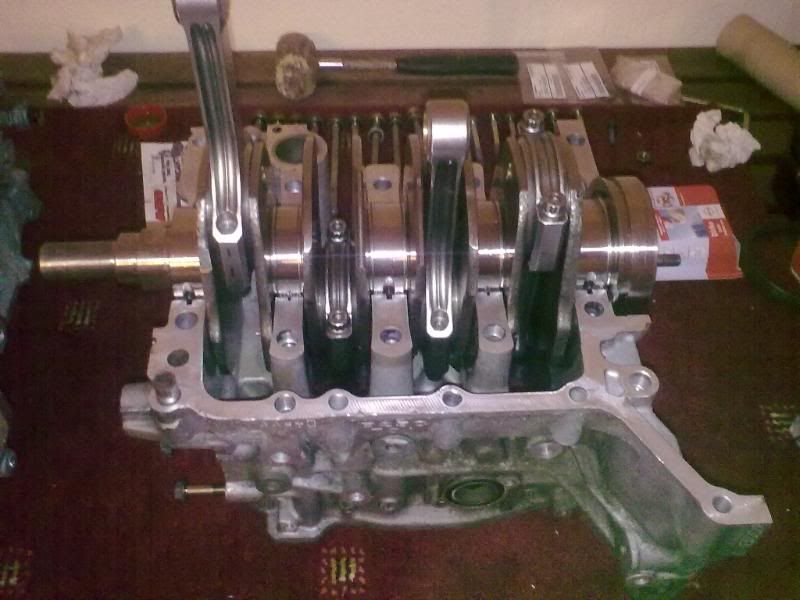
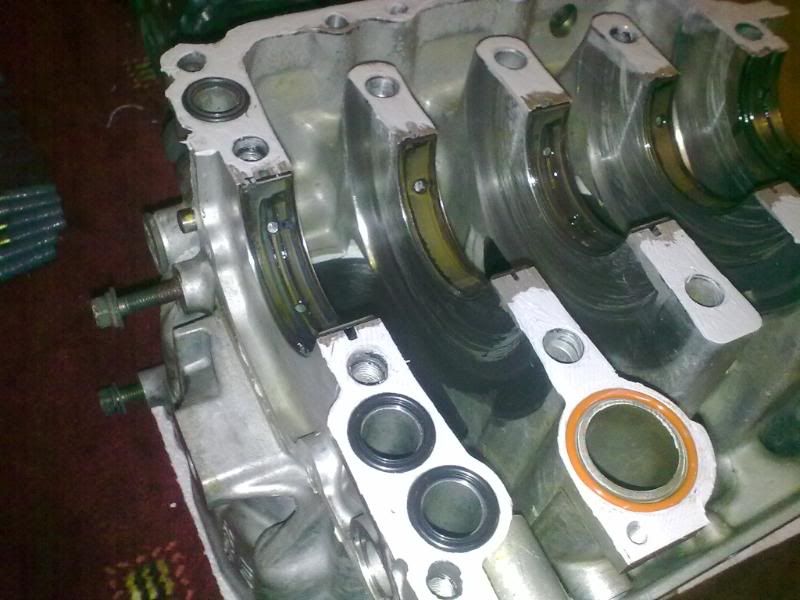
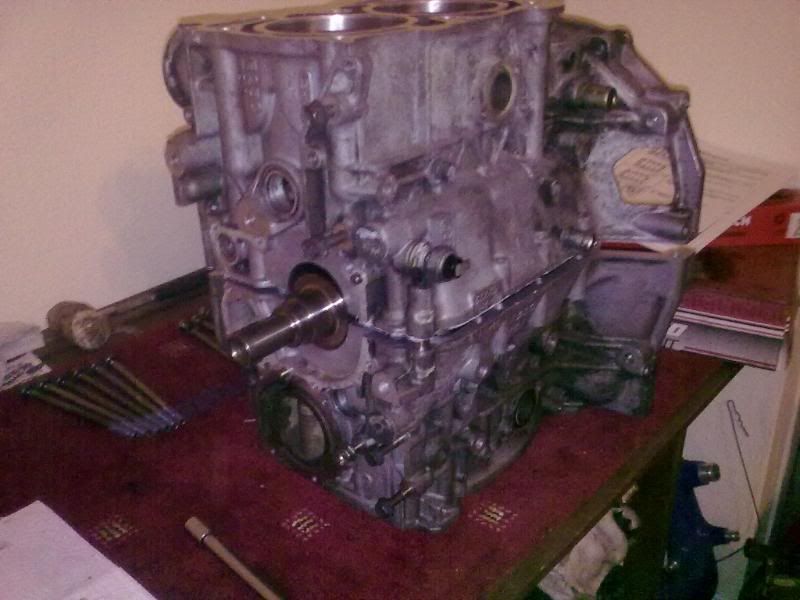
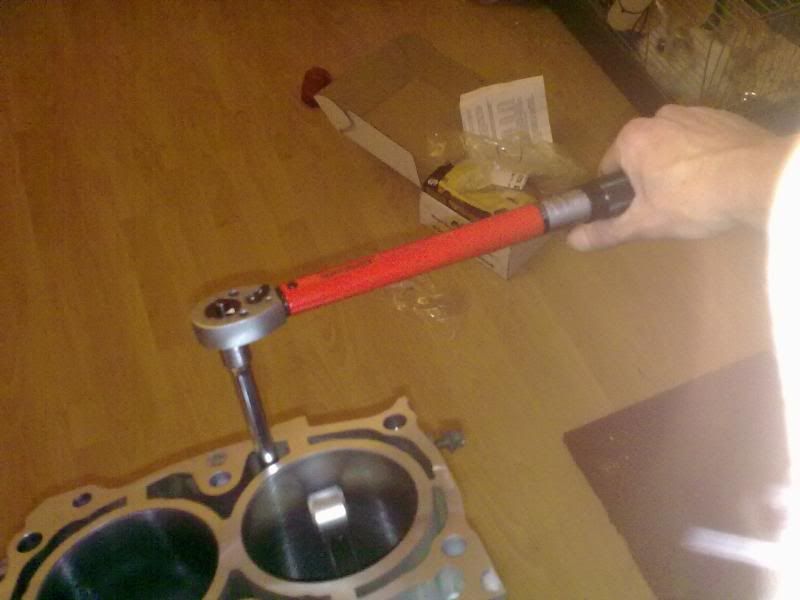
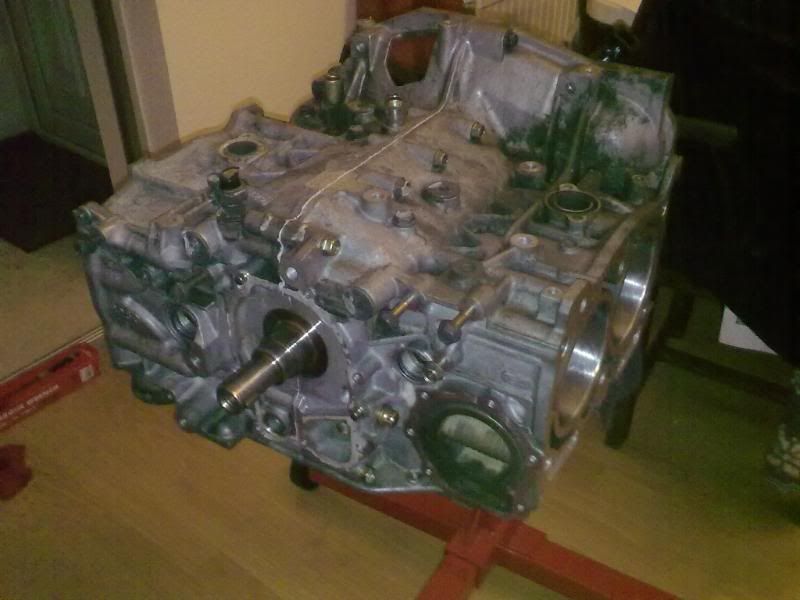
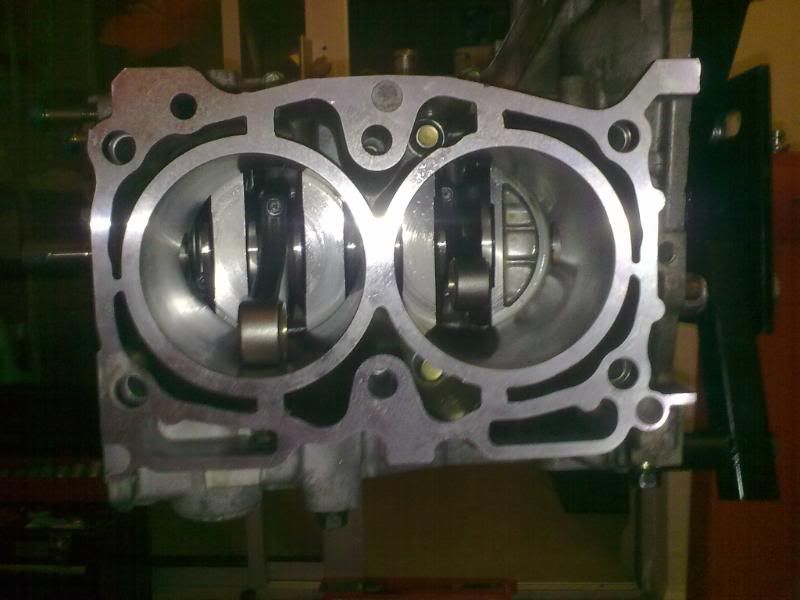
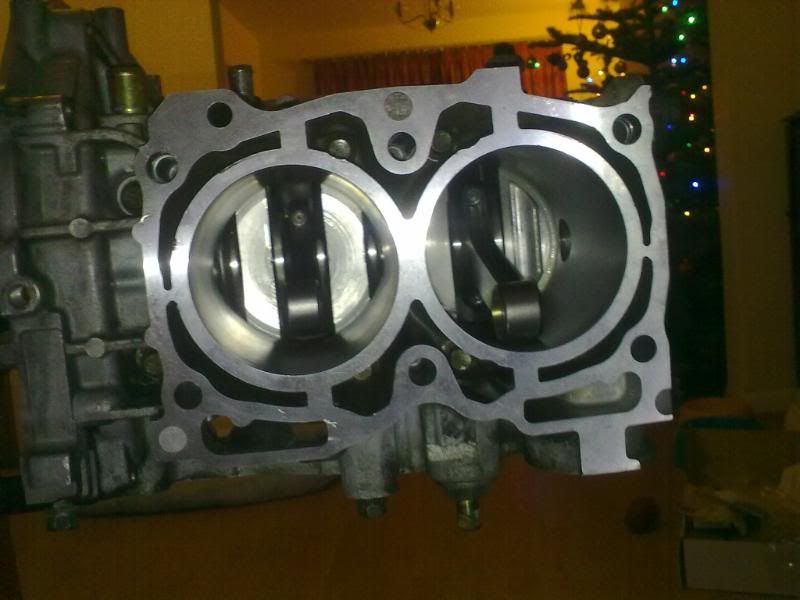
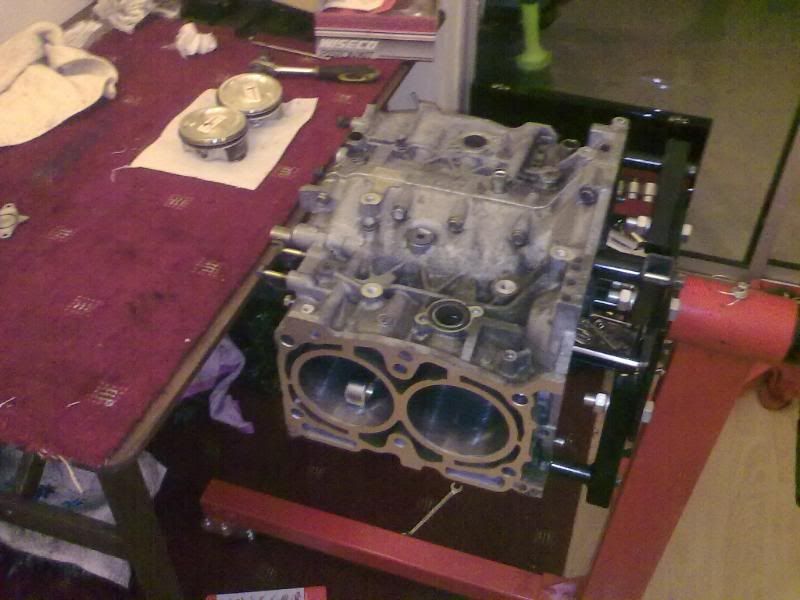
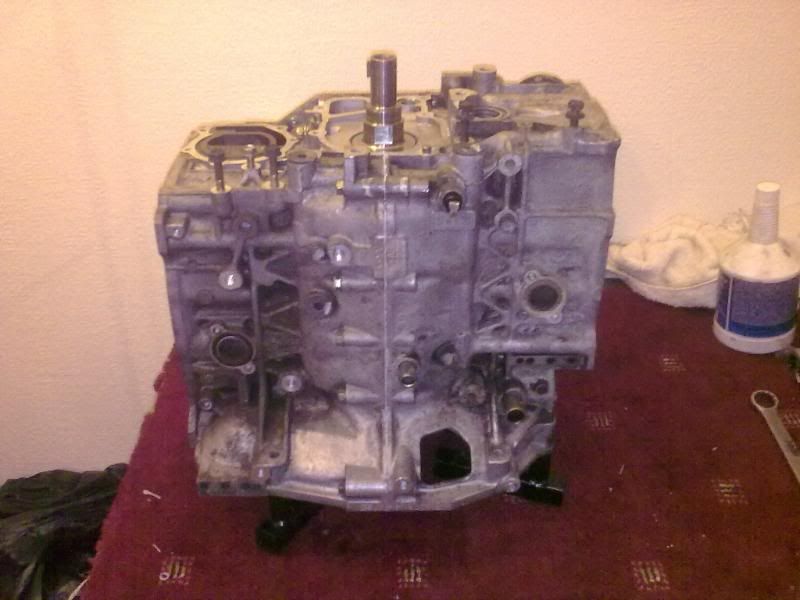
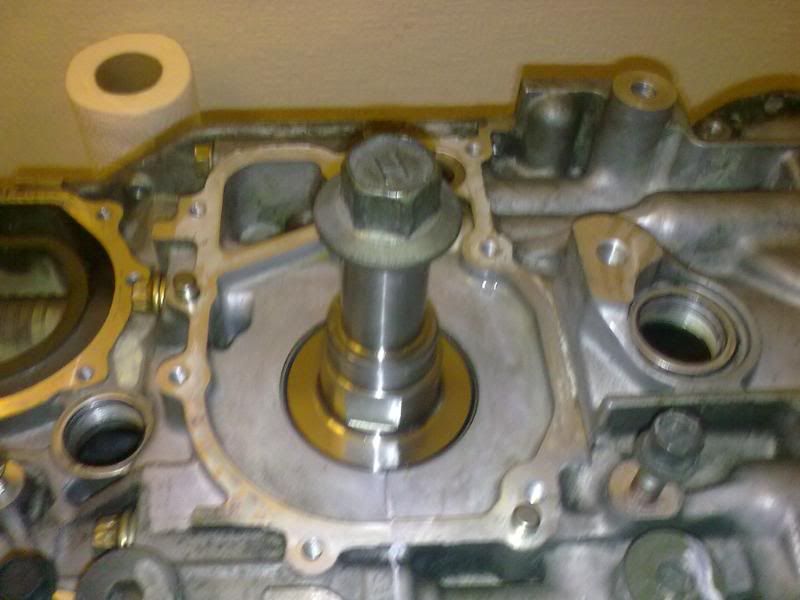
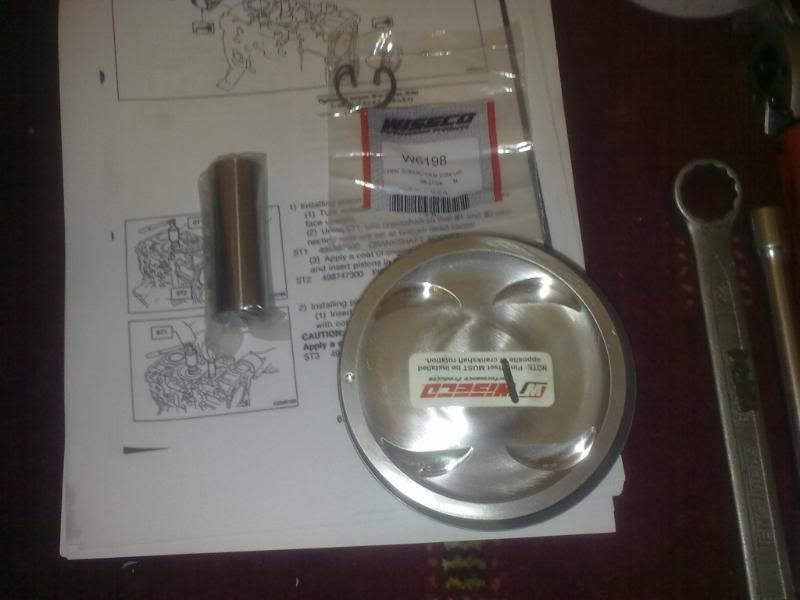
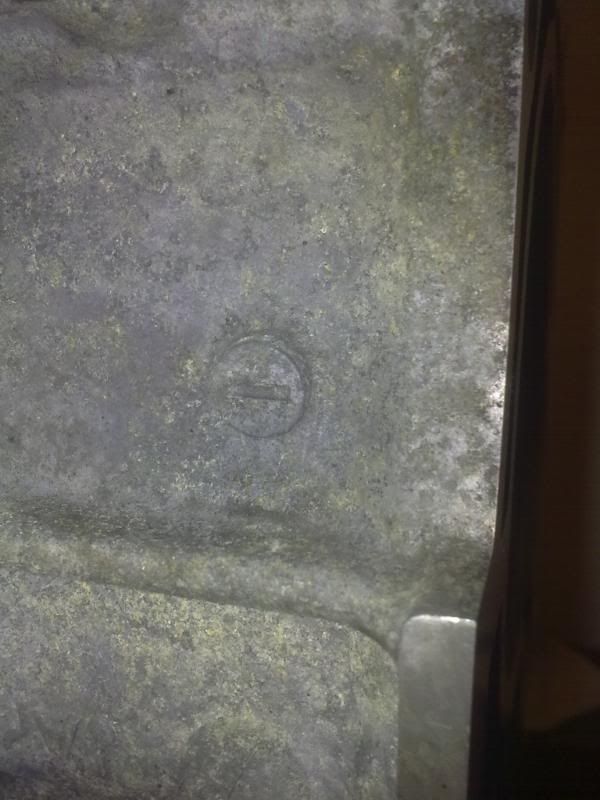
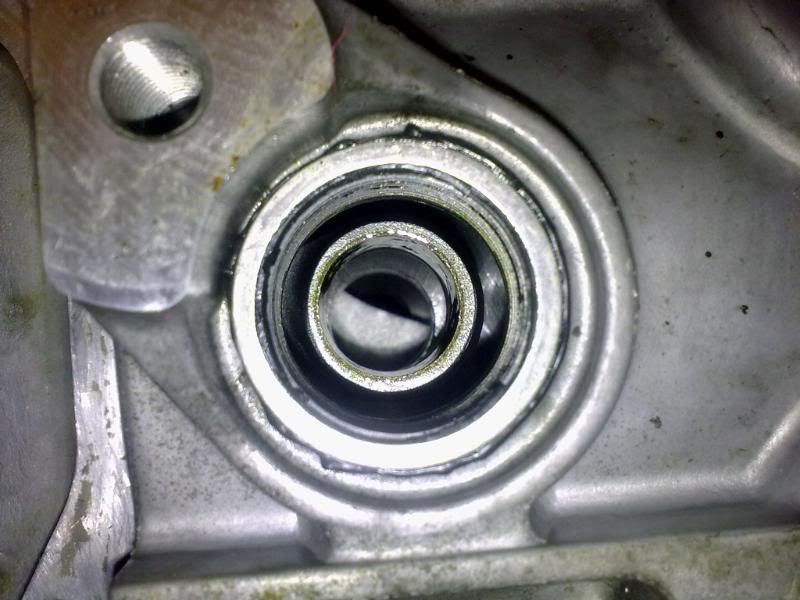
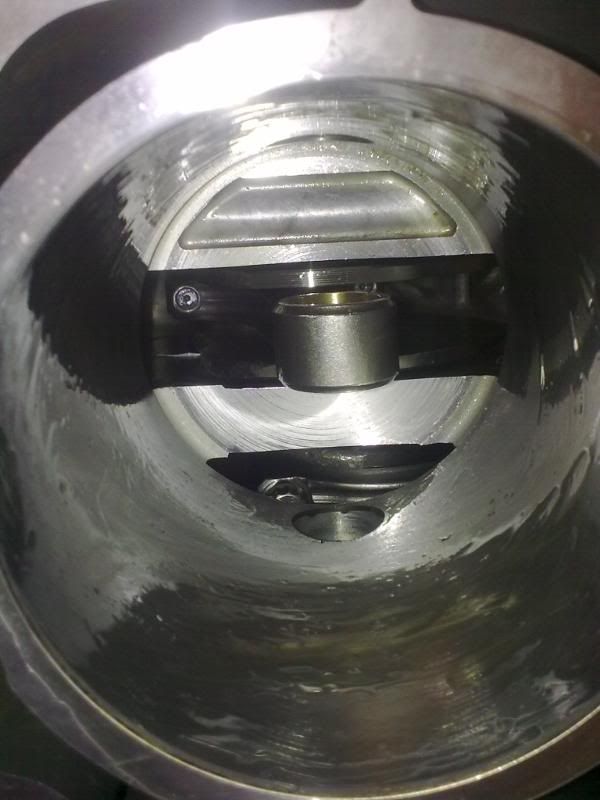
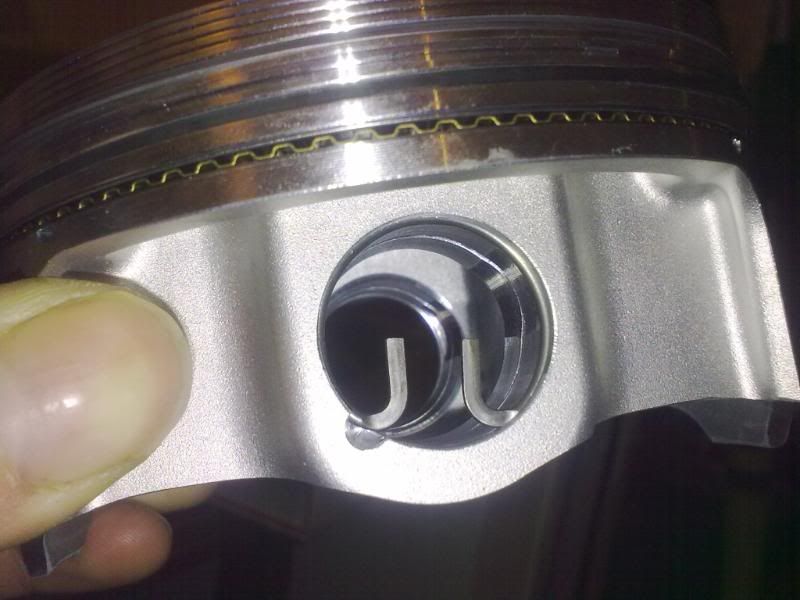
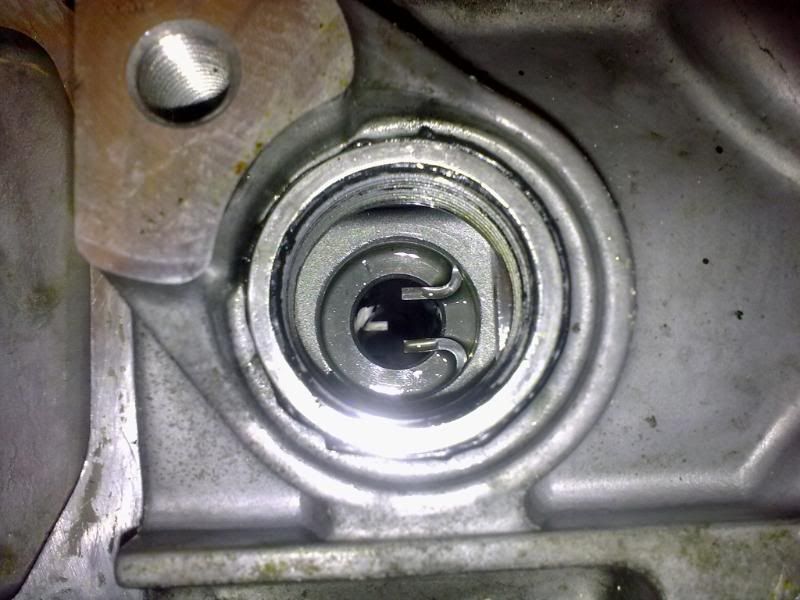
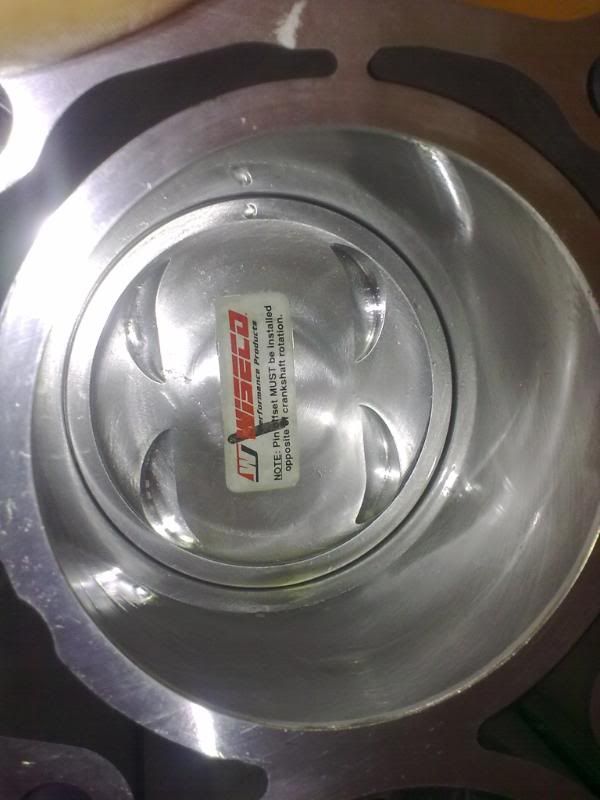
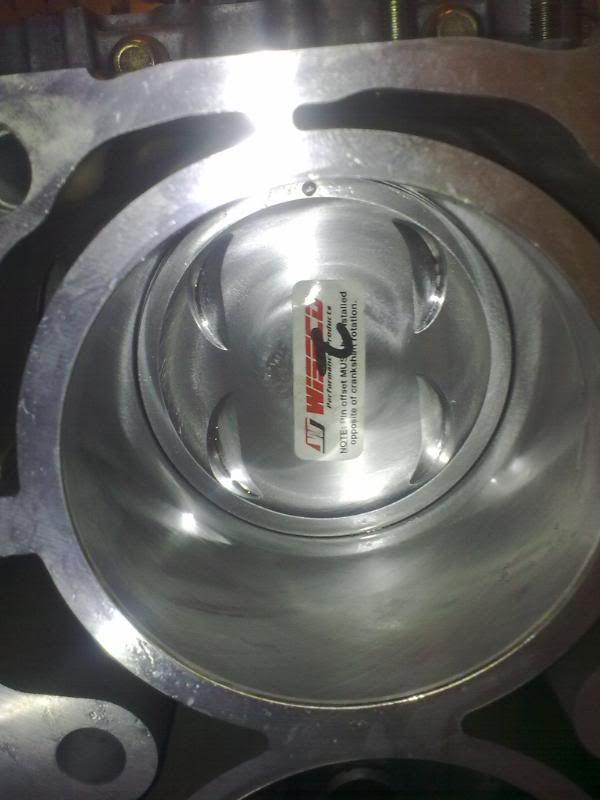
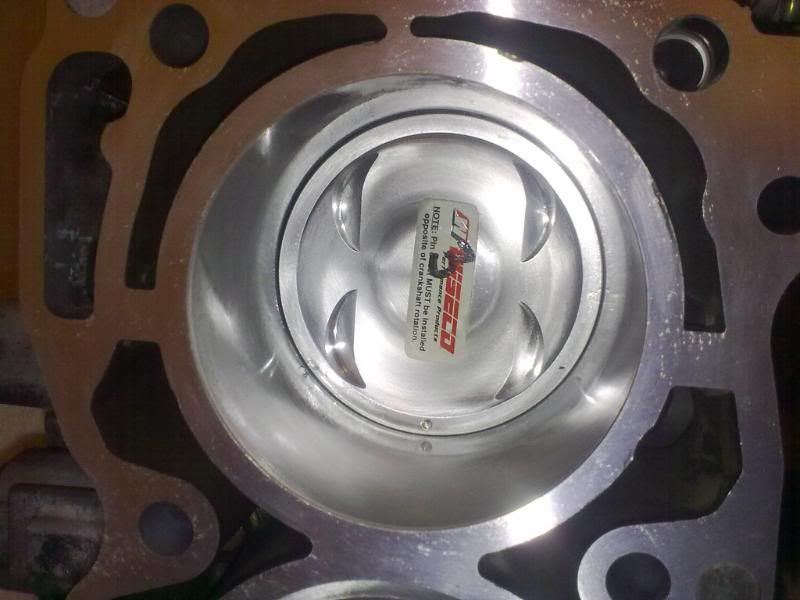
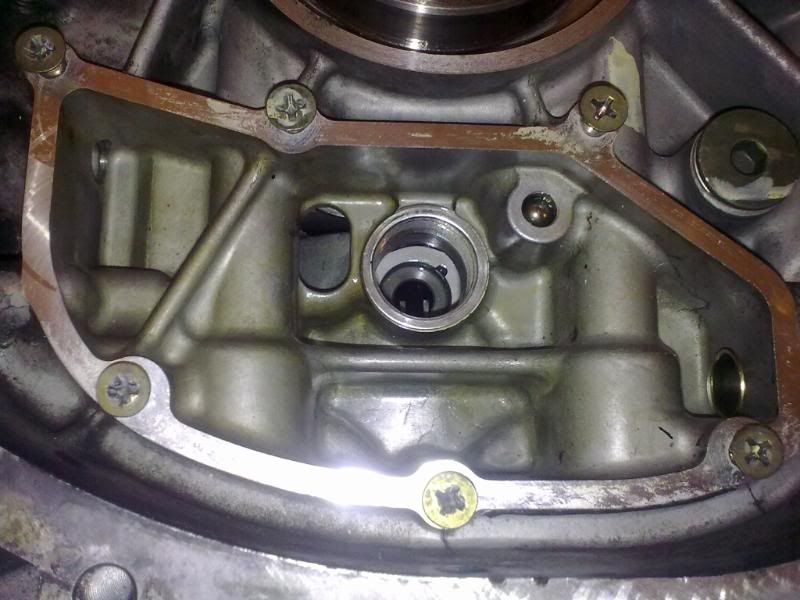
Thanks to Off-roader for the pistonring compressorbt
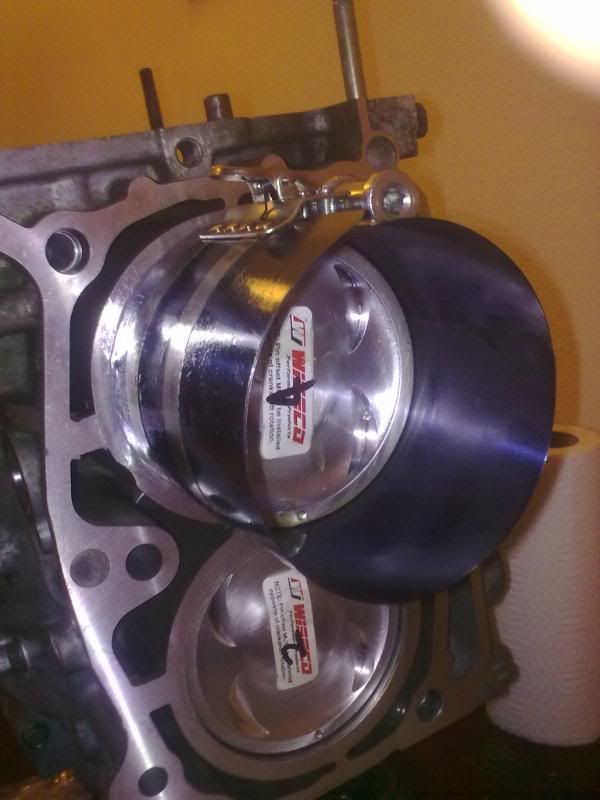
Complete Subaru Short block
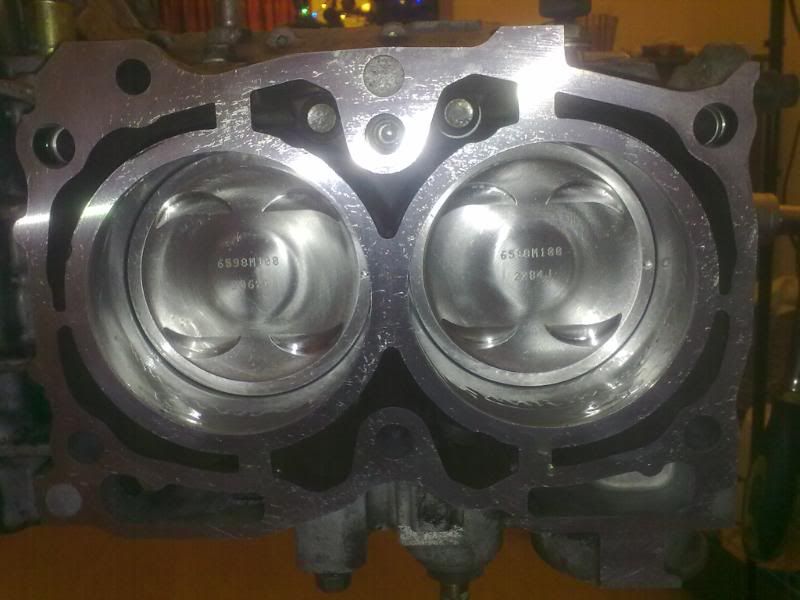
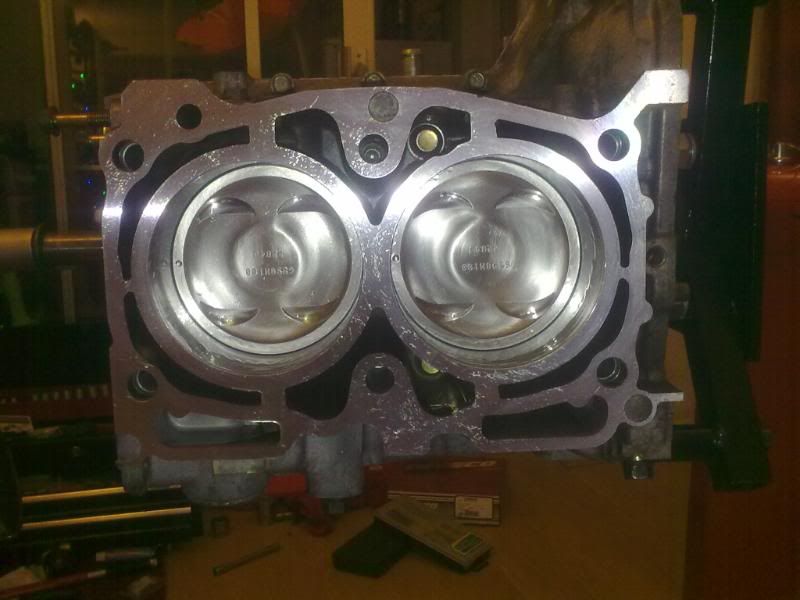
I'll let the pictures do the talking. . .


Complete crank with the new rods torqued up


Thanks to Off-roader for the pistonring compressorbt


Complete Subaru Short block


#19
Havnt been on here a while to updat the thread sorry lads, I have the car running now and the engine has about 5500km roughly on it now
Here's my updates from earlier in the year.....
02/01/2011
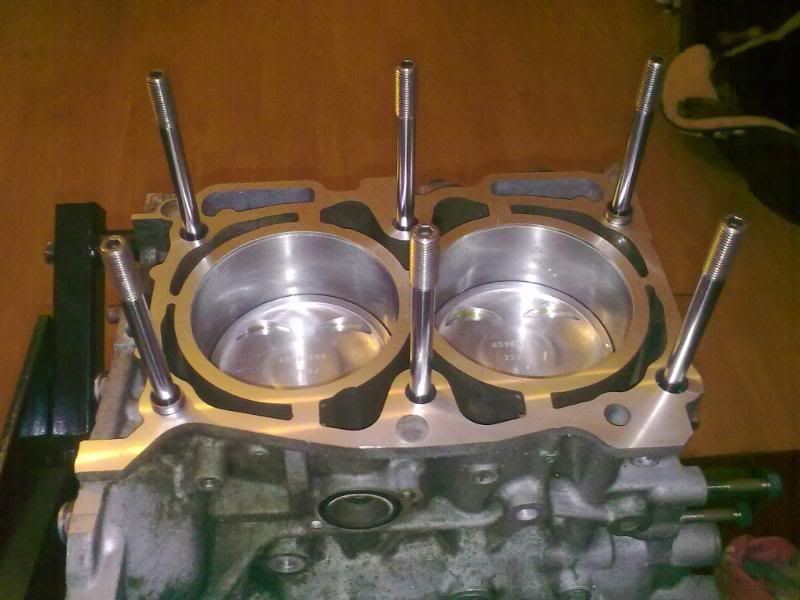
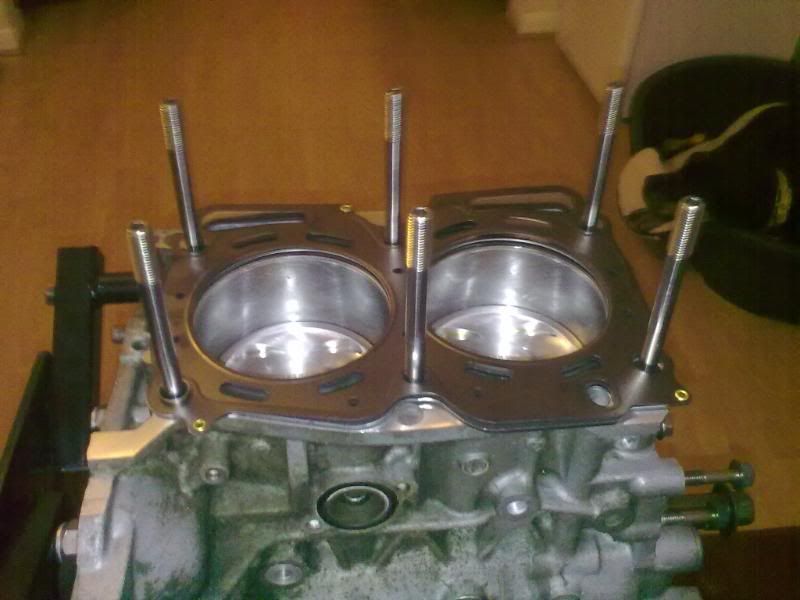
Well After getting the Imperial tools :angry1: I was able to fit the Arp head stud kit
First thing was to screw the studs into the block , Then fit the cometic Head gasket, next step was lubricate the threads with the supplied Arp assembly lube.
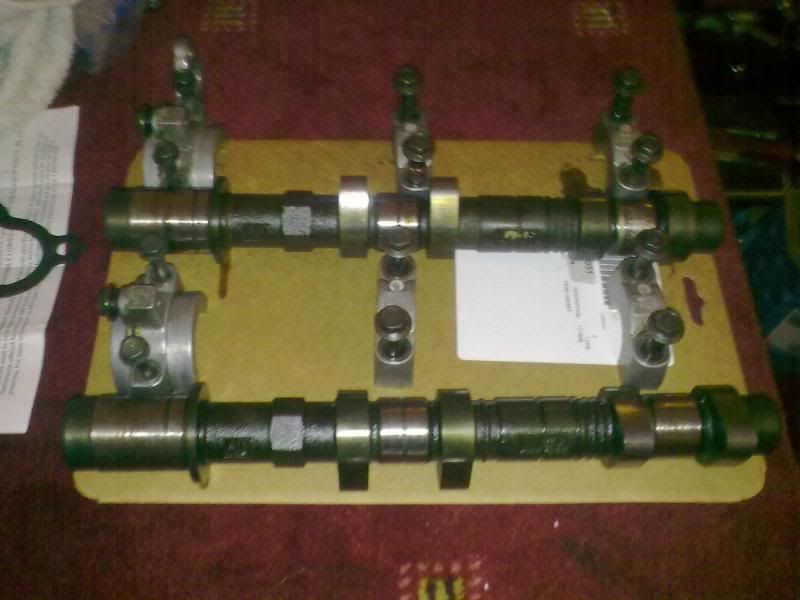
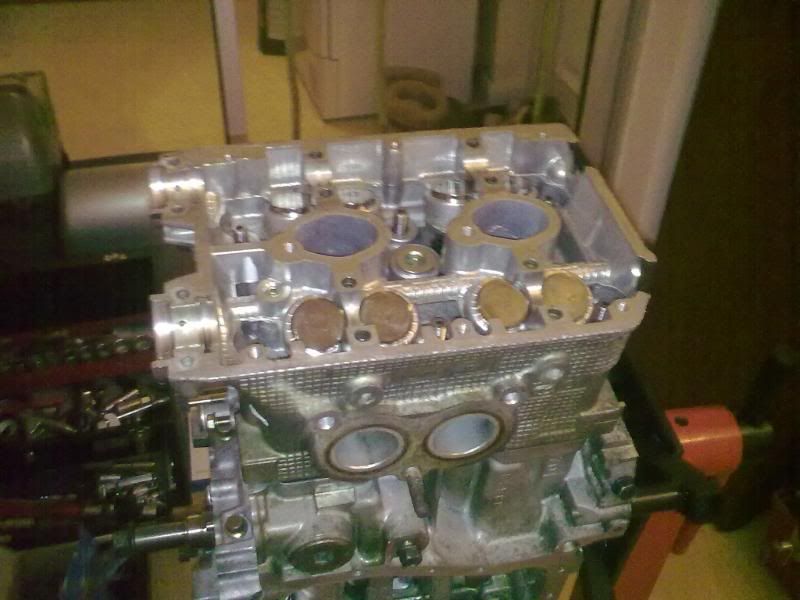
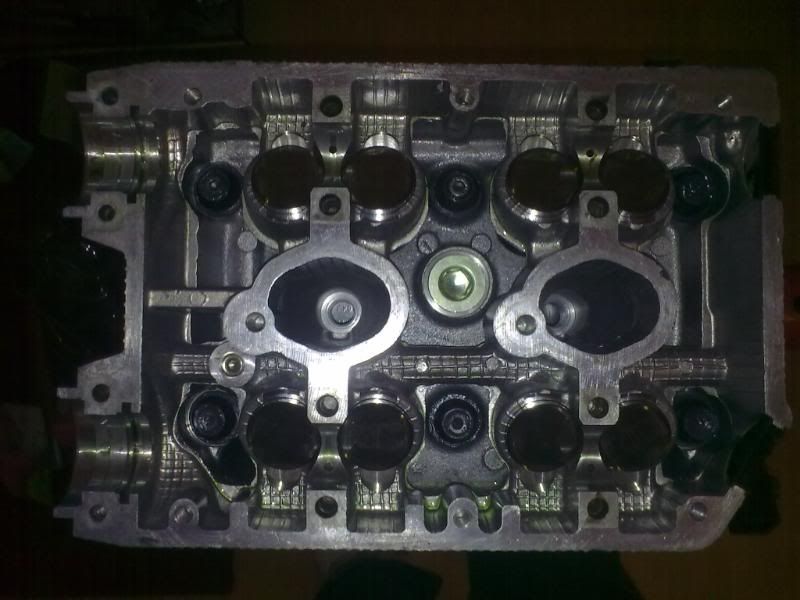
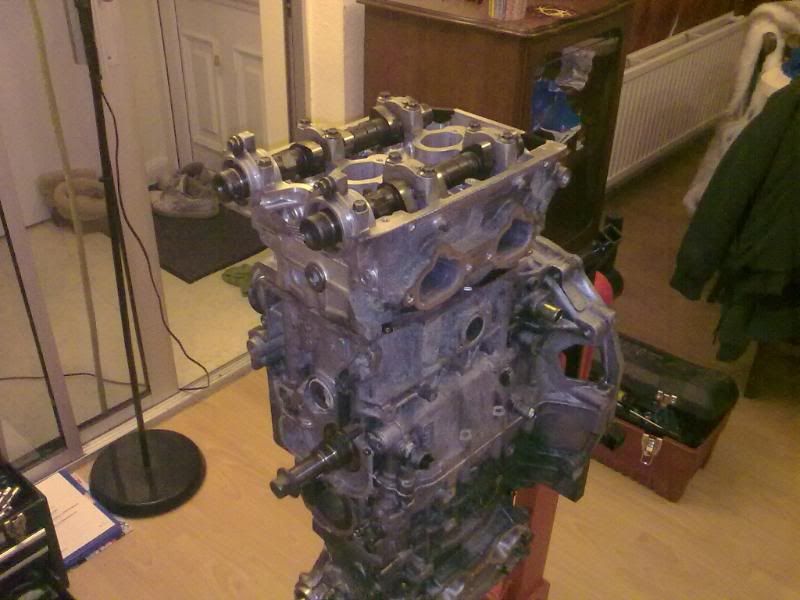
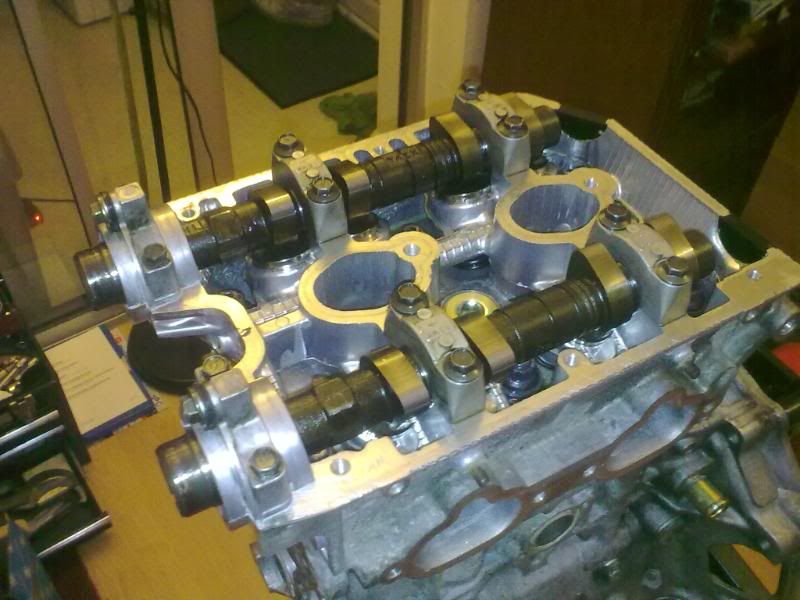
Then remove the cams and store the caps in order( do not mix them) then fit the head to the block and lube the arp washers and threads on the nuts themselves to allow me to get the proper torque.
This is done with the Subaru torque sequence and torqued up in 3 stages, 1st stage 30ft/lb , 2nd stage same bolt sequence again to 60ft/lb. 3rd and final stage to 90ft/lb as per the Arp instructions which are hard to understand in fairness.
Refit the cams with some engine oil on the lobes,on the top of the lifters/buckets and were the cam sits in the head itself.
Rubbed some oil on the caps and the cap at the front of the engine is smeared with a light coating of sealant
All caps then torqued up to 20ft/lb in the proper sequence
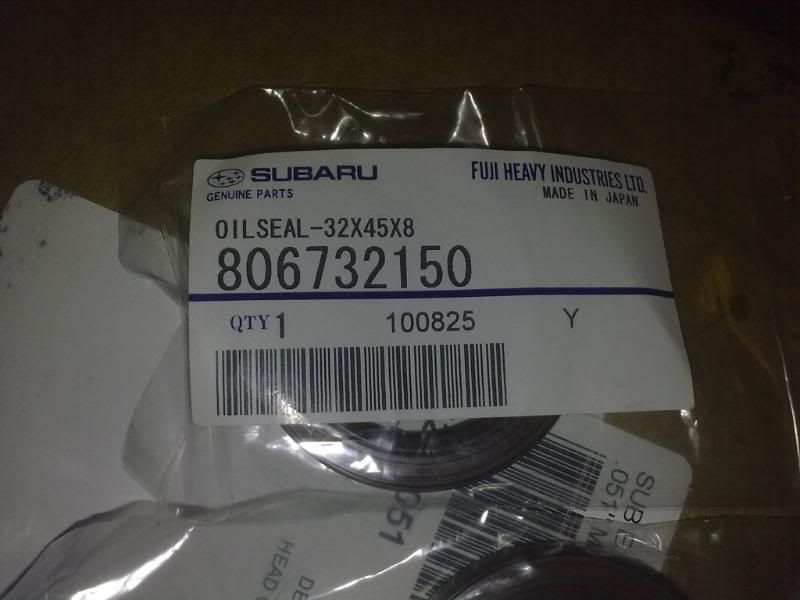
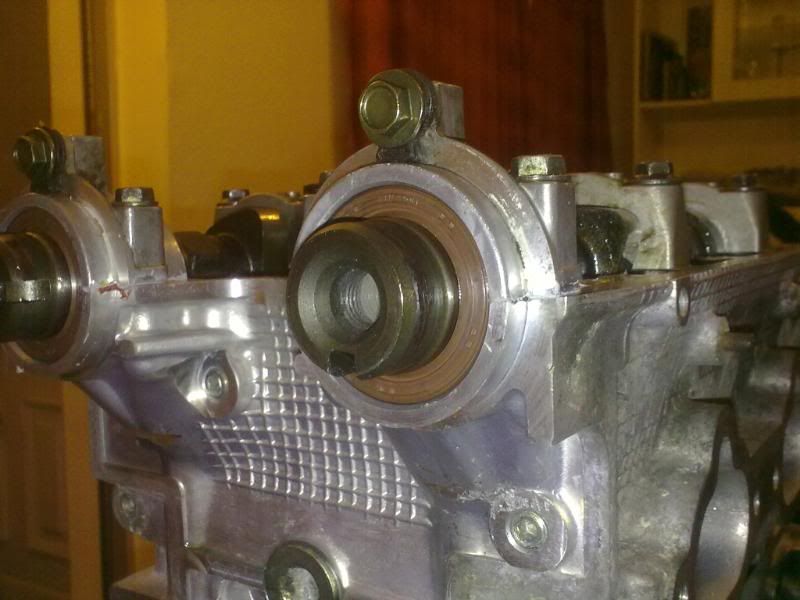
Then 4 new cam oil seals fitted


#20
UPDATE 19/01/2011
Assembled the oil pick up and fitted the sump
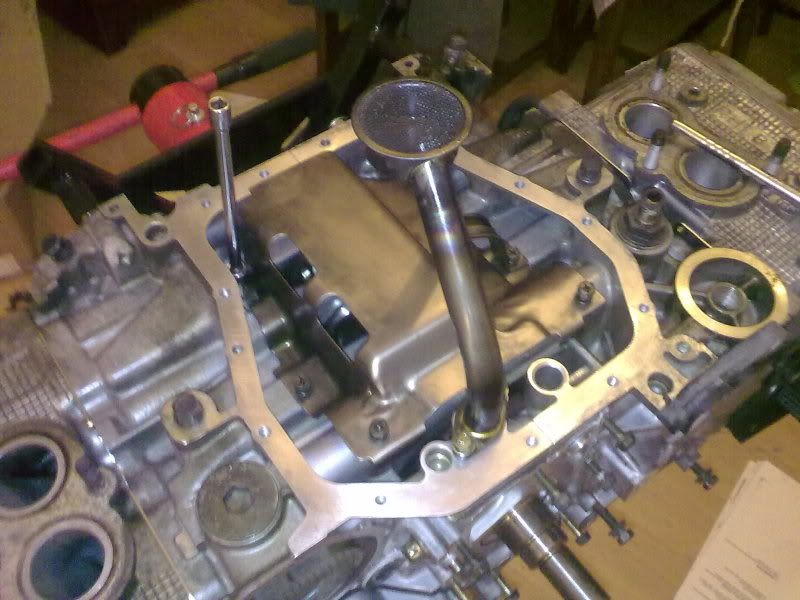
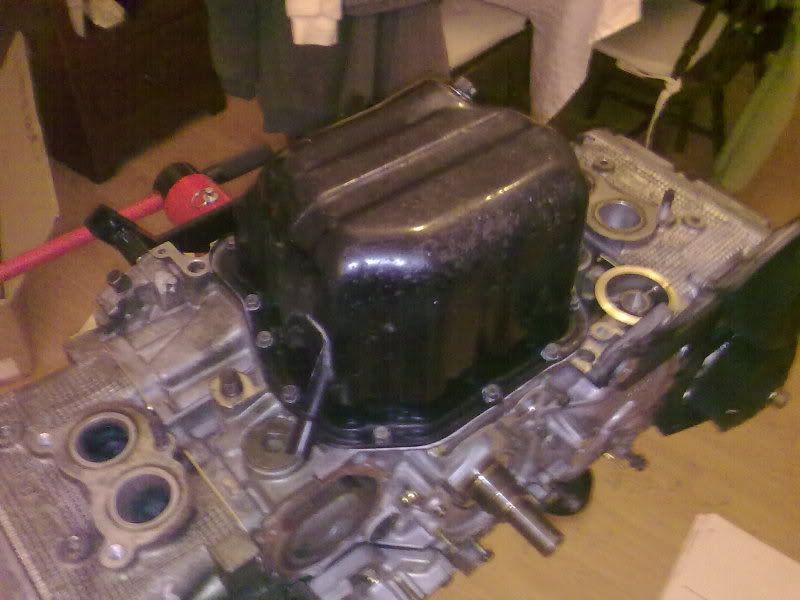
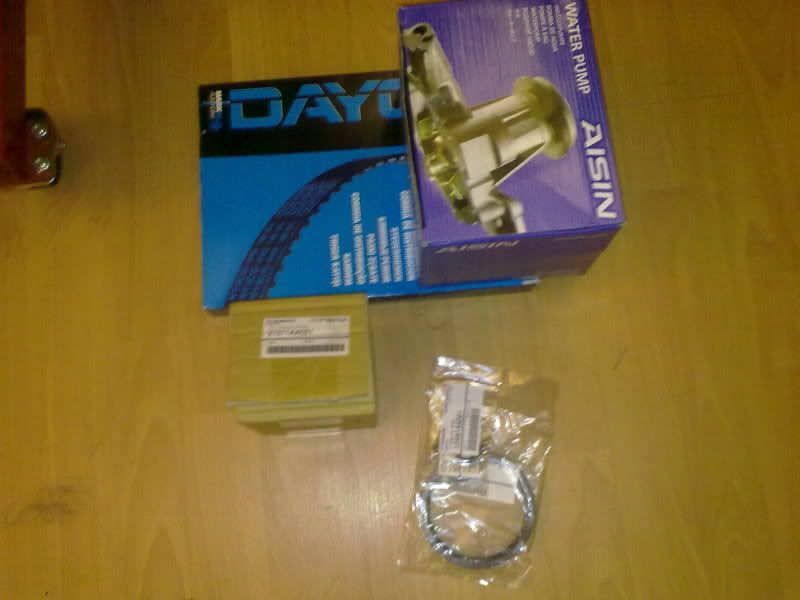
Ordered a few bits online because the prices are rediculous here.
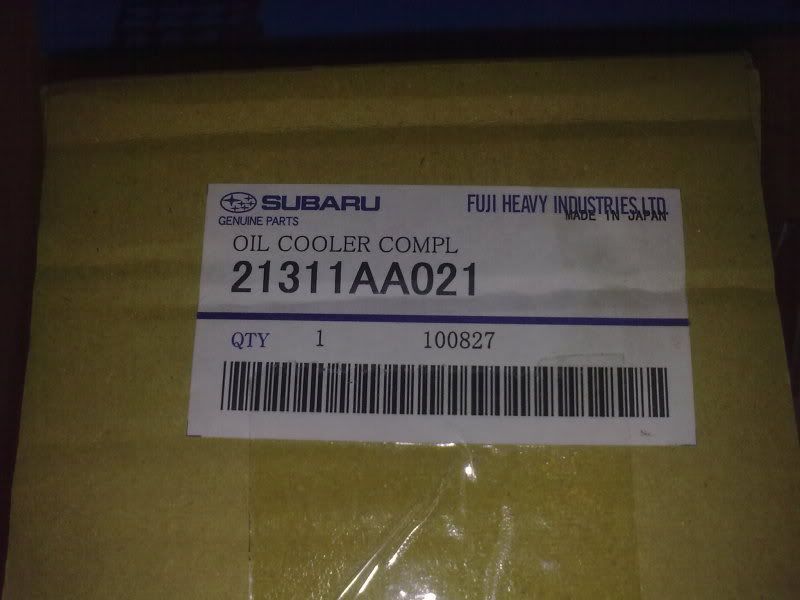
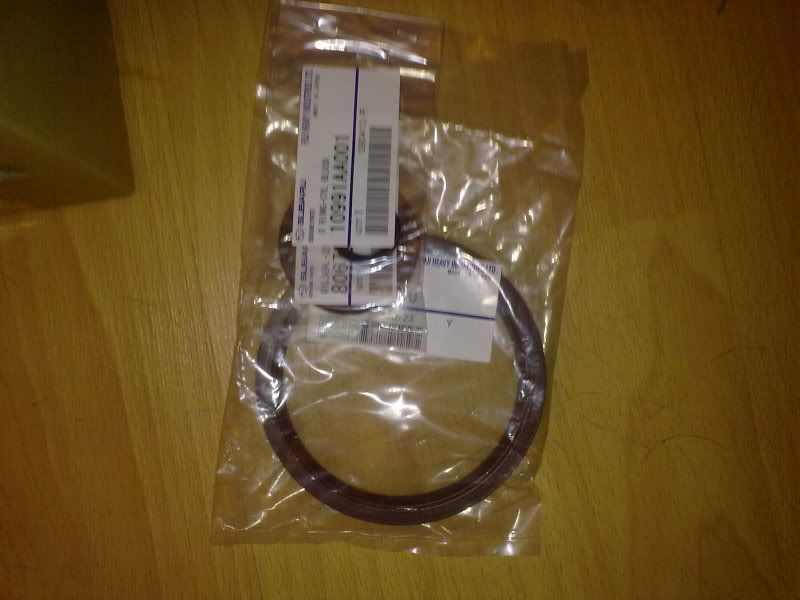
Basically a timing belt kit including water pump,a new oil cooler modine for the block ( amust when rebuilding a subaru engine )front and rear crank seals and a few engine o rings that I needed.
Oil cooler
Oil seals
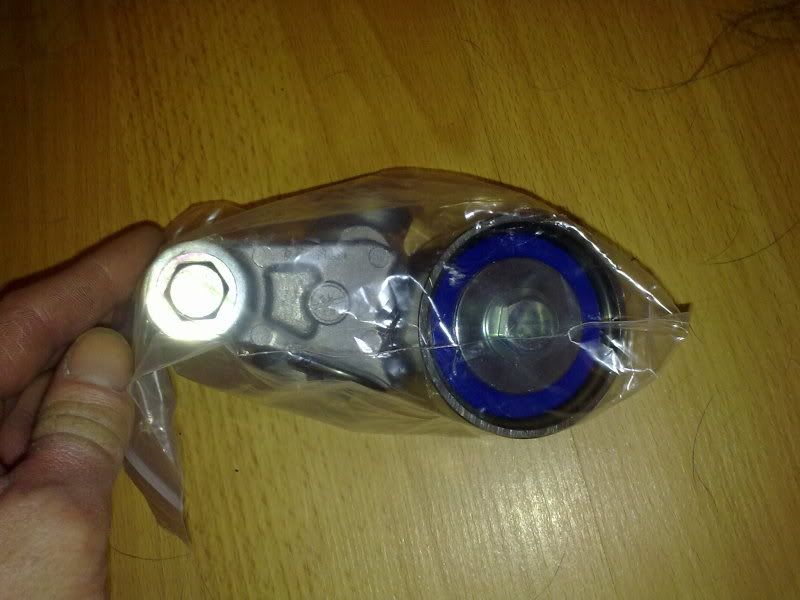
New tensioner
Oil pump ready to be fitted,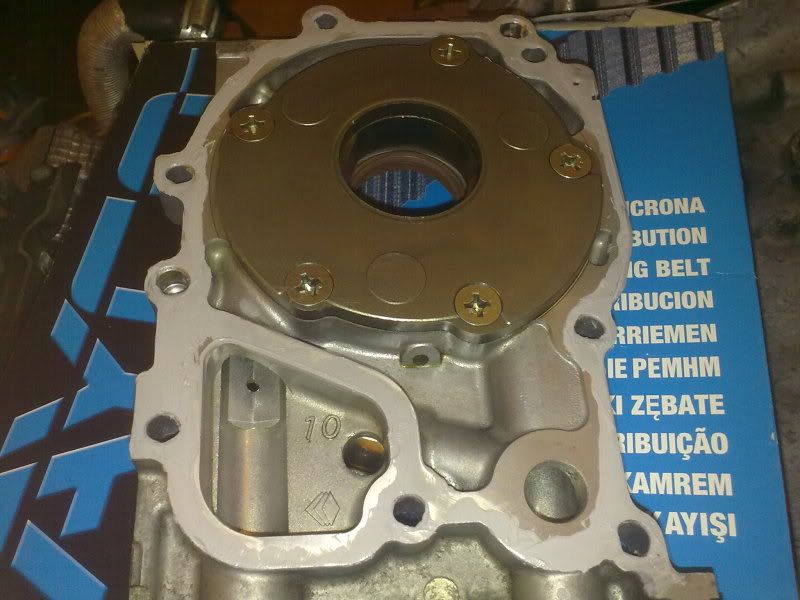
New water pump
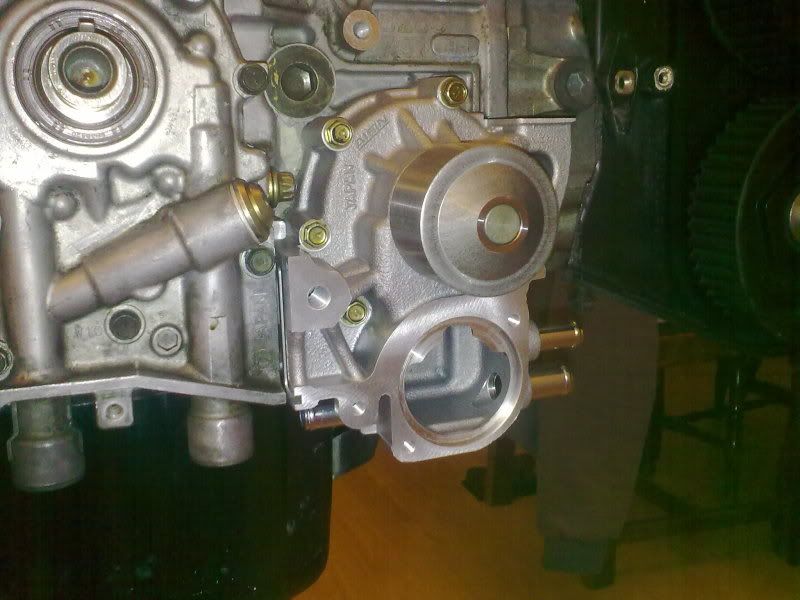
All idlers ,new toothed pulley ,oil pump and water pump fitted.
All I need now is a hydrolic tensioner bracket as the threads were damaged by the last builder and I can put the belt on and it finished:happy) :happy)
nearly there!!!
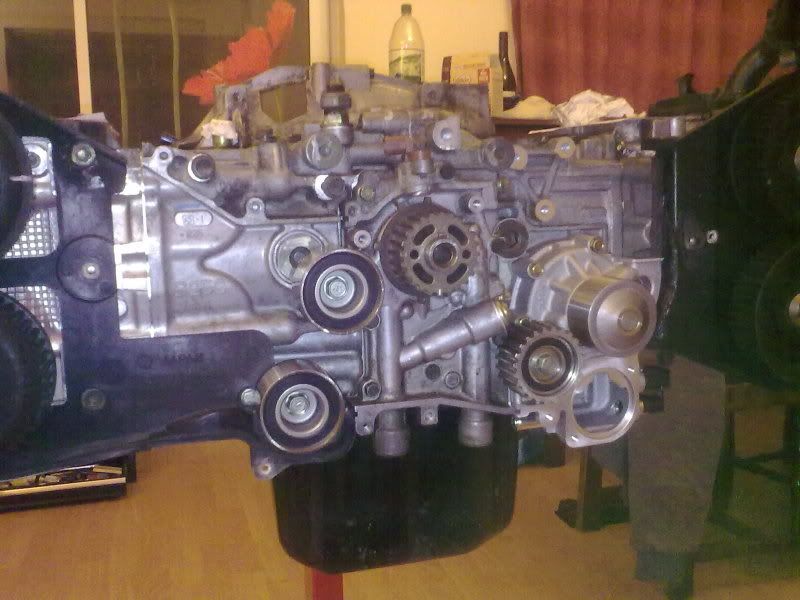
Assembled the oil pick up and fitted the sump


Ordered a few bits online because the prices are rediculous here.
Basically a timing belt kit including water pump,a new oil cooler modine for the block ( amust when rebuilding a subaru engine )front and rear crank seals and a few engine o rings that I needed.

Oil cooler

Oil seals

New tensioner

Oil pump ready to be fitted,

New water pump

All idlers ,new toothed pulley ,oil pump and water pump fitted.
All I need now is a hydrolic tensioner bracket as the threads were damaged by the last builder and I can put the belt on and it finished:happy) :happy)
nearly there!!!

#22
March 2011 Update....
After waiting on parts finallt time to finish off fitting all the parts to the engine.
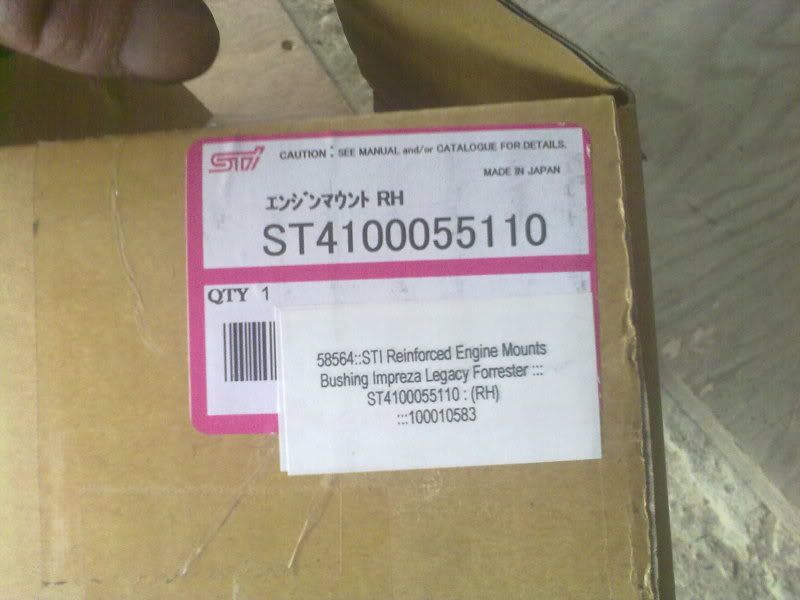
Right well finally after getting the new sti engine and transmission mounts delivered I decided to go and get busy putting the engine in.
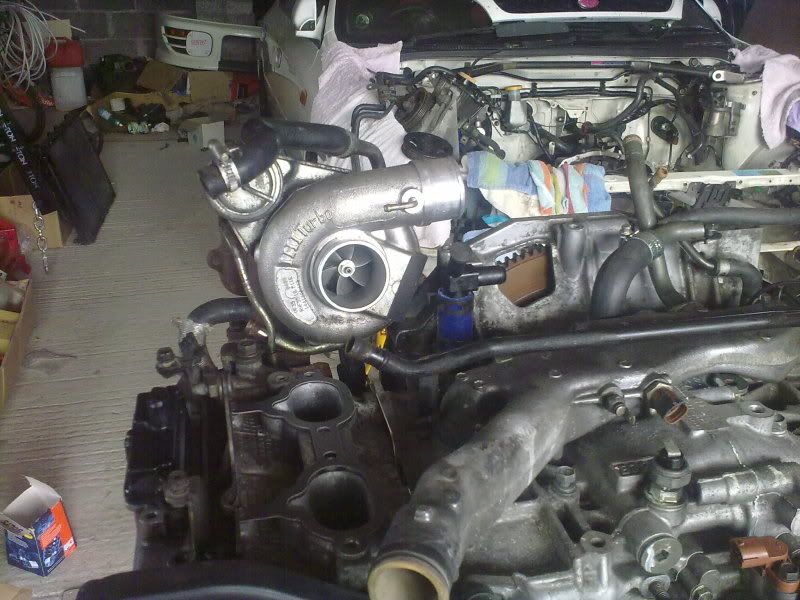
First was to get the turbo up pipe fitted and then the turbo , oil lines and water lines, taking care none of the copper washers are missing otherwise I'll have leaks.
Then fitted the inlet manifold and torques it down onto its new gaskets.
Then it was time to get the engine off the stand and the frame off to fit the clutch, remove the release bearing from the pressure plate and fit it to the gbox.
After a few hours messing about trying to line up the engine and box I realised the clutch plate must not be centered so out it came again and recentered (it was out by a couple of mm's)
Back on the crane then and took about 15mins to get her attached to the gbox.
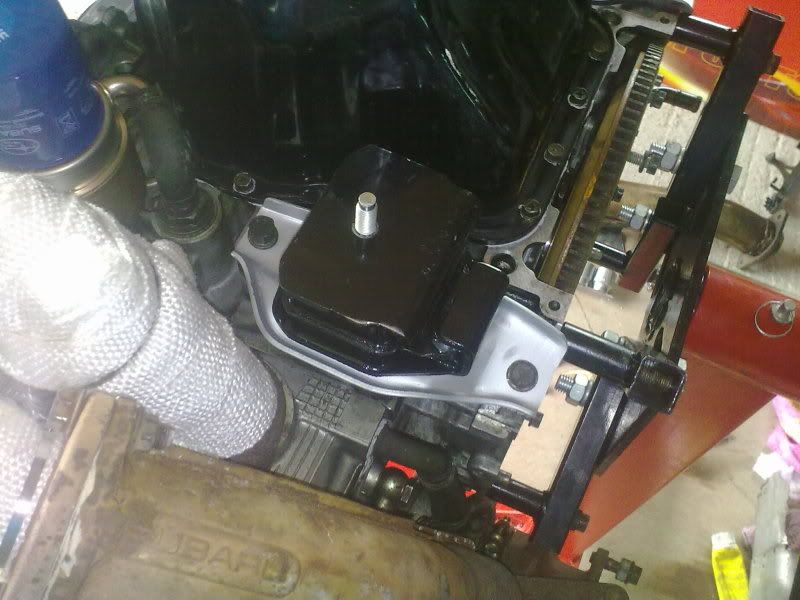
Then I had problems lining up the new mounts, turned out the bracket were the wrong way around, very easy mistake when fitting them while the engine's on the engine stand. The brackets actually fit both ways, so it was literally turn them 180* and torque the bolts up again to line the stud coming out of the mount up with the sub frame.
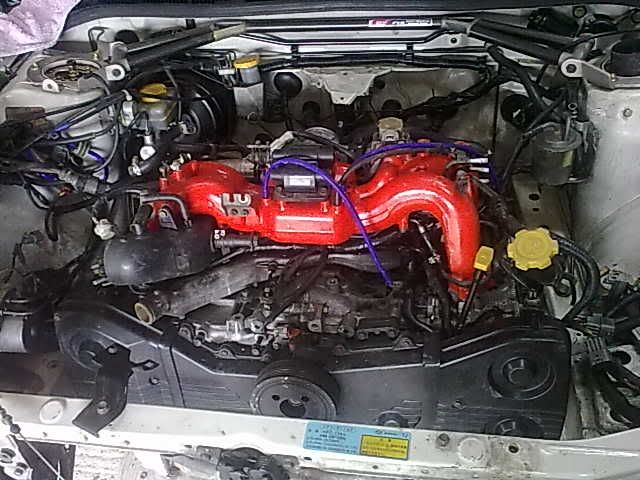
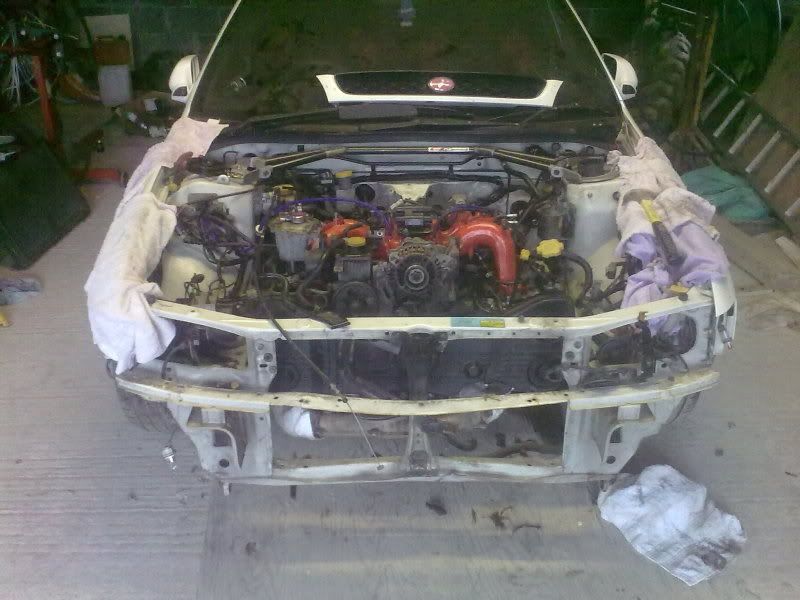
Fitted the new gearbox mount then and pitch mount and dropped the whole lot and she was in
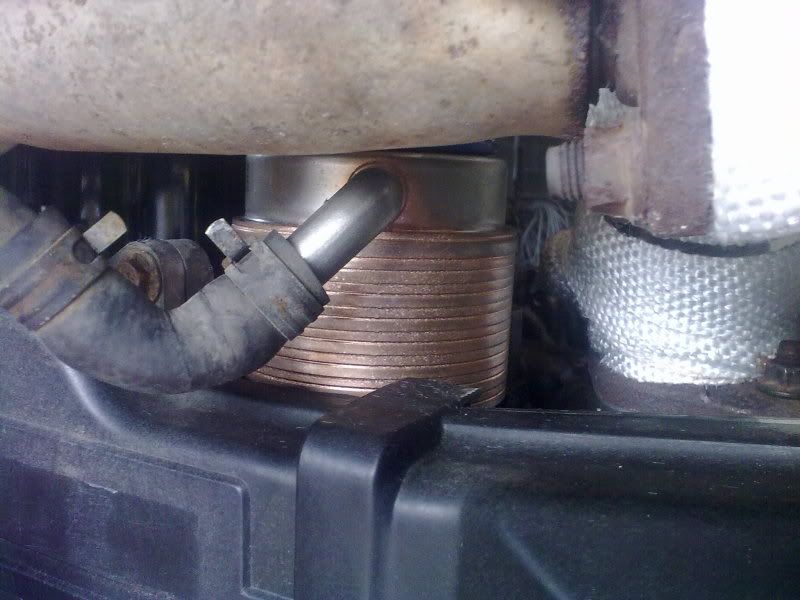
New oil cooler/modine unit (essential on a subaru build)
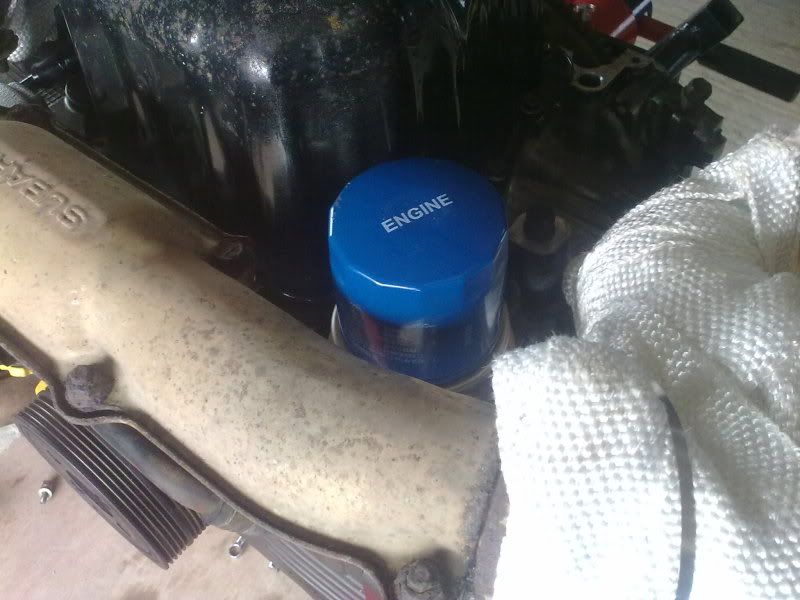
Genuine Oil filter
New Engine mounts
In ya go
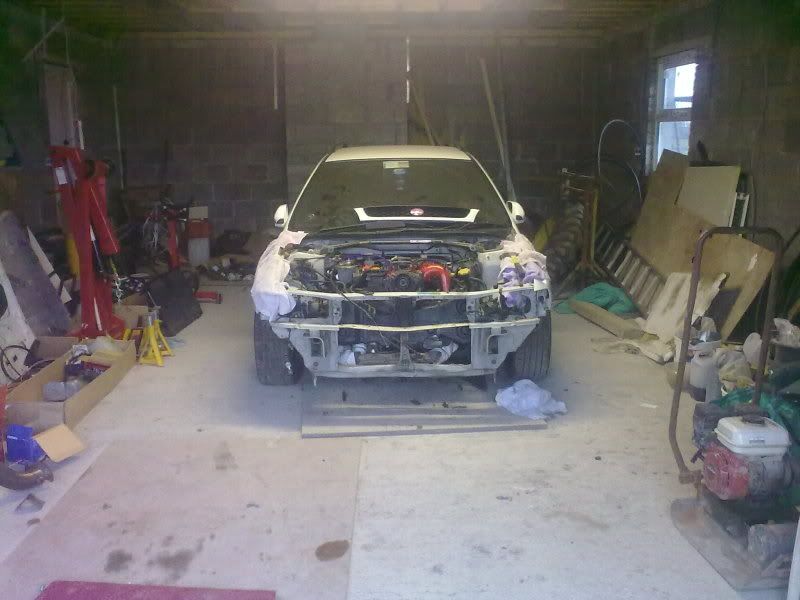
After waiting on parts finallt time to finish off fitting all the parts to the engine.
Right well finally after getting the new sti engine and transmission mounts delivered I decided to go and get busy putting the engine in.
First was to get the turbo up pipe fitted and then the turbo , oil lines and water lines, taking care none of the copper washers are missing otherwise I'll have leaks.
Then fitted the inlet manifold and torques it down onto its new gaskets.
Then it was time to get the engine off the stand and the frame off to fit the clutch, remove the release bearing from the pressure plate and fit it to the gbox.
After a few hours messing about trying to line up the engine and box I realised the clutch plate must not be centered so out it came again and recentered (it was out by a couple of mm's)
Back on the crane then and took about 15mins to get her attached to the gbox.
Then I had problems lining up the new mounts, turned out the bracket were the wrong way around, very easy mistake when fitting them while the engine's on the engine stand. The brackets actually fit both ways, so it was literally turn them 180* and torque the bolts up again to line the stud coming out of the mount up with the sub frame.
Fitted the new gearbox mount then and pitch mount and dropped the whole lot and she was in

New oil cooler/modine unit (essential on a subaru build)

Genuine Oil filter

New Engine mounts


In ya go


#23
13/03/2011
Busy Weekend
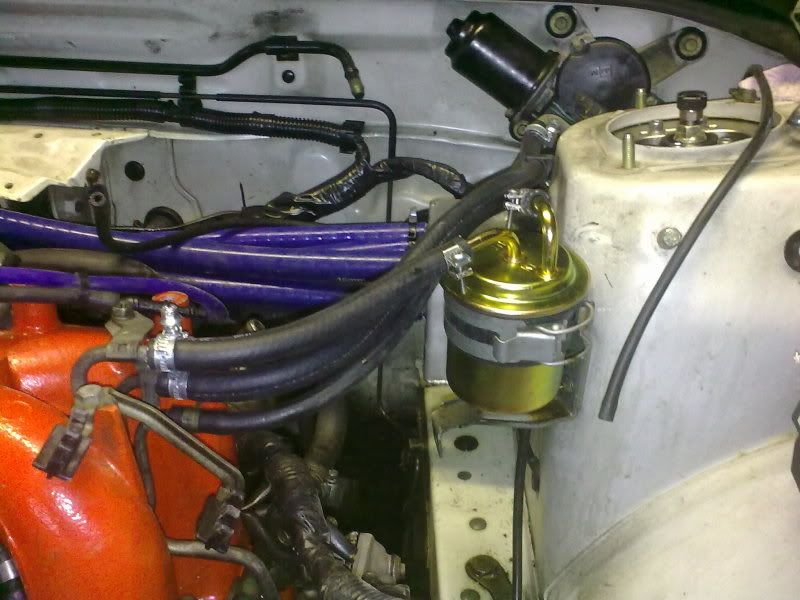
Fresh Fuel Filter and pipework
[IMG]
http://i77.photobucket.com/albums/j42/crazyep82/11032011201.jpg[/img]
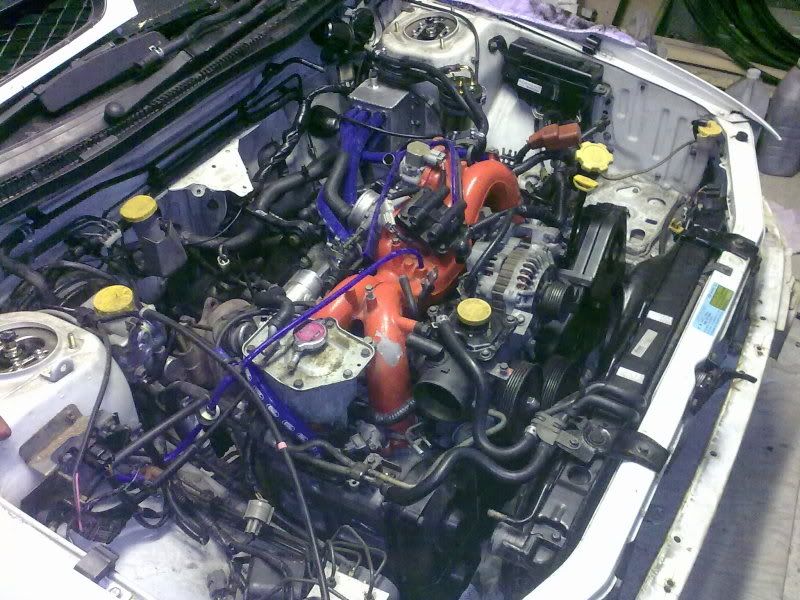
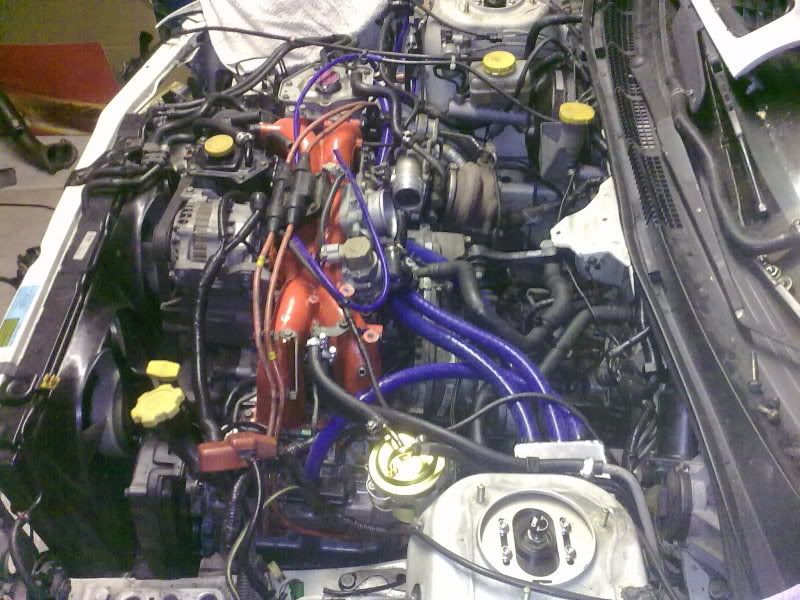
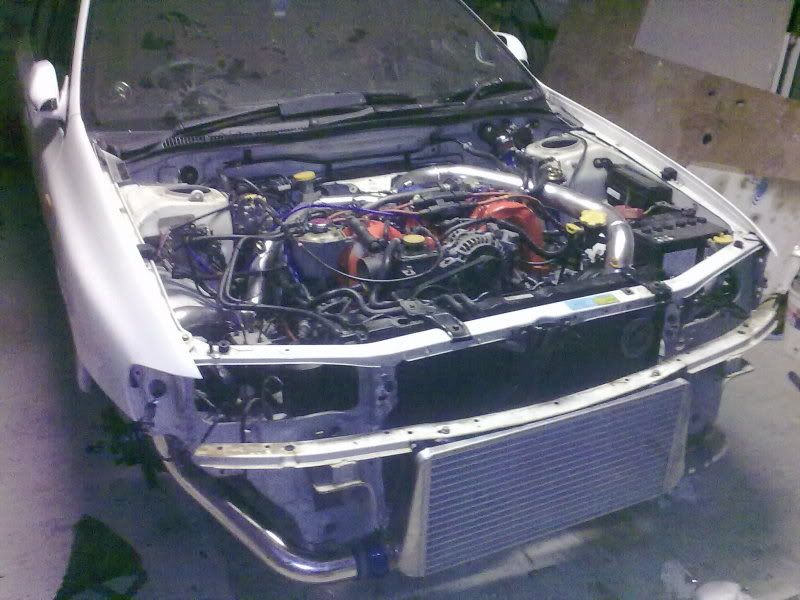
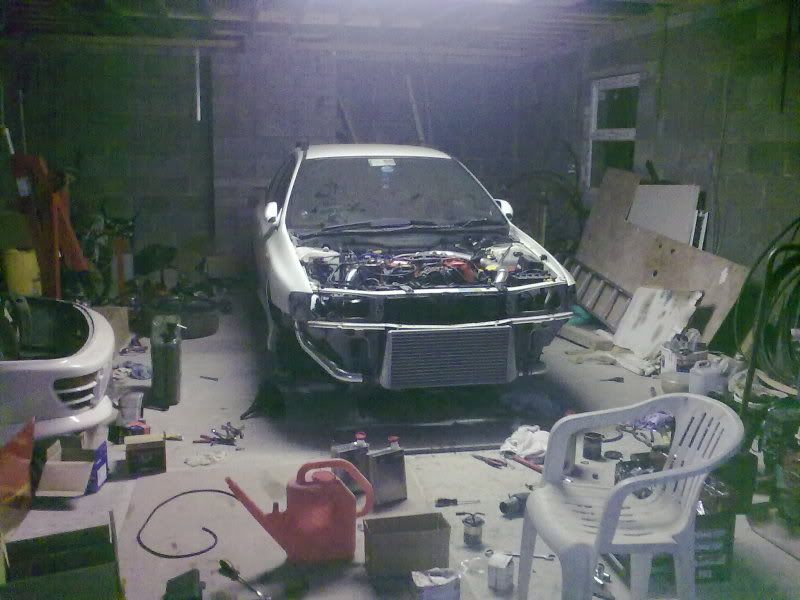
Getting there
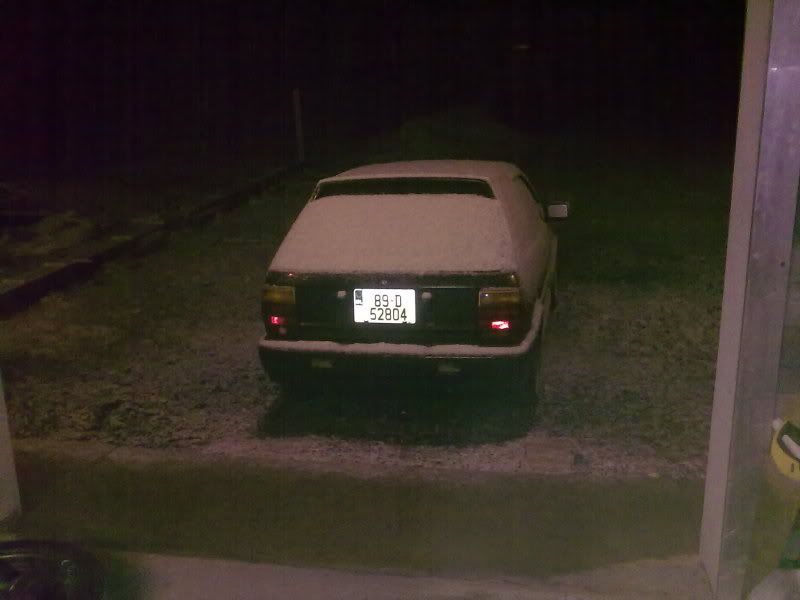
Snowing outside Friday night at 11.30pm 1 inch of snow on the roof of the micra
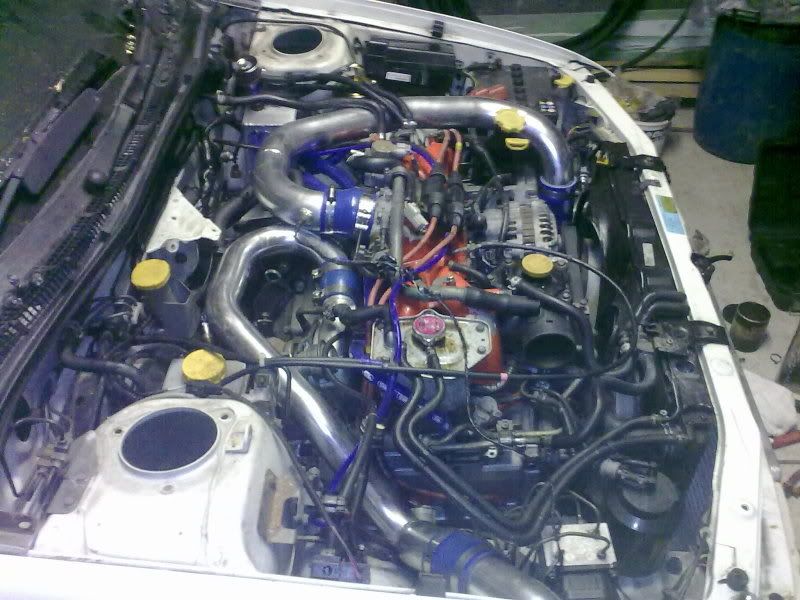
Finished up , fluids in etc
And the first start up
http://s77.photobucket.com/albums/j4...1032011021.mp4
Saturday
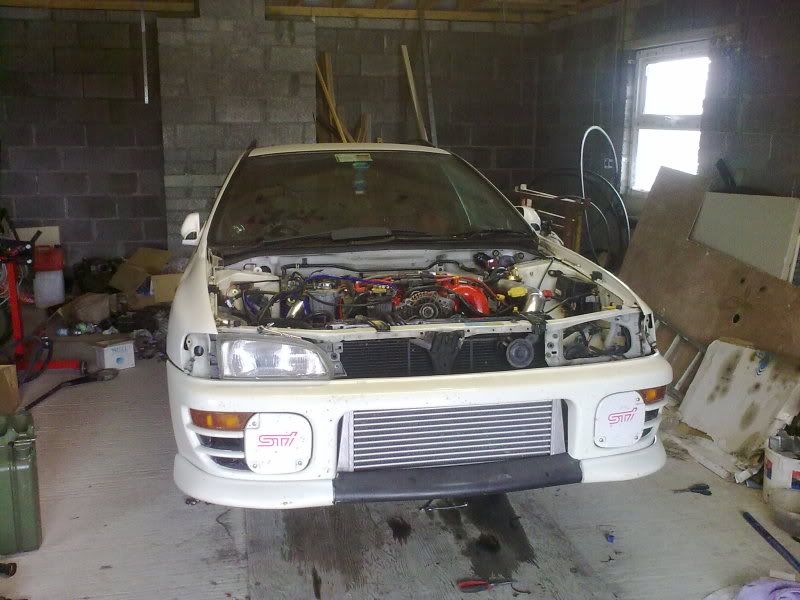
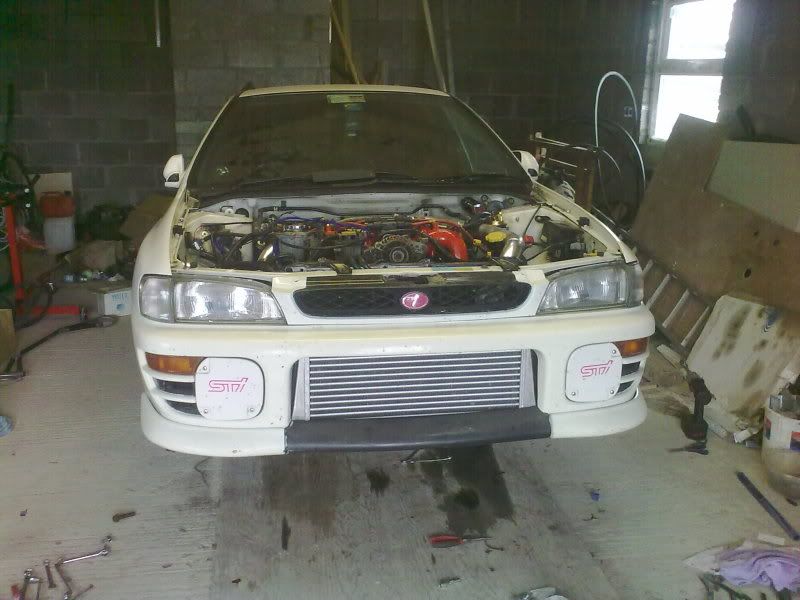
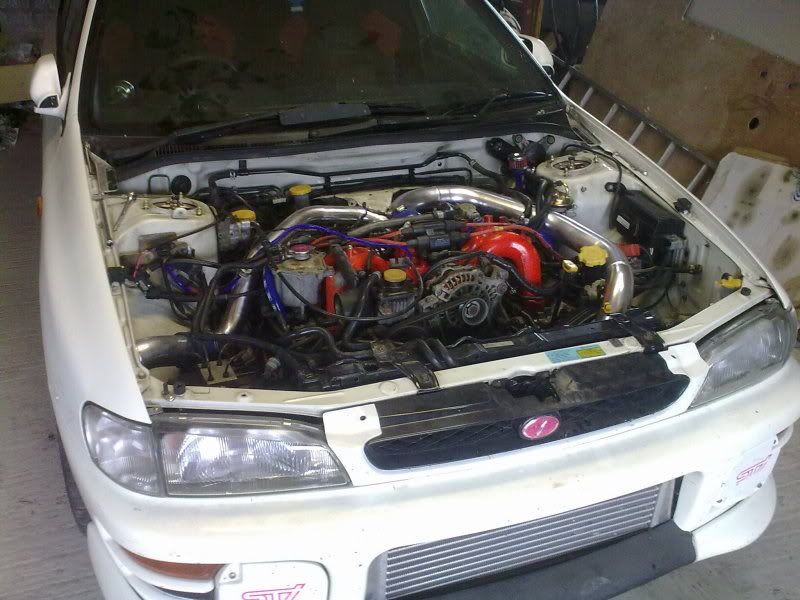
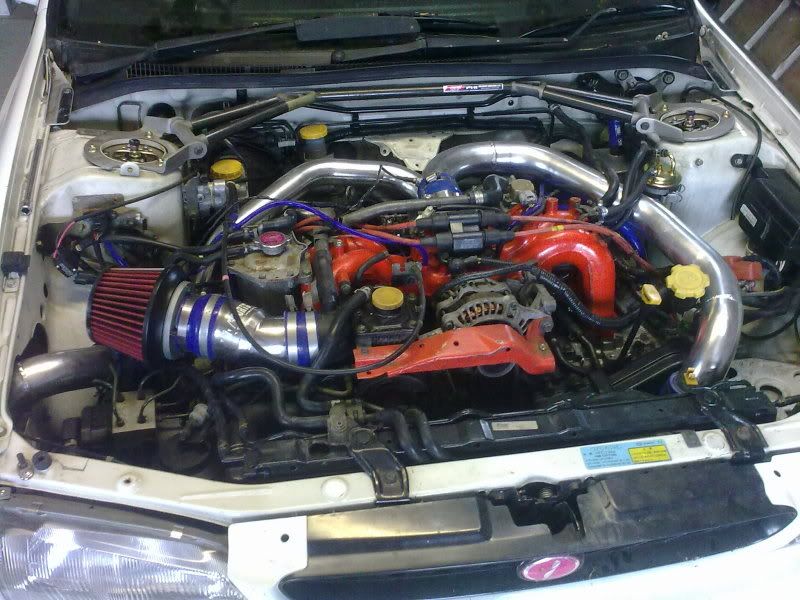
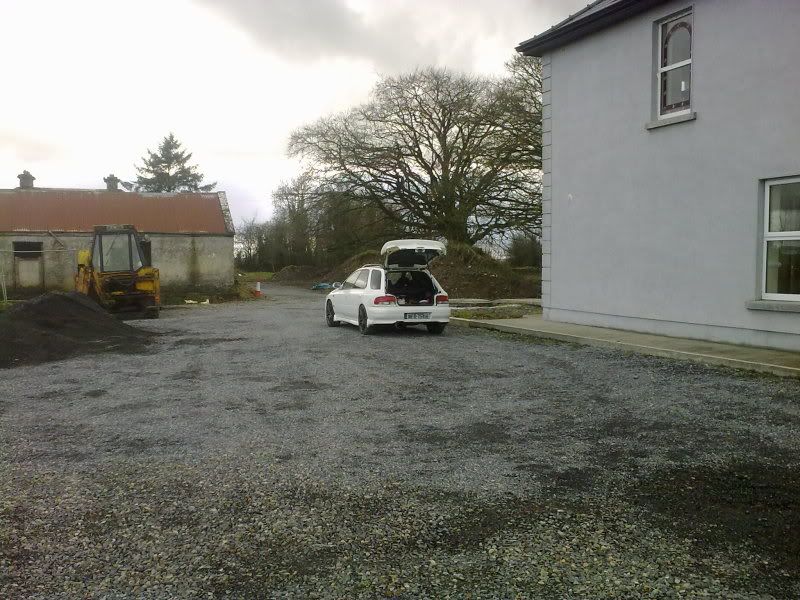
Packing up
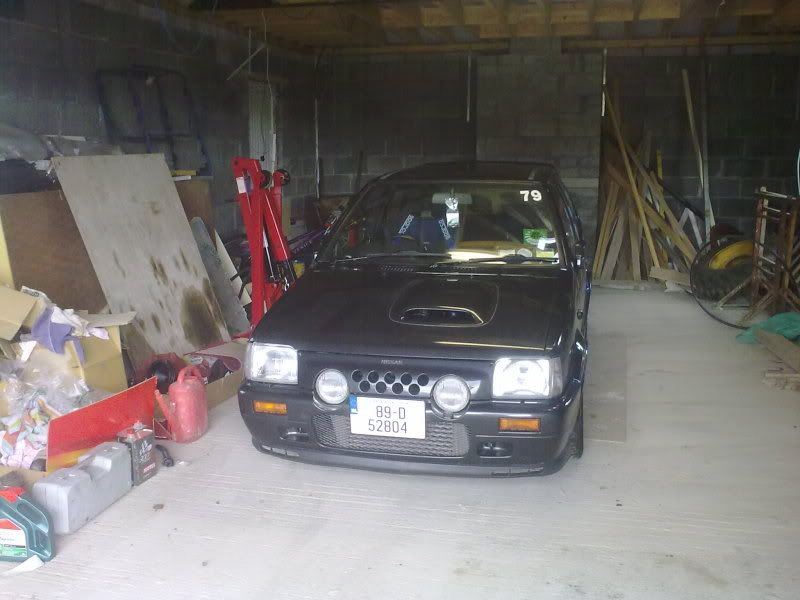
The poor micra in storage
Busy Weekend
Fresh Fuel Filter and pipework

[IMG]
http://i77.photobucket.com/albums/j42/crazyep82/11032011201.jpg[/img]
Getting there


Snowing outside Friday night at 11.30pm 1 inch of snow on the roof of the micra

Finished up , fluids in etc

And the first start up
http://s77.photobucket.com/albums/j4...1032011021.mp4
Saturday


Packing up

The poor micra in storage

#24
20th April
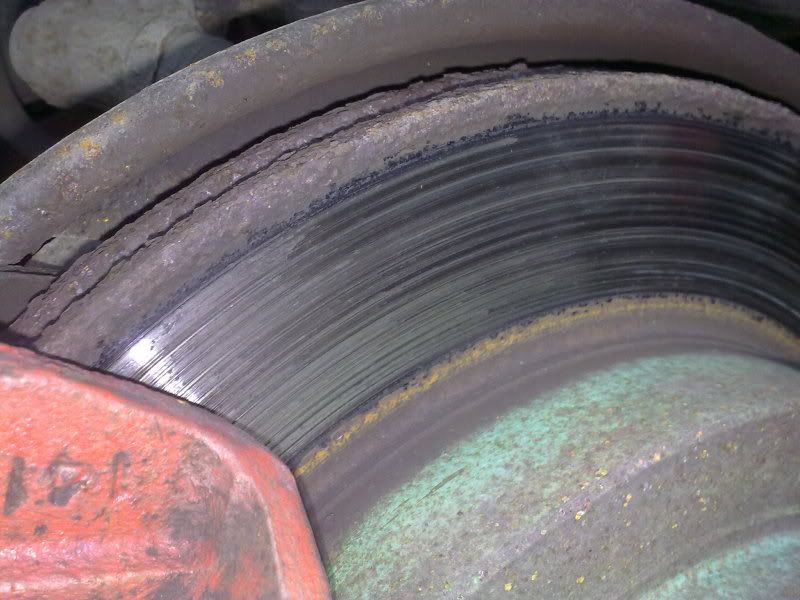
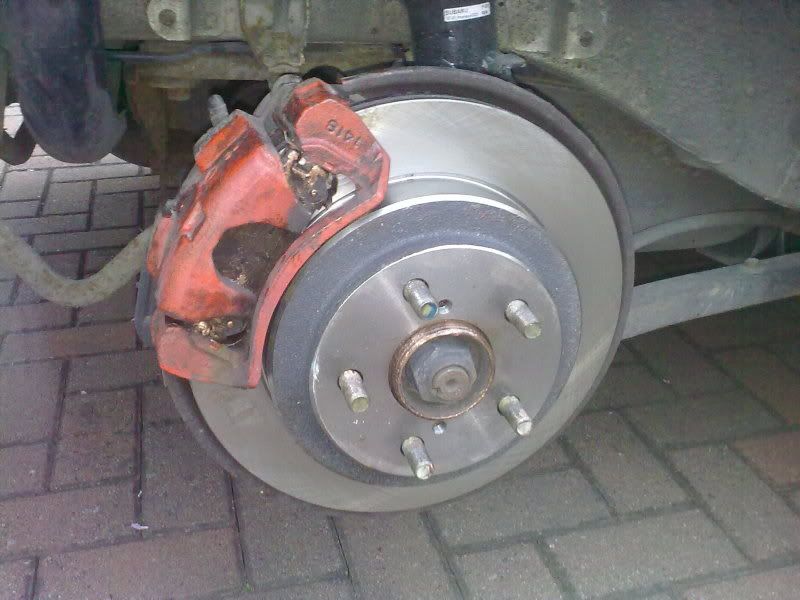
Right got blueprints discs for the back of the wagon as the old ones had a 3mm lip on them, pads were good so I filed them flat so they bed in to the new discs.
I also had a look at the hand brake shoes and there is a bit left on them aswell
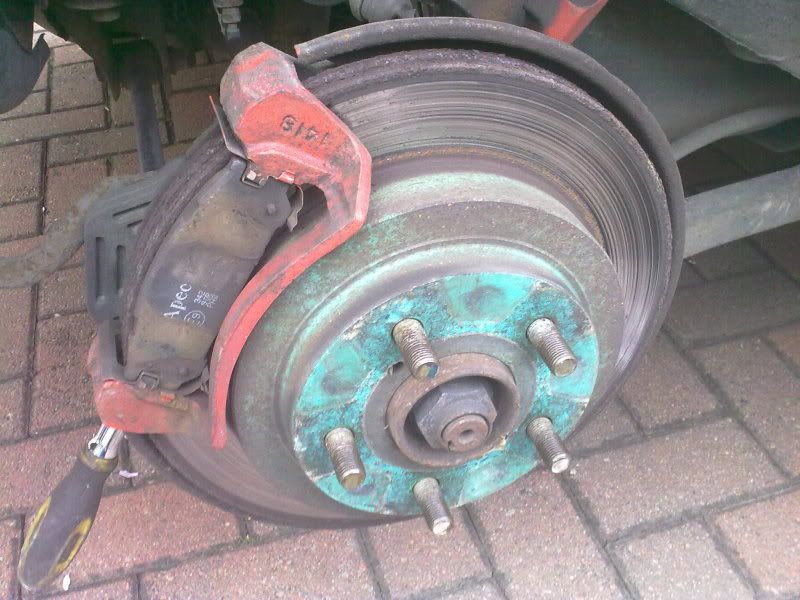
In bits
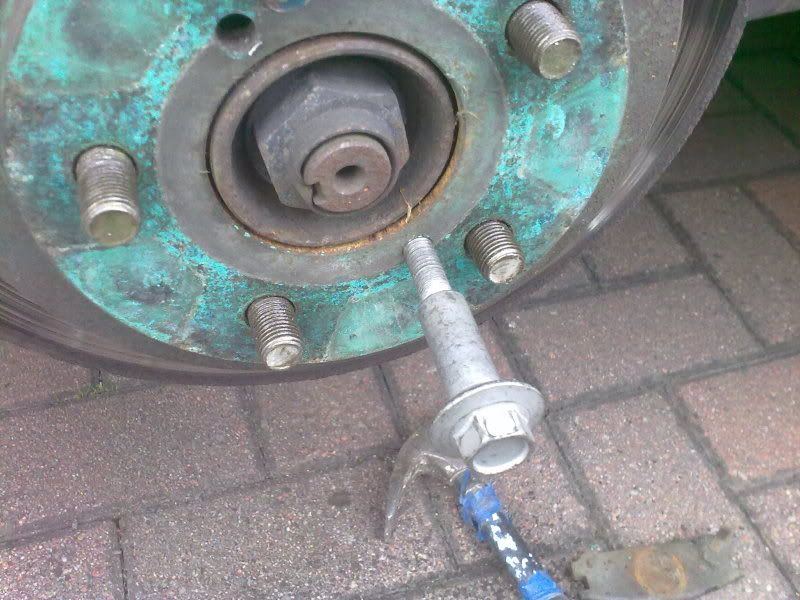
Used a bolt to get them off the hub
Spanky New Disc
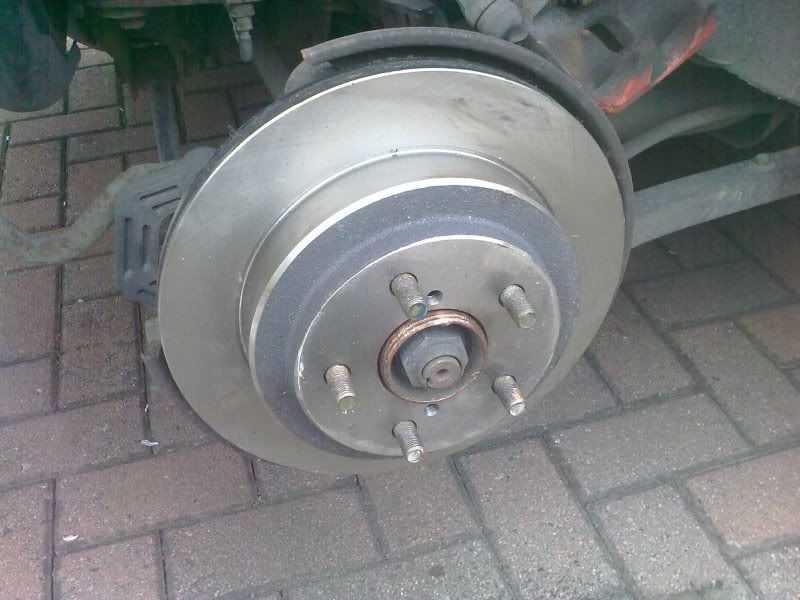
Job Done
I bought a pair of lower control arm ball joints aswell will be doing them soon
Right got blueprints discs for the back of the wagon as the old ones had a 3mm lip on them, pads were good so I filed them flat so they bed in to the new discs.
I also had a look at the hand brake shoes and there is a bit left on them aswell

In bits

Used a bolt to get them off the hub

Spanky New Disc

Job Done

I bought a pair of lower control arm ball joints aswell will be doing them soon
#28
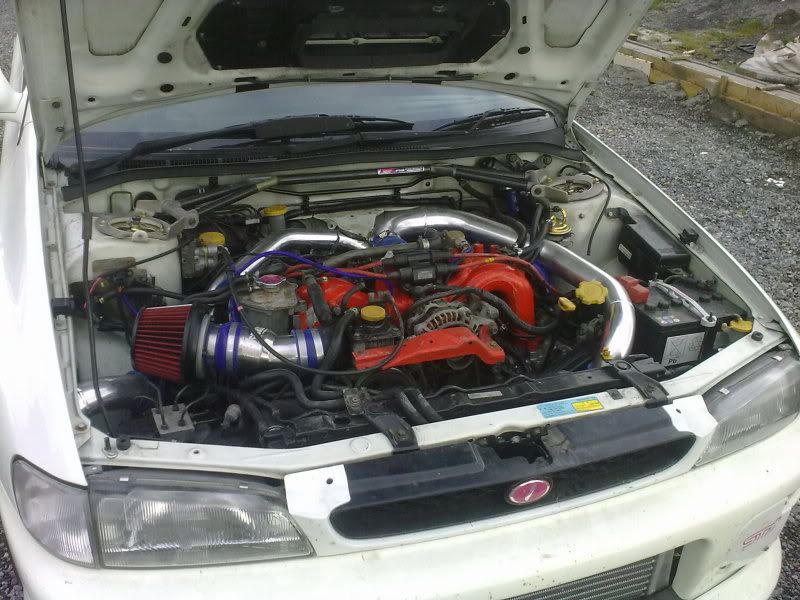
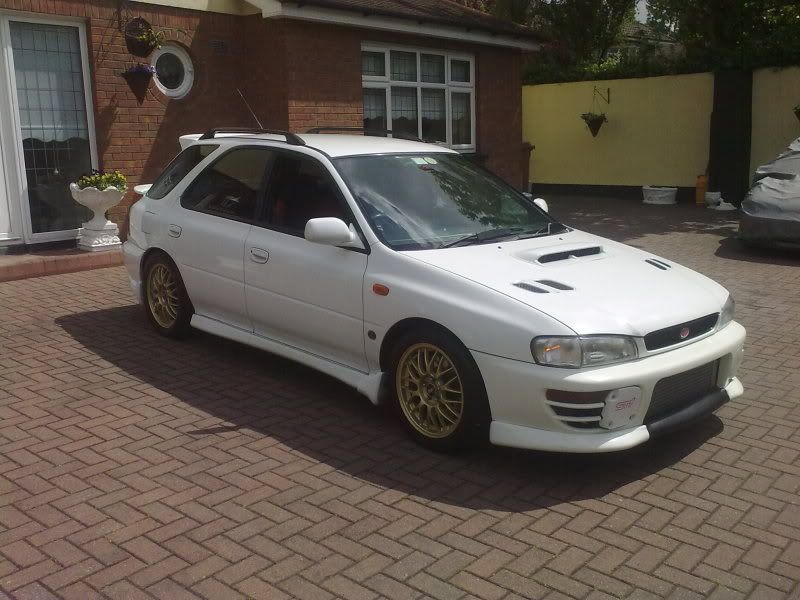
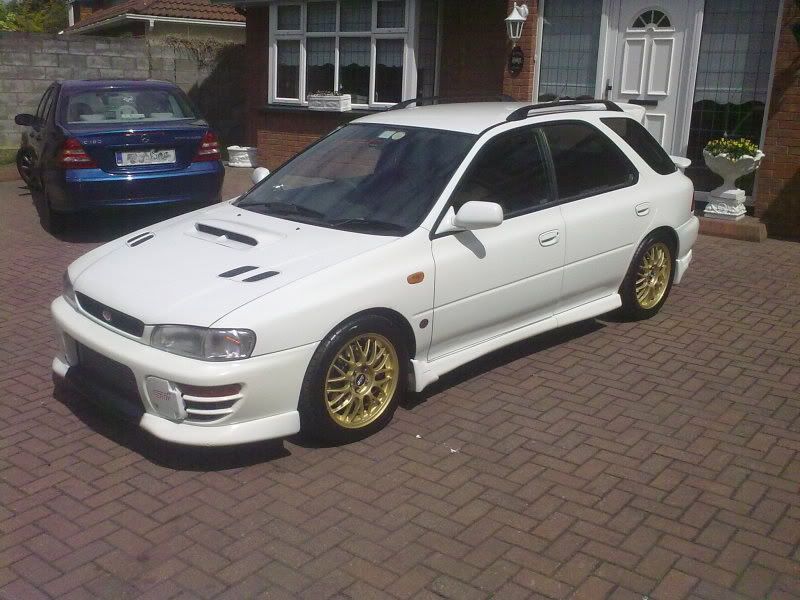
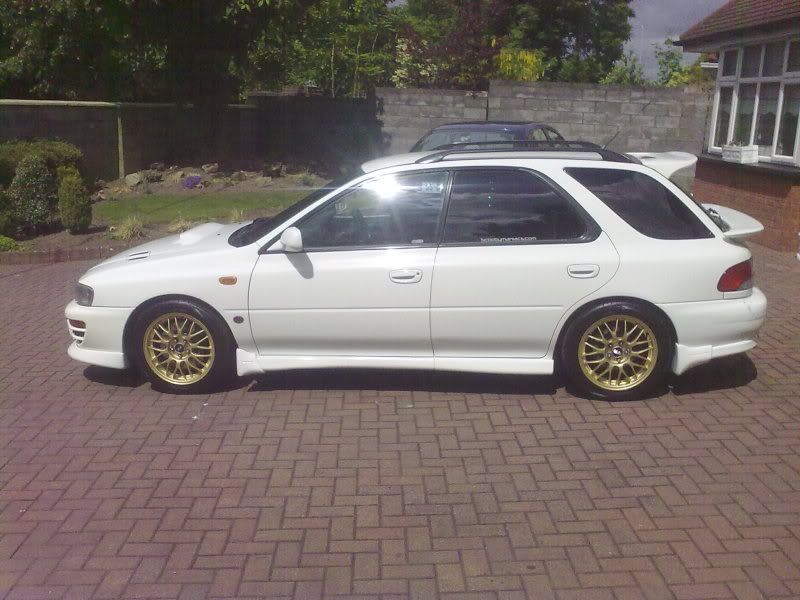
This is where I'm at now with the car, still need some things sorted out, I have a small cam seal oil leak and I need to get the exhaust sorted to stick a test on it (MOT) nct in Ireland.Then a set of 740cc injectors and a remap
New shoes

New shoes


