When you click on links to various merchants on this site and make a purchase, this can result in this site earning a commission. Affiliate programs and affiliations include, but are not limited to, the eBay Partner Network.
I'm having a small dilemma regarding the little bulbs inside my fog switches as a couple have blown. I stupidly took them out, crushed one with some pliers and got them mixed up.... This is for a classic UK Impreza.
Could a few of you please check your switches to tell me what colour they should be? Should both of the markers be orange? Or should it be like this picture below with front fog green, rear fog orange. Thanks.
Last edited by LSherratt; 18 June 2016 at 08:08 AM.
You could say I got carried away but I've managed to work everything out! A lot of mine were blown which I didn't know about such as the hazard and heated rear screen so I've made it my mission to change them all.
All bulbs mentioned below are the very small (3mm) 12v wire filament type.
FRONT FOG LIGHT SWITCH = 2 BULBS
1 bulb is a clear one which does the back light. It will illuminate green though as the switch has a green backing colour to it on the inside .
1 bulb is clear with a green sleeve. This illuminates green to show when the switch is pressed or not. You could just buy a green bulb if you've lost the sleeve.
REAR FOG LIGHT SWITCH = 2 BULBS
1 bulb is a clear one which does the back light. It will illuminate green though as the switch has a green backing colour to it on the inside.
1 bulb is clear with an orange sleeve. This illuminates orange to show when the switch is pressed or not. You could just buy an orange 12v bulb if you've lost the sleeve.
I've taken out the bulbs that aren't working hence why each switch only has 1 bulb in currently. The switches come apart (locking tabs) to make it easier to take bulbs out.
HAZARD LIGHTS = 1 BULB
1 single clear bulb which flashes when hazards are on.
REAR HEATED SCREEN SWITCH = 2 BULBS
Both bulbs are clear but the switch is coloured on the inside so the backing light will show up green and the indicator colour will show up orange.
HEATER CONTROL PANEL = 3 BULBS
This is a complete nightmare to access as it involves stripping down virtually the entire dash and taking out your stereo... All to just change a bulb! Trust me, there is no other way. All 3 bulbs have green sleeves.
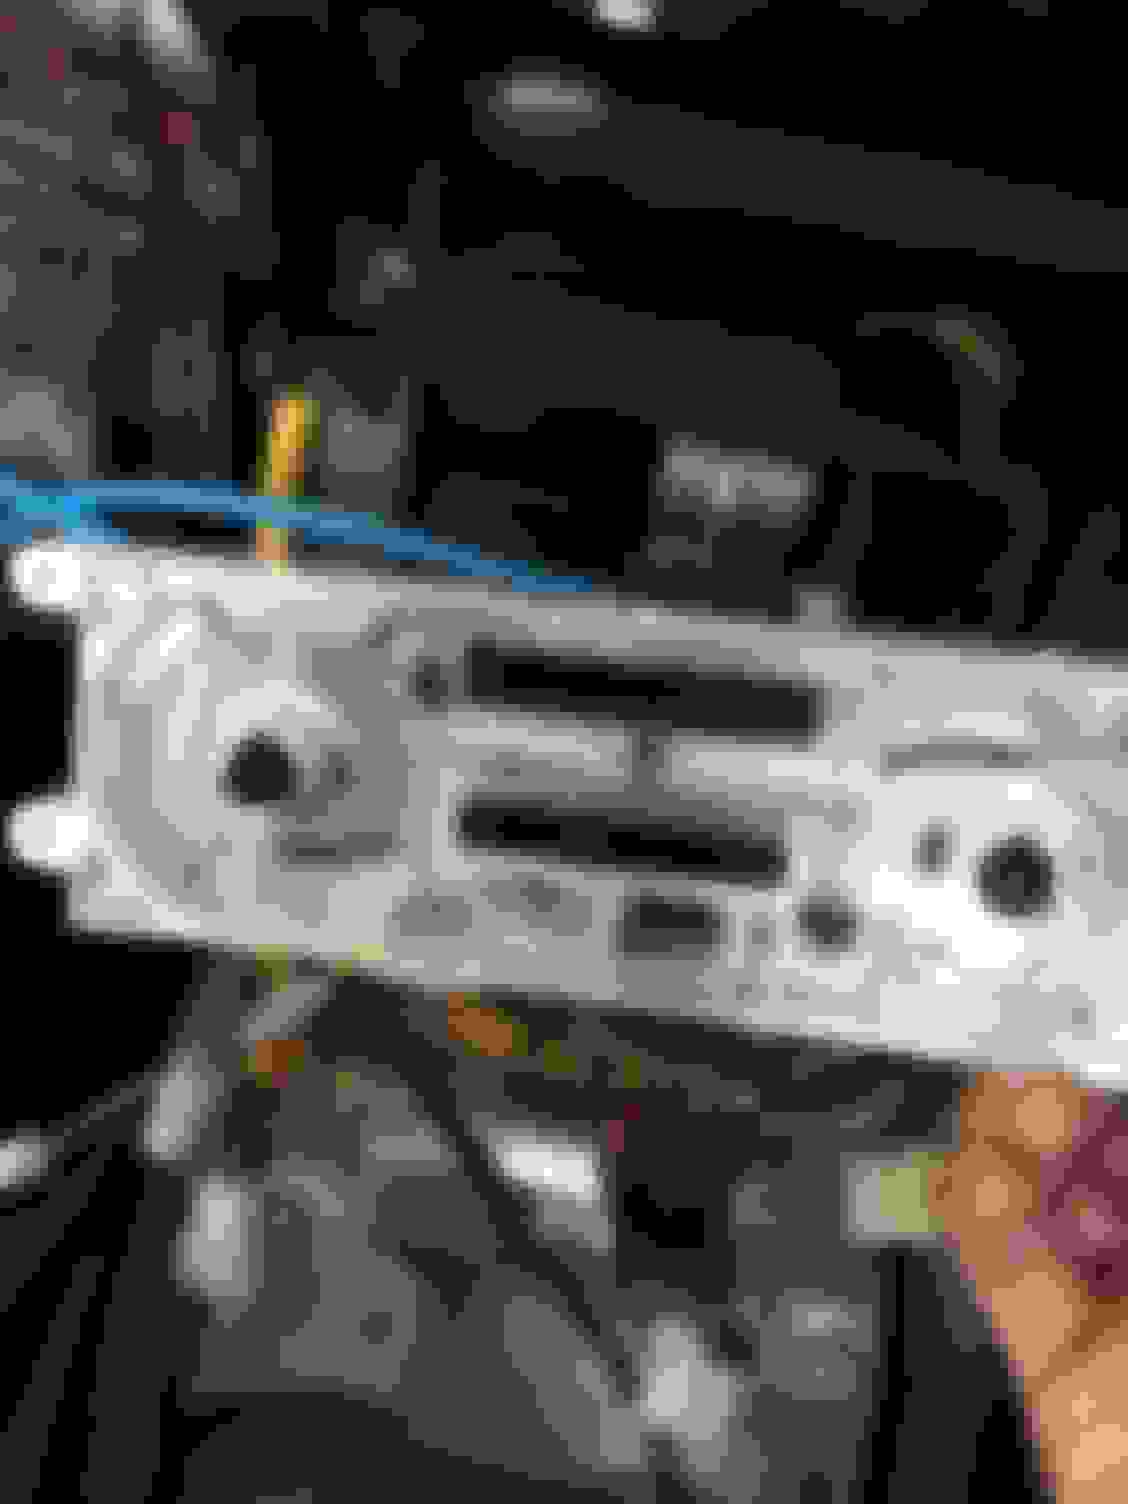
The A/C bulb is the hardest to change. I broke the switch getting it out so I've had to buy a whole new heater control unit off eBay for �10 just to raid the switch out the back of it.
The 2 bulbs for the dials are slightly larger and are called T5 12v instead of T3 like the rest.
The cruise control switch/picture isn't mine. It was just to show what I meant.
Yeah, no back light for the headlamp washer switch. I'm glad I've gutted it though, very satisfying. I've ordered new bulbs so let's hope I can put it all back together again sometime next week
You only need to gut it like I've done if replacing a bulb in the heater control unit. It's not exactly difficult, just have to be logical. I certainly didn't expect the glove box having to come out just to get access to the side panel which finally pulls off! Only 6 screws (I think) and just pulls out though.
Last edited by LSherratt; 18 June 2016 at 11:00 PM.

 18 June 2016, 08:07 AM