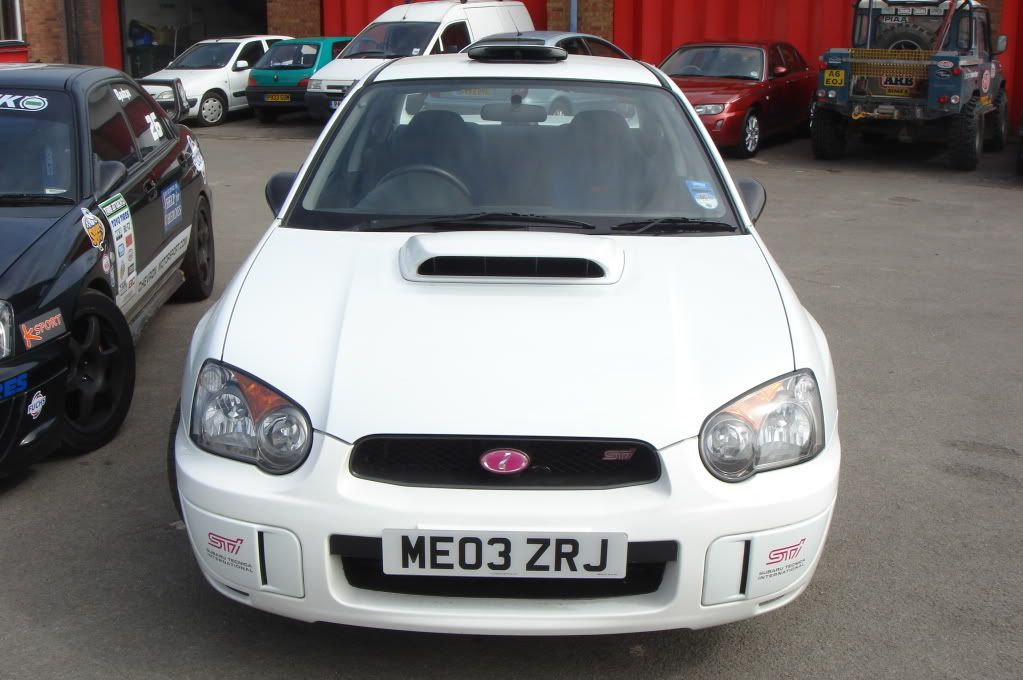
de-orange headlights


 28 July 2010, 04:49 PM
#4
Scooby Regular
iTrader: (7)

Join Date: Jan 2008
Location: Manchester
Posts: 542
Likes: 0
Received 0 Likes
on
0 Posts
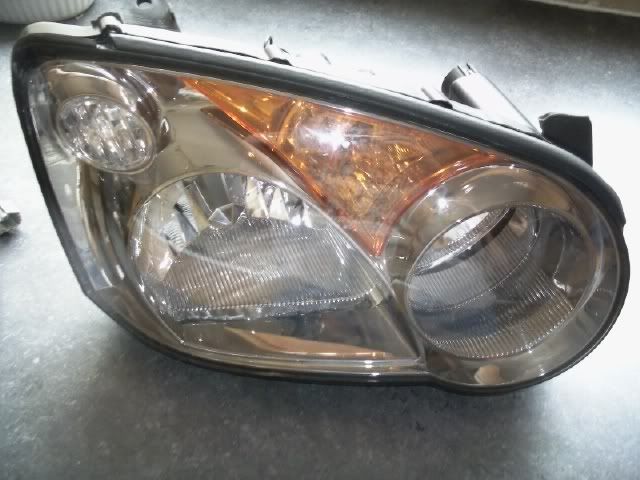
theres two methods with the classics, assume its similar case with the newage lenses.
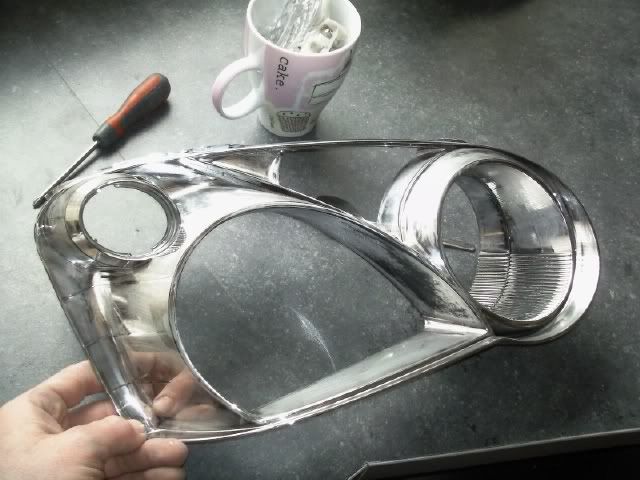
* Take them apart by heating them up in the Oven to melt the adhesives... remove or colour the orange bits, and re-assemble and re-seal...
* Attack the orange parts through the bulb hole with a small screwdriver/blade until they are small enough to fall through the hole itself.
The guy who had mine used the second method, as the original seals are inplace, although id be sceptical trying it myself.
Last edited by Eternal Rage; 28 July 2010 at 04:50 PM.
Trending Topics
 28 July 2010, 10:30 PM
#10
Scooby Regular
iTrader: (1)
Join Date: Aug 2009
Location: birmingham
Posts: 300
Likes: 0
Received 0 Likes
on
0 Posts
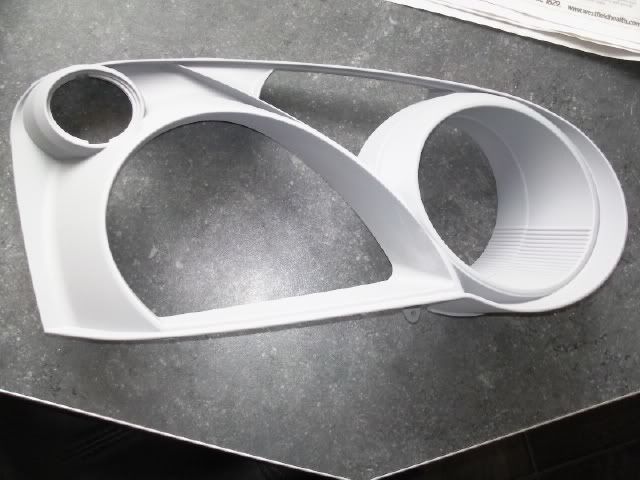
deffo oven mate have same ones, bulbs out, the small screws from around the edge and then cook it!! just keep testing it by lightly levering the lens from the back with a big flatheaded screwdriver, if its hot enough it'll start to move easilly. then pop out orange lens and warm it up again to put the lens back on! you'll need some orange bulbs tho!
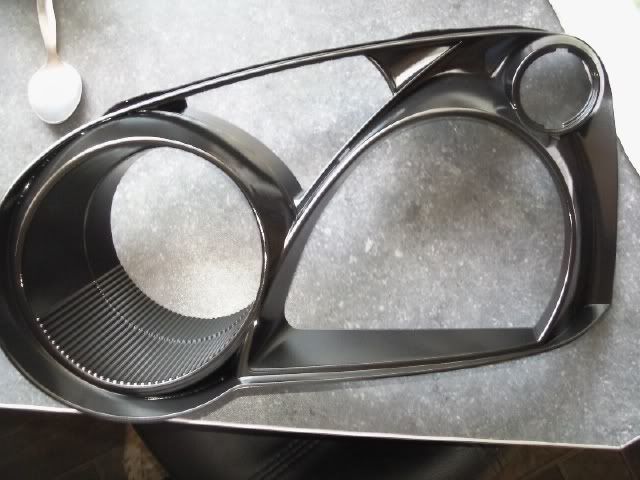
i painted mine black on all the chrome except for where the beam pattern is reflected:

the black would look good on white mate!!
i painted mine black on all the chrome except for where the beam pattern is reflected:
the black would look good on white mate!!
Last edited by stevros; 28 July 2010 at 10:31 PM.
29 July 2010, 12:17 PM
#12
Scooby Regular
iTrader: (2)
Join Date: Mar 2009
Location: underground
Posts: 483
Likes: 0
Received 0 Likes
on
0 Posts
20min @ 50degrees in a fan assisted oven is perfect.
I have done quite a few sets without any issue
I have done quite a few sets without any issue
Last edited by brockalightus; 29 July 2010 at 12:19 PM.
29 July 2010, 06:29 PM
#13
Scooby Regular
iTrader: (1)
Join Date: Aug 2009
Location: birmingham
Posts: 300
Likes: 0
Received 0 Likes
on
0 Posts
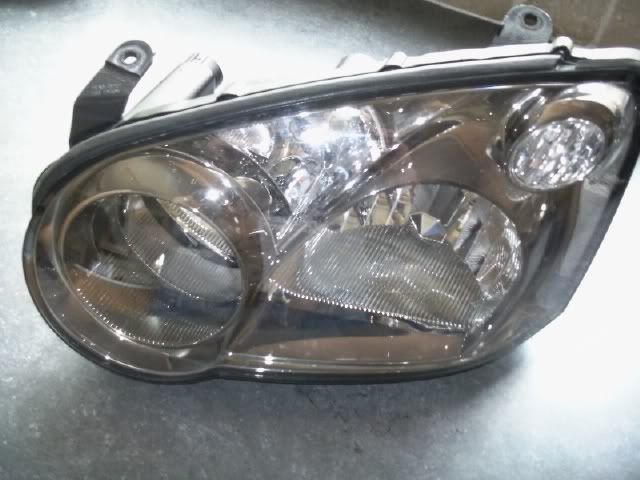
i have couple of angles but thers too much reflection on the lens mate too see them properly! deffo go black if youve gone to all the trouble of takin off the lens anyway! a lot of people leave the chrome around the indicators and sidelights chrome but i painted the lot as they show up fine even in the day! i think it looks better as a lot of modern cars are black inside now plus it matches all the black grilles etc!


Last edited by stevros; 29 July 2010 at 06:34 PM.
30 July 2010, 10:12 AM
#18
Scooby Regular
Join Date: Oct 2008
Location: Poole
Posts: 165
Likes: 0
Received 0 Likes
on
0 Posts
30 July 2010, 03:25 PM
#19
cant wait to black the headlights now, and for such a cheap job does half make a difference.
does anybody know what splitter it is?
just one last thing, what prep do i need to do to the headlamps e.g: fine sandpaper/undercoat/gloss or matt is that about it?
30 July 2010, 06:35 PM
#20
Scooby Regular
iTrader: (1)
Join Date: Aug 2009
Location: birmingham
Posts: 300
Likes: 0
Received 0 Likes
on
0 Posts
i just sprayed it straight on after cleaning with some degreaser did same on old car it never peeled off or whatever. now you can see what i meant about either painting or leaving the bit where the indicator and sidelights bulbs sit, brocalightus left his and i painted mine.
where did you get your door mirrors from and do they fit well with the line of the door? can you show a pic for me of them from the side? ta
brockalightus that looks real nice mate! took me ages to realise why bumper looked so good its the plate mount!!!! nice touch! what splitter is that?
where did you get your door mirrors from and do they fit well with the line of the door? can you show a pic for me of them from the side? ta
brockalightus that looks real nice mate! took me ages to realise why bumper looked so good its the plate mount!!!! nice touch! what splitter is that?
Last edited by stevros; 30 July 2010 at 06:41 PM.
30 July 2010, 07:28 PM
#21
only have a side shot from a bit of a distance at the mo mate.
i actually got them from ebay mate really good fit tbh and only a ten minute job to fit. and the weight difference was quite suprising over the original mirrors.
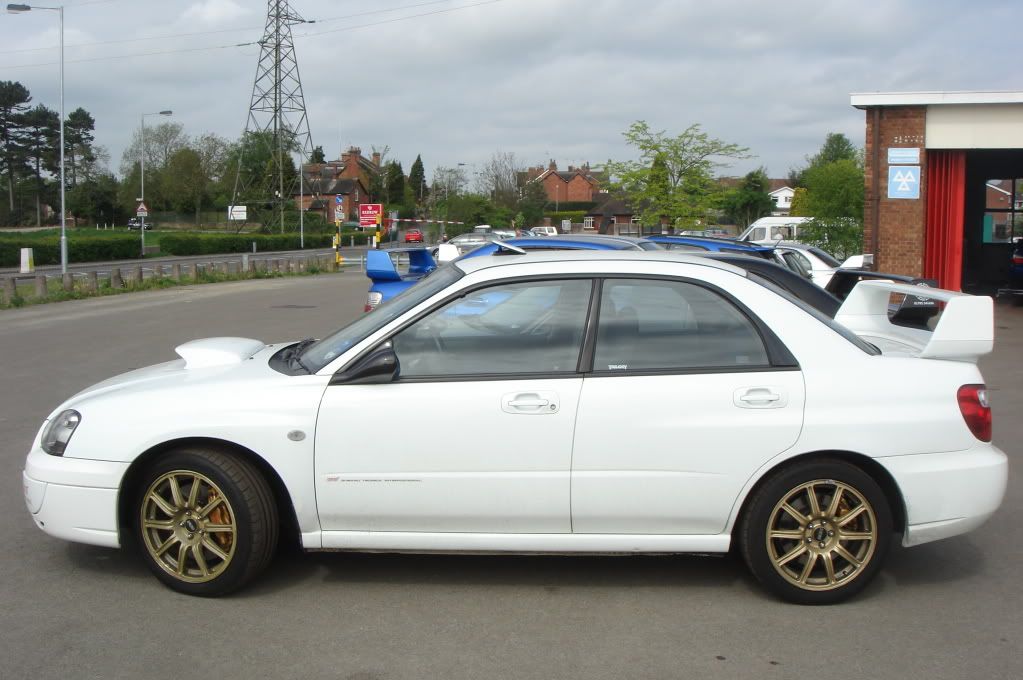
cant see much out of the buggers either but look pretty good imho
i actually got them from ebay mate really good fit tbh and only a ten minute job to fit. and the weight difference was quite suprising over the original mirrors.
cant see much out of the buggers either but look pretty good imho
30 July 2010, 10:44 PM
#22
nice mate who from ? on ebay as lots and are they a make or named.
think the splitter is called lower line by chargespeed but i think it was for sale on hear but too much for me think it was 400 region.
I bought some wet and dry and sanded the incerts to key the primer then smoothed off between coats
think the splitter is called lower line by chargespeed but i think it was for sale on hear but too much for me think it was 400 region.
I bought some wet and dry and sanded the incerts to key the primer then smoothed off between coats

 30 July 2010, 11:42 PM
#26
Scooby Regular
iTrader: (2)
Join Date: Mar 2009
Location: underground
Posts: 483
Likes: 0
Received 0 Likes
on
0 Posts
i just sprayed it straight on after cleaning with some degreaser did same on old car it never peeled off or whatever. now you can see what i meant about either painting or leaving the bit where the indicator and sidelights bulbs sit, brocalightus left his and i painted mine.
where did you get your door mirrors from and do they fit well with the line of the door? can you show a pic for me of them from the side? ta
brockalightus that looks real nice mate! took me ages to realise why bumper looked so good its the plate mount!!!! nice touch! what splitter is that?
where did you get your door mirrors from and do they fit well with the line of the door? can you show a pic for me of them from the side? ta
brockalightus that looks real nice mate! took me ages to realise why bumper looked so good its the plate mount!!!! nice touch! what splitter is that?
chargespeed lip spoiler
 lol
31 July 2010, 04:06 PM
lol
31 July 2010, 04:06 PM
#29

did mine a while ago but with some other subtle changes
http://img.photobucket.com/albums/v6...inished005.jpg
http://img.photobucket.com/albums/v6...inished004.jpg
http://img.photobucket.com/albums/v6...ished001-1.jpg
how do you just post the pictures and not the links?
http://img.photobucket.com/albums/v6...inished005.jpg
http://img.photobucket.com/albums/v6...inished004.jpg
http://img.photobucket.com/albums/v6...ished001-1.jpg
how do you just post the pictures and not the links?
31 July 2010, 10:24 PM
#30
Scooby Regular
iTrader: (1)
Join Date: Aug 2009
Location: birmingham
Posts: 300
Likes: 0
Received 0 Likes
on
0 Posts
paulo if you get any more pics or a old link to who you bought them off ie in your ebay feed back you should still have the sellers name by the comment they left could you let me no as id like a good look at them mirrors they look sweet!! i like the way they fit too especially with the line that goes forward onto the wing. stevros