Red Painting the Inlet Manifold and Stuff.
#1
Thread Starter
18 June 1815 - Waterloo
iTrader: (31)
Joined: Dec 2004
Posts: 19,156
Likes: 14
From: To the valley men!
Next weekend is Bank Holiday and I have got my hands on a fully equipped Hangar, ramps, tools etc.
Pippyrips is supposed to be detailing his car.
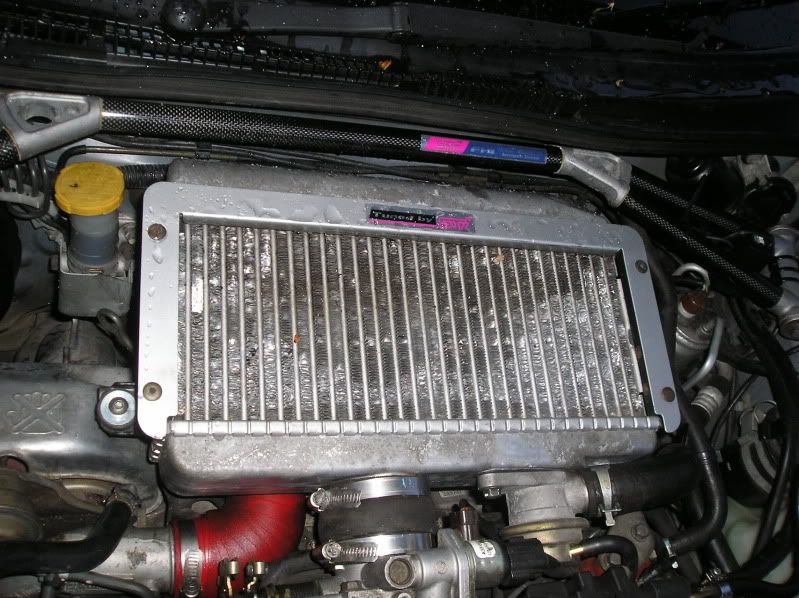
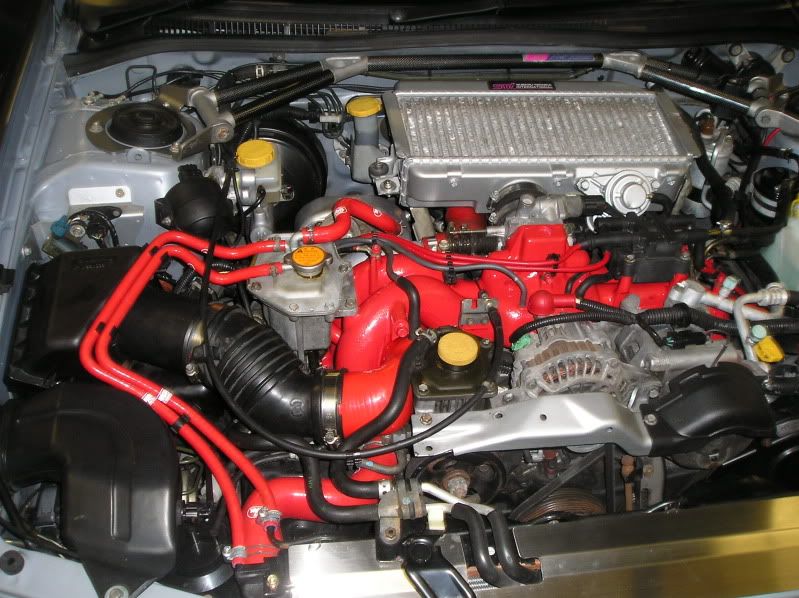
I intend to fit the turbo inlet hose at last!, the ancillary hose kit all in a nice shade of red and straighten up the bigger I/C. While it's all off I'll re-paint the inlet manifold.
So, if you need to use a hangar and are free next weekend drop me a PM.
Mr D and Blockhead if your still up for it
Oh yes, I have the V5/6 JDM STi I/C with the dump valve and it's pipes for sale.
Pippyrips is supposed to be detailing his car.
I intend to fit the turbo inlet hose at last!, the ancillary hose kit all in a nice shade of red and straighten up the bigger I/C. While it's all off I'll re-paint the inlet manifold.
So, if you need to use a hangar and are free next weekend drop me a PM.
Mr D and Blockhead if your still up for it

Oh yes, I have the V5/6 JDM STi I/C with the dump valve and it's pipes for sale.

Last edited by The Trooper 1815; 22 August 2009 at 10:49 PM.
#5
yeah if there is room. and maybe if there is some heat just in case things get tight!
i need to do mine as well at some point. or just try and get my heatsheild to say and not rattle. lol
i need to do mine as well at some point. or just try and get my heatsheild to say and not rattle. lol
Trending Topics
#10
Thread Starter
18 June 1815 - Waterloo
iTrader: (31)
Joined: Dec 2004
Posts: 19,156
Likes: 14
From: To the valley men!
It's been emotional 3 days but it's now all done. Well nearly.
The induction hose was pretty shot through

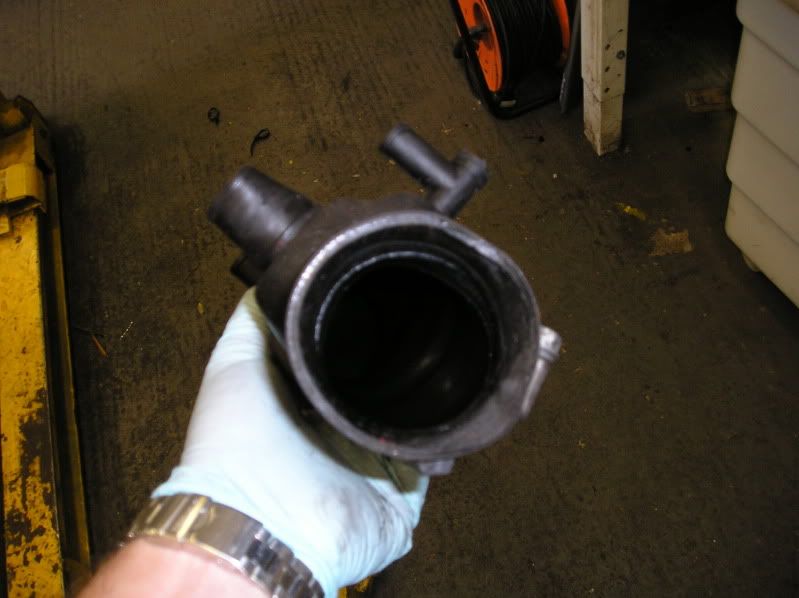
The end was almost rotted away.
It was relatively easy but I used a digital camera and a laptop to have a running record of the removal of the bits. The fuel rail was not to bad coming off but going on it's a bit of fun .I now have a ****laod of spare coolant hoses.

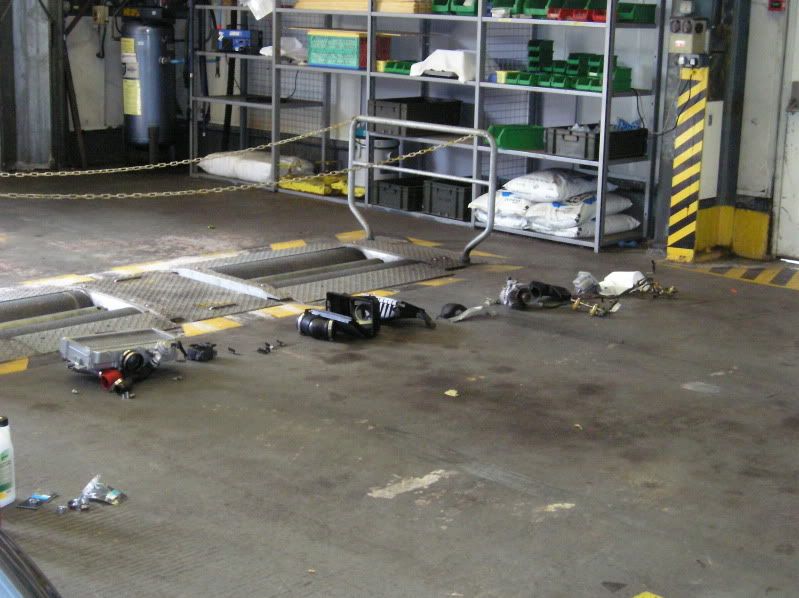
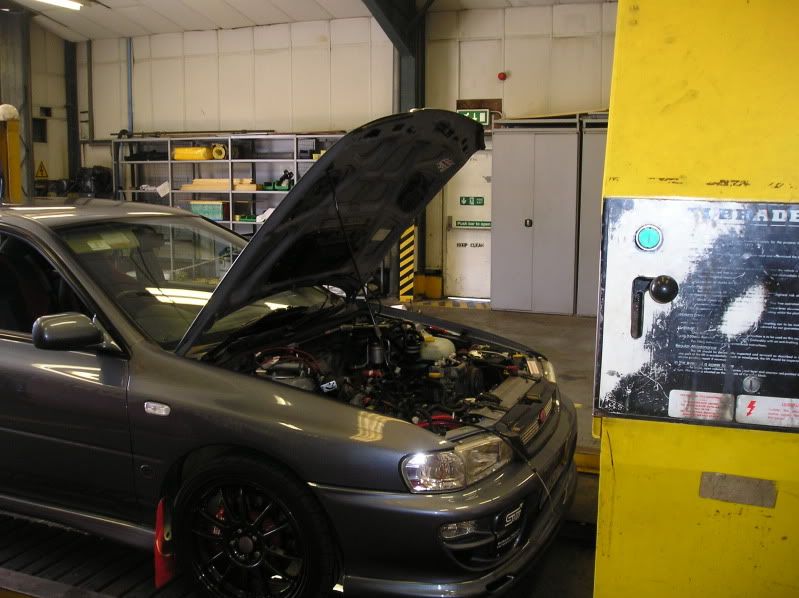
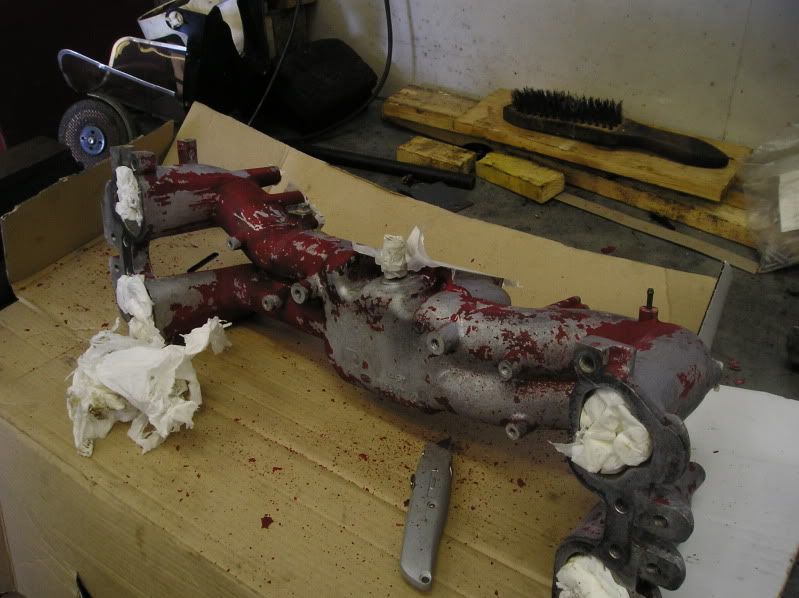
The inlet manifold ws a bitch to clean and took 18 hours and about 6 coats of Hammerite Smooth and an undercoat of aluminium primer.

Chris, (WRX,STI) I'll call you about the Prodrive Y Pipe
The end
The induction hose was pretty shot through


The end was almost rotted away.
It was relatively easy but I used a digital camera and a laptop to have a running record of the removal of the bits. The fuel rail was not to bad coming off but going on it's a bit of fun
 .I now have a ****laod of spare coolant hoses.


The inlet manifold ws a bitch to clean and took 18 hours and about 6 coats of Hammerite Smooth and an undercoat of aluminium primer.


Chris, (WRX,STI) I'll call you about the Prodrive Y Pipe

The end

Last edited by The Trooper 1815; 31 August 2009 at 05:20 PM.
#17
Scooby Regular
iTrader: (4)
Joined: Jun 2005
Posts: 3,618
Likes: 0
From: South Wales, Scoobless, Type R is gone!
Looking good Ian, really need to get mine off and paint it or finish polishing the other one i started.
Pulleys are easy to do, you'll probably find u need to use an impact gun on the alternator one to get it undone
Pulleys are easy to do, you'll probably find u need to use an impact gun on the alternator one to get it undone

#24
Scooby Senior
iTrader: (1)
Joined: Aug 2006
Posts: 2,571
Likes: 12
From: At home counting pennies!!!
Very nice work old boy!
Would have been there myself, but still haven't ordered my discs yet, trying to get the most out of the ones i have. I know they are on their last legs but they dont seem to want to die!!
Would have been there myself, but still haven't ordered my discs yet, trying to get the most out of the ones i have. I know they are on their last legs but they dont seem to want to die!!
#28
Thread Starter
18 June 1815 - Waterloo
iTrader: (31)
Joined: Dec 2004
Posts: 19,156
Likes: 14
From: To the valley men!
'rigster I prepped the manifold with aluminium primer.
I have now fitted the newage undertray to match the WRX top mount.
Took a bit of fiddling and fettling but managed to fabricate the brackets to hold the rubber shroud. Most oif the bit's I had lying around in the shed and some scrap alloy plate from work.
I'll post up some picks when I get home.
I have now fitted the newage undertray to match the WRX top mount.
Took a bit of fiddling and fettling but managed to fabricate the brackets to hold the rubber shroud. Most oif the bit's I had lying around in the shed and some scrap alloy plate from work.
I'll post up some picks when I get home.
#29
Thread Starter
18 June 1815 - Waterloo
iTrader: (31)
Joined: Dec 2004
Posts: 19,156
Likes: 14
From: To the valley men!
'rigster I prepped the manifold with aluminium primer.
I have now fitted the newage undertray to match the WRX top mount.
Took a bit of fiddling and fettling but managed to fabricate the brackets to hold the rubber shroud. Most of the bit's I had lying around in the shed and some scrap alloy plate from work.
I'll post up some picks when I get home.
I have now fitted the newage undertray to match the WRX top mount.
Took a bit of fiddling and fettling but managed to fabricate the brackets to hold the rubber shroud. Most of the bit's I had lying around in the shed and some scrap alloy plate from work.
I'll post up some picks when I get home.


 , well done

 you'll have to be in the next shown and shine event.